Table of Contents
Advertisement
Advertisement
Table of Contents

Related Manuals for UBSAN ZINO MINI PRO


Summary of Contents for UBSAN ZINO MINI PRO
- Page 1 ZINO MINI PRO 《 User Manual 》 V2.0...
- Page 3 DI SC LA I ME R & WA RNING All users must read product operating instructions and liability disclaimer before using and operating any HUBSAN products. By using a HUBSAN product(s), users accept the terms and conditions of HUBSAN liability and operational guidelines. This product is not suitable for minors under 14 years of age.
-
Page 4: Important Safety Information
IM PO RT AN T SAF ETY I NFOR MATIO N OPERATION Be extremely cautious and responsible when using the aircraft. Small electronic components can be damaged due to crashes or exposure to moisture / liquid. To avoid any injuries, do not use the aircraft with damaged components. MAINTENANCE Do not try to open or repair the units by yourself. - Page 5 HUBSAN Safety Notice for Intelligent battery ● If you do not plan to use the product for a long period of time, make sure to discharge the battery to 60% power. If the battery is more than 60%, the battery will automatically discharge to 60% after a week.
-
Page 6: Table Of Contents
Contents Disclaimer 4 Aircraft Functions Important safety information 4.1 Flight Control Mode Battery use precautions 4.2 Aircraft Indicator 1 Aircraft 4.3 Return-to-home(Rth) 1.1 Aircraft Spare Part 4.4 Landing Apron Search 1.2 Aircraft Battery 4.5 Optical Flow Vision System 1.2.1 Aircraft Battery Charging 1.2.2 Aircraft Battery Installation 4.6 Flight Mode 1.2.3 Intelligent Battery Functions... -
Page 7: Aircraft
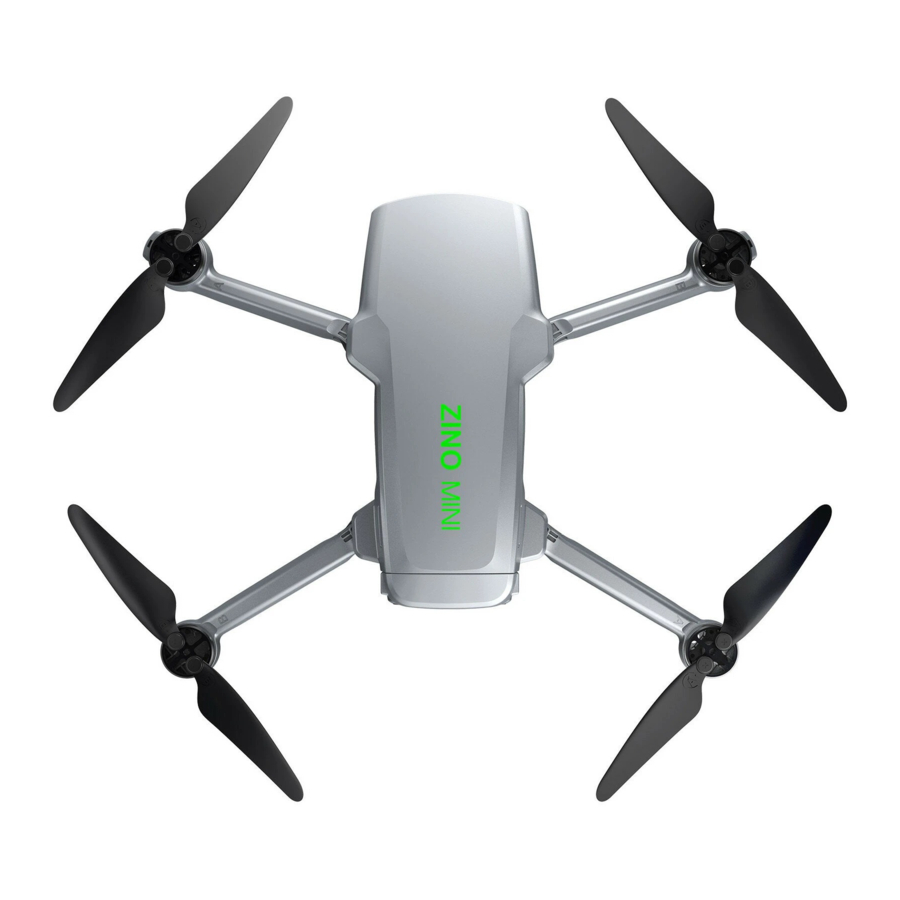
1.Aircraft 1.1 Aircraft Spare Part Propeller A Body shell Propeller B 3-axis gimbal Motor Intelligent Battery Tripod Battery level indicator (With Antenna) Gimbal Protection Guard Battery power switch... - Page 8 Bind button Battery buckle Low-altitude infrared altitude hold system Downward Vision System Aircraft flashlight Note:The aircraft will generate heat when it is running, after the flight, please Avoid direct skin contact with the bottom heat sink and the metal motor housing.
-
Page 9: Aircraft Battery
1.2 Aircraft Battery 1.2.1 Aircraft Battery Charging Aircraft Lithium Battery Capacity: 3000mAh, 7.2V lithium 2S intelligent battery, the standard version does not come with a charger, so consumers can charge it with an ordinary cell phone charger, and the charging time with a 9 V / 2 A charger is about 2 . 5 hours. ①... -
Page 10: Aircraft Battery Installation
1.2.2 Aircraft Battery Installation Take a fully charged battery Insert the battery into battery compar tment, while pressing the left and right edges behind o f t h e b a t t e r y ( A s s h o w n i n illustration) push in, until the battery buckles are fully locked. -
Page 11: Precautions For Low Temperature
(6) Over-discharge Protection: Discharging stops automatically to prevent excess discharge. (7) Short Circuit Protection: The power supply is automatically cut if a short circuit is detected. (8) Battery Cell Damage Protection: HUBSAN App displays a warning message when a damaged battery cell is detected. (9) Hibernation Mode: When the battery is on and is left unused for over 20 minutes, the battery will turn off the output after 20 minutes and will enter into a non-working state to maintain the power. -
Page 12: Precautions For Battery
1.2.5 Precautions For Battery Be sure to fully charge each time before using the Intelligent Battery. Charge the intelligent battery only with Hubsan supplied power adapter and intelligent charging modules. (1) After each flight, battery temperature maybe higher. Allow Intelligent Battery to cool down to normal room temperature before charging. -
Page 13: Remote Controller(America Mode
2. Remote Controller(America Mode 2) 2.1 Names Of Remote Controller Components 1) Smartphone / Device holder 2-1) Throttle / Rudder Stick 2-2) Forward / backward / left / right flight control levers 3) Return to Home 4) Power 5) F / N / S mode: (2)... -
Page 14: Remote Controller Features
2.2 Remote Controller Features S/N Key / Switch Function Move the stick forward or backward to ascend or Throttle / Rudder descend the drone. Move the stick left or right to Stick ( Mode 1 ) rotate the drone Clockwise or counter clockwise. Move the stick forward or backward to fly the drone Elevator / Aileron forward or backward. -
Page 15: Charging The Transmitter Battery
Key / Switch Function Long press the Fn+ wheel to adjust the zoom function. Press and hold the Photo+ wheel to adjust the brightness of the remote control screen. The remote control buzzer beeps when a low battery is triggered or Return to home is activated. Press the Fn button for 1.5 seconds, to stop beeping prompts. -
Page 16: Remote Control Diagram
2.4 Remote Control Diagram Aircraft Battery level Character Area RC Battery level Flight Height Propellers Status Flight Distance Aircraft Mode Compass Calibration / Headless Mode Aircraft GPS Satellite Aircraft speed Aircraft Signals Photo / Video Heading Angle... -
Page 17: Remote Control Antenna Angle
2.5 Remote Control Antenna Angle (1) Adjust the angle of the remote control antenna and try to face the flight direction of the aircraft as much as possible. (2) Long-distance state, the distance between the two antennas is properly tightened to maintain the antenna directivity. (3) Closer Sate, the two antennas are properly separated to maintain a wide receiving range. -
Page 18: Flight
3 Flight 3.1 Download The X-HUBSAN 2.0 App B e f o r e f l y i n g , d o w n l o a d a n d i n s t a l l t h e X-HUBSAN 2.0 APP. -
Page 19: Pairing The Aircraft
3.3 Pairing The Aircraft To use the aircraft for the first time, you need to activate the aircraft first : ① Press battery switch to power on the aircraft. ② Press the remote control switch to connect to the mobile phone, and wait for the remote control to connect the aircraft in success. -
Page 20: Aircraft Calibration
3.4 Aircraft Calibration 3.4.1 Horizontal Calibration During the flight, if the drone shows a significant horizontal deviation, please land and disarm the drone. place the drone on a perfectly leveled horizontal ground. Enter the APP setting interface, select horizontal calibration. Drone will automatically perform the calibration, the four heading lights will flash, and it will stay on after the calibration is completed. -
Page 21: Staring / Stopping The Motors
3.5 Starting/Stopping the Motors Motor starting condition (1) The aircraft, remote control, and mobile phone have been connected successfully ; (2) The aircraft compass has been calibrated (APP doesn't prompt to calibrate the compass) ; (3) The aircraft must be placed on a horizontally leveled ground ; (4) Aircraft has not locked sufficient GPS satellites for positioning. -
Page 22: Aircraft Functions
4 Aircraft Functions 4.1 Flight Control Mode Flight Control Mode (The flight controller monitors the GPS signals and switches to the corresponding flight modes) Use GPS and downward vision positioning system to achieve precise hovering, stable flight, intelligent flight mode, etc. The Mode vision system works in a well-lit environment . -
Page 23: Aircraft Indicator
4.2 Aircraft Indicator Video Indicator(Red)、Image Indicator(Yellow) Functions Indicator Camera Error Red LED flashes slowly (1 time/second) Function Error Red LED 、Yellow LED off Booting Red LED 、Yellow LED off Video Indicator Red LED solid Working Image Indicator Yellow LED solid Working Binding mode Yellow LED flashes quickly... - Page 24 RTH-Process 1. Ensure the "home" point is recorded. 2. Press the return to home icon 3. The aircraft will adjust its direction. 4. The aircraft will climb to the safe altitude as set in the App (1) Regardless of the current height of the aircraft, if the aircraft is within 5 meters of the horizontal distance from home point, it will land;...
-
Page 25: Landing Apron Search
4.4 Landing Apron Search When the aircraft is landing or returned to a height of about 10 meters from the ground, it will automatically enter the search for the drone apron function. Connected 1 0 0 % 1.0x S P E E D 0 . 0 M / S 4 5 . -
Page 26: Flight Mode
N o t e ( 1 ) . T h e V i s i o n S y s t e m s w o r k b e s t w i t h a d e q u a t e l i g h t i n g a n d clearly marked or textured obstacles. -
Page 27: Creative Video
4.6.2 Creative Video 360° Shooting : (1) Select the direction of rotation (clockwise / counterclockwise); (2) Set the rotation angle, the range of rotation angle (90 ° -360 ° ,accuracy 1°); (3) Set the rotation speed (1-30 ° / sec, accuracy 1); (4) Click GO, the aircraft rotates in place hovering at its position, shooting a video during the rotation;... -
Page 28: Orbiting
4.6.3 Orbiting Tap on "Mode Selection" then "Orbit Mode" to set the current location or the position of the mobile device as the center. During Orbit mode, you can adjust the speed and direction by moving the control stick left and right and adjust the orbit radius by moving the control stick forward and backward. -
Page 29: Line Fly Mode
4.6.5 Line Fly Mode Tap on "Mode Selection" then "Line Fly Mode".Set the angle,distance and speed of the aircraft. Performance requirements: 1. Set the angle (0 ~ 360 °, accuracy 1 °); Set the distance (10-6000 meters, accuracy 1 meter); Set the speed (1-8 m / s, accuracy 0.1);... -
Page 30: Hyperlapse
4.6.7 Hyperlapse When you choose Hyperlapse mode,you can choose free and Circle. Hover mode 1 0 0 % 1.0x free surround time-lapse time-lapse Free The aircraft will take a certain number of photos and compose time-lapse videos automatically according to the parameters set. During the process of shooting, the user can control the flight of the aircraft freely. -
Page 31: Panorama Mode
Circle T h e a i r c r a f t w i l l t a k e a c e r t a i n n u m b e r o f p h o t o s a n d c o m p o s e ti me-l apse vi de o au tomati cal l y accordin g to the ci rcl e poin t of i n t e r e s t a n d t h e p a r a m e t e r s s e t . -
Page 32: Gimbal Pitch Axis Adjustment
4.7 Gimbal Pitch Adjustment Please make sure there are no stickers or impurities on the gimbal before take off, and place the aircraft on flat and open ground. Please do not bump the gimbal after the power is turned on. The gimbal contains precision parts. -
Page 33: Faq
Transmitter Adjustment You can adjust the angle of gimbal pitch by fiddling with the control thumb-wheel of gimbal pitch. 1.The mobile device and remote control cannot be connected (1) Check whether the status of the APP control signal icon has changed (2) For USB Settings on android phones, check out "Android phone connection tutorial"... - Page 34 5.The battery cannot charge Re-plug the charger and battery 6. short flight times Battery overcharge or high temperature environment can easily lead to reduction of battery life, it is recommended to keep the remaining 60% or so, full charge again before use 7.
-
Page 35: Limitation Of Liability
L i m i t a t i o n o f L i a b i l i t y HUBSAN accepts no liability for damages, injuries or any legal responsibilities directly or indirectly from the use of HUBSAN products under the following conditions: 1.Damages, injuries or any legal responsibilities when users are drunk, under the influence of drugs or anesthesia, dizzy, fatigued, nauseous and / or affected by... - Page 36 12. The acquisition, through use of HUBSAN products (specifically but not limited to aircraft), of any data, audio, video that results in infringement of law and / or rights. 13. Misuse and / or alteration of batteries, product / aircraft circuits, hardware protections (including protection circuits), RC model and battery chargers.
-
Page 37: Fcc Information
F C C I N F O R M A T I O N This equipment has been tested and found to comply with the limits for a Class B digital device, pursuant to Part 15 of the FCC Rules. These limits are designed to provide reasonable protection against harmful interference in a residential installation. - Page 40 ●This product is not a toy Flight Academy ●Not suitable for children under 14 years of age Product name: ZINO MINI PRO Product Standard Number:Q / HBS 001-2017 Vendor: Shenzhen Hubsan Technology Co., Ltd Address: Unit 2801-2802A, Building F, Xinghe WORLD , Yabao Road, Bantian Street, Longgang District, Shenzhen Email: service@hubsan.com...
Need help?
Do you have a question about the ZINO MINI PRO and is the answer not in the manual?
Questions and answers