Advertisement
Quick Links
Advertisement

Subscribe to Our Youtube Channel
Related Manuals for PICO Neo 3 Series


Summary of Contents for PICO Neo 3 Series
- Page 1 ALL IN PLAY Virtual Reality All-In-One Headset USER GUIDE...
- Page 2 USER GUIDE...
- Page 3 User Guide 眼镜支架 1.5V AA电池 USB-C 2.0...
- Page 4 • • • 建议在使用和收纳后脑垫时注意防护光学镜片,避免尖锐体划伤镜片,擦拭清洁时 请使用柔软的眼镜布,否则可能划伤镜片,影响视觉效果。 • • • • • 本产品支持三段式瞳距调节功能,请根据自身瞳距选择相近档位。默认中间瞳距 可兼容大部分人群,建议视觉有重影或对眼的人调整至自己合适的瞳距体验。使 用不合适的瞳距档位,可能会引起重影或者眼睛疲劳。 • 显示 •...
- Page 5 安装电池 手柄开机 拇指按压箭头位置同时向下滑动 拔出电池尾端绝缘纸 提示:建议使用1.5V AA电池。...
- Page 6 头盔开机 将头盔罩住面部或者眼镜 向下推动后脑垫使其套在头上...
- Page 7 顶部电源线 请勿弯折、穿孔、拉拽 • 后脑垫 • 内含电池 • • USB-C 3.0接口 散热口 追踪摄像头 使用时请勿遮挡 侧绑带 可拆卸 • • • 微调绑带长度及佩戴位置至视野清晰...
- Page 8 • 距离传感器 • • 佩戴头盔后,系统自动唤醒 • 摘下头盔后,系统自动休眠 • • 瞳距调节 • 三段式瞳距可调节 • 光学镜片 •...
- Page 9 • • 瞳距调节 本产品支持三段式瞳距(58mm/63.5mm/69mm)调节功能,默认中间瞳距可兼容大部 分人群,建议视觉有重影或对眼的人调整至自己瞳距相近的档位体验。 调节时请正视头盔镜片,双手持镜筒中间偏上部位使左右镜筒同时向里或者向外运动。 按照下图所示,以右镜筒为例,镜筒上方刻度与白色竖线符号的相对关系向左或者向右 拨动镜片调节档位 (镜筒刻度与白色竖线对齐:63.5mm,镜筒刻度在白色竖线偏左:58mm, 镜筒刻度在白色竖线偏右:69mm)。 58<-63.5->69(mm) 提示:使用不合适的瞳距档位,可能会引起重影或者眼睛疲劳。...
- Page 10 • 眼镜支架说明 如您存在眼镜摩擦光学镜片或者压迫鼻梁的问题,请按照图示安装眼镜支架以 增加间隔空间。您可根据佩戴的舒适度选择是否安装。 1.摘下贴脸泡棉 2.将眼镜支架按照图示安装在贴脸泡棉上 追踪光环 使用时请勿遮挡 侧按键 HOME 抓取 • • • • 3.将贴脸泡棉按照图示安装在产品上 熄灭: 已连接或者关机 固件升级模式...
- Page 11 • 电池盖 • 注:手柄挂绳按照图示方式安装...
- Page 12 • • • • • • • 如果手柄出现按HOME键和任何按键均无反应或者头盔中虚拟手柄卡死不动的问题, 可插拔电池重新启动手柄。 • •...
- Page 13 请遵循图示,将贴脸泡棉底部卡位卡进头盔的卡槽中。 • • • • • • • 通用 • • •...
- Page 14 • • • • • • • • • • • • • • • • • • • • • •...
- Page 15 • • • • • • • • • • • • • • • • • 含有锂离子聚合物电池,手柄含有干电池。 • •...
- Page 16 • • • •...
- Page 17 解锁更多PicoVR一体机玩法 扫码下载PicoVR助手 https://www.pico-interactive.com/terms/user_terms.html https://www.pico-interactive.com/terms/privacy.html 微信公众号:Pico VR 微博:Pico-VR 抖音:PicoVR 哔哩哔哩:Pico-VR官方 service@picovr.com www.pico-interactive.com 400-6087-666 A7H10...
- Page 18 In The Box VR Headset USER GUIDE For Pico Neo 3 Series Controller User Guide AC Adapter User Guide Glasses Spacer 1.5V AA Battery Controller USB-C 2.0 Data Lanyard Cable...
- Page 19 6 Degrees of Freedom VR Important Health & Safety Notes • This product is designed and intended to be used in an open and safe indoor The device can track your translational and rotational movements in all directions (up/down, left/right, forward/backward, pitch, roll, and yaw). Your movements in area, free of any tripping or slipping hazards.
-
Page 20: Installing Batteries
Quick Guide Power on the Controller Installing Batteries Short press the HOME button for 1 second Press the area marked with an arrow and slide the cover down, until the status indicator flashes blue. then pull the tab to remove the insulating paper. *Note: The 1.5V AA batteries are recommended to use. - Page 21 Power on the VR Headset Wear the VR Headset Long press the POWER button for 2 seconds Rotate the strap down over your head. until the status indicator turns blue. *Note: Nearsighted users can use this product with prescription glasses.
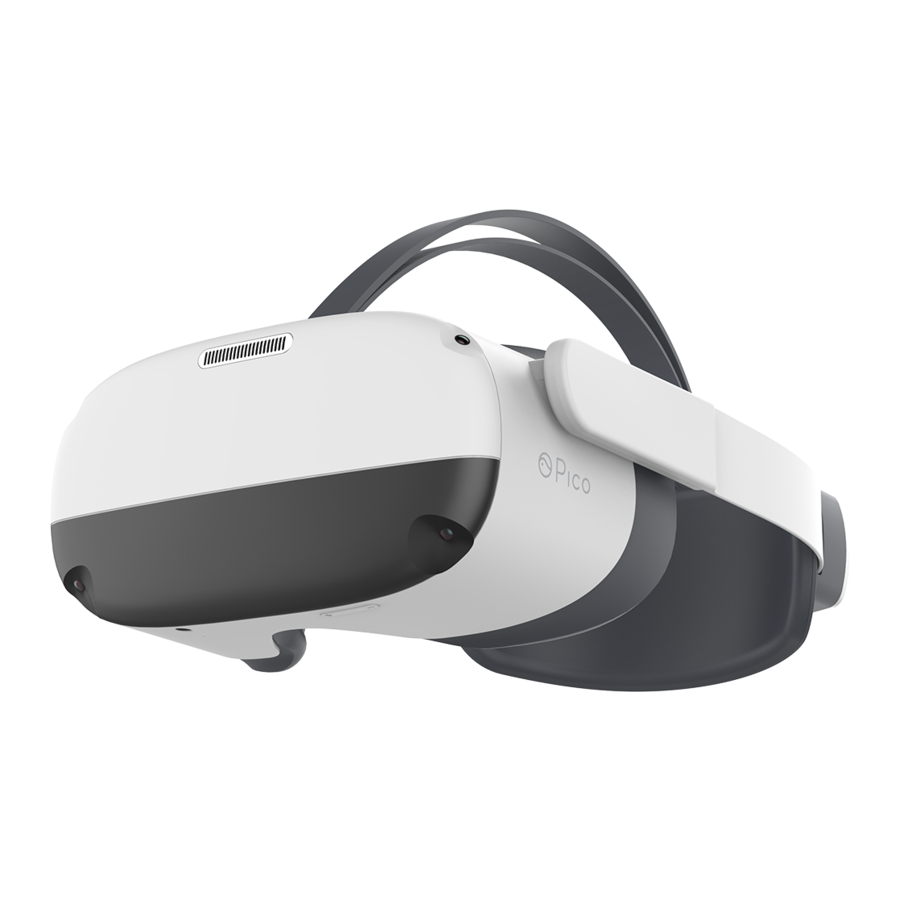
- Page 22 Pico Neo 3 VR Headset Details POWER Button Top Power Cable • Power on: long press for 2 seconds Top Strap Face Cushion Do not fold,punch or pull Removable • Removable for 5 seconds Back Head-pad • Hardware Reset: long...
- Page 23 • Head Control Mode Proximity Sensor If the Controller is not connected, you can interact with the home screen by The system wakes up when VR Headset is put on, moving your head to direct the crosshairs over your intended selection and Right Speaker Left Speaker clicking the HOME, CONFIRM, and BACK buttons on the VR Headset.
- Page 24 • The VR Headset adjustment This device has no myopia adjustment function. The VR Headset allows wearing most standard glasses with a frame width of less than 145mm. 58<-63.5->69(mm)
- Page 25 • Install Glasses Spacer If you have glasses collision with headset lens or pressure on the bridge of nose, please follow the picture to install Glasses Spacer to increase the space. You can install or not according to your situation. 1.Disassemble the Face Cushion.
- Page 26 • Thumbstick operation Four directions are available for page-turning; Pressing down is available. Left Right TRIGGER Button Confirm • Browsing contents Moving and rotating the Controller/VR Headset to navigation, and select the content with the TRIGGER button of the Controller or the CONFIRM button of Battery Cover the VR Headset.
-
Page 27: Product Care
This VR headset features replaceable face cushion and straps. The face cushion troller to switch the pointer of the master Controller. and straps are available to purchase separately. Please contact customer service at service@picovr.com, or a Pico authorized service provider or your • Screen Re-centering Sales Representative. -
Page 28: Safety Warnings
Safety Warnings Headset (except the lens, face cushion), controller and accessories care Please use disinfectant wipes (alcohol-based ingredients allowed) or use a Please read the following warnings and information carefully before using the VR microfiber dry cloth to dip in a small amount of 75% alcohol and gently wipe the surface of the product until the surface is wet and wait at least 5 minutes, then Headset and follow all guidelines on safety and operation. - Page 29 Stop using the headset and/or its accessories if you observe a persistent interference with your medical device. of the product and the relevant regulations of the country where the product is located. For approved accessories, please contact Pico Customer Service...
- Page 30 fire Hearing protection or human injury. The battery can only be replaced by Pico or Pico authorized • Do not use high volume for extended periods of time to prevent possible hear- service providers.
-
Page 31: Product Warranty Terms
Laws and Regulations Devices can be repaired, free of charge, within 12 months of the purchase date. Please contact Pico’s support if you require repair services. This information is for reference only and does not constitute any form of commit- ment. - Page 32 Importer Information: Company Name(EU): Pico Interactive Europe, S.L. Company Address(EU): CarrerdelBruc149,DepotLab,Barcelona,08037–Spain Company Name(NA): Pico Interactive Inc. Company Address(NA): 222 Columbus Ave, Unit 420, San Francisco, CA94133...
- Page 33 Copyright © 2015-2021 Qingdao Pico Technology Co., Ltd. All Rights Reserved.
Need help?
Do you have a question about the Neo 3 Series and is the answer not in the manual?
Questions and answers