Table of Contents
Advertisement
Quick Links
Advertisement
Table of Contents

Related Manuals for PICO NEO 3


Summary of Contents for PICO NEO 3
- Page 1 For any inquires: a.marini@dcvmn.net...
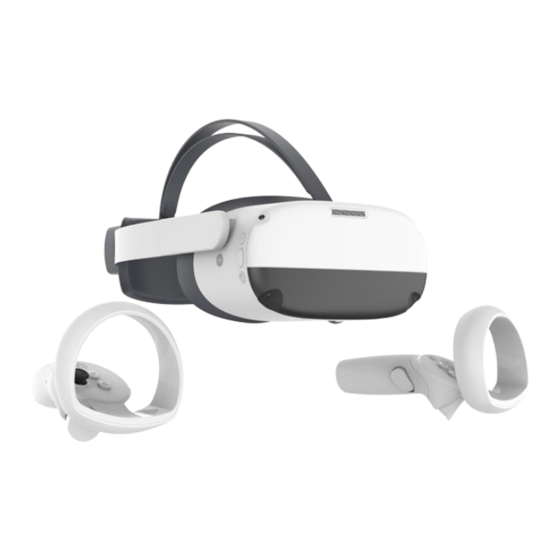
- Page 2 • The Pico button can be pressed to: Return home screen: short press Screen re-centering: long press for 1 second Wake up: short press • The POWER button can be pressed to: Power on: long press for 2 seconds Power off: long press for 5 seconds...
- Page 3 • Screen re-centering - If you find the images have drifted off-center from your view, look straight ahead, press and hold the Pico button of the Controller for more than 1 second to re-center the screen. 1. Power on the VR headset by long pressing the POWER button for 2 seconds until the status indicator turns blue.
- Page 4 1. Click on the Wi-Fi-Symbol in the task bar – black bar at the bottom of the home screen. 2. The headset will automatically search for any Wi-Fi in the area. 3. Choose your Wi-Fi and enter the password. 4. Click on connect. The headset will connect to the chosen Wi-Fi. You are now connected to the chosen Wi-Fi.
- Page 5 Once SideQuest installation is completed, run the application. It should look similar to this: Turn on the Pico Neo 3 Pro headset. Plug the headset in to the computer using the USB-C cable (charging cable). Once this is done, in SideQuest, on the top right, it should now show that you have connected a headset and the circle should appear green: 6.
- Page 6 Once the installation is successful, put on the headset, and navigate to the APP LIBRARY. Select the DCVMN VR Training Module preferred and follow the instructions to commence the training. 1. For other people to see what the VR user is doing you can live-cast on the computer. This can be used during the training process for the trainer to observe and assess the trainee.
Need help?
Do you have a question about the NEO 3 and is the answer not in the manual?
Questions and answers