Advertisement
Quick Links
Advertisement

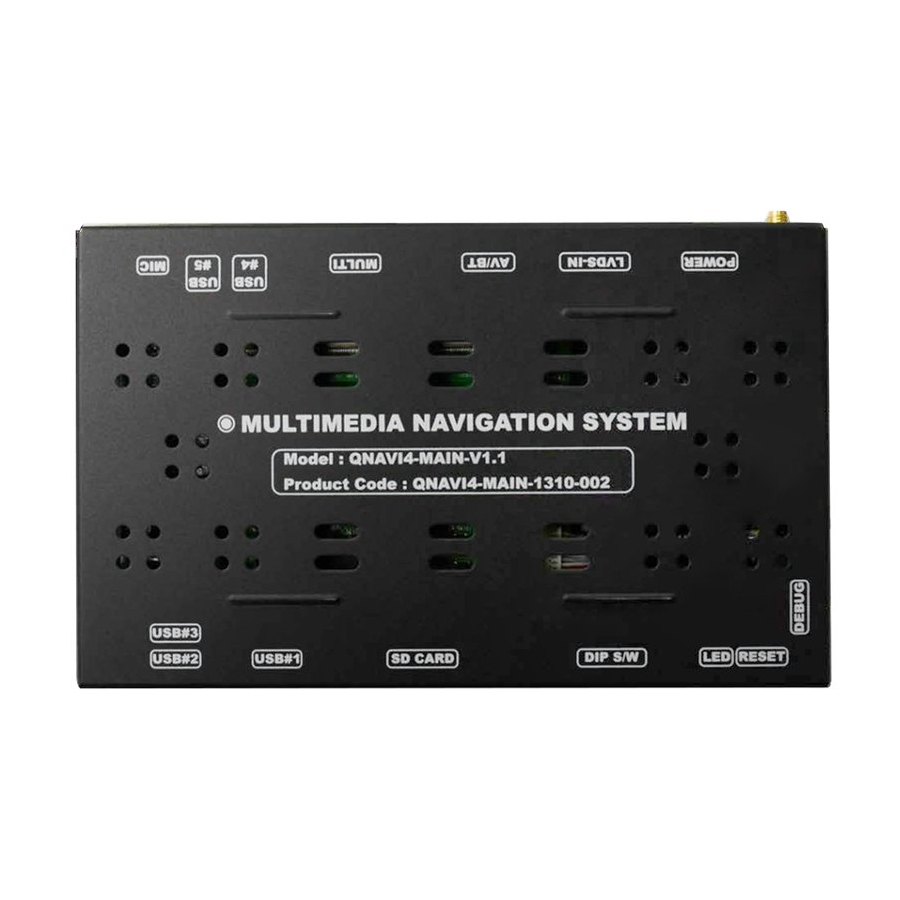
Summary of Contents for Car Solutions QNAVI4-MAIN-V1.1
- Page 1 www.car-solutions.com support@car-solutions.com...
-
Page 2: Warning / Precautions
Warning / Precautions! Do not modify, dismantle or unintended operation this system outside Q-roi After Sales. Damage occurred by unintended operation may Warning cause Q-roi After Sales service void. Always wear seatbelt. When the vehicle is suddenly stop can cause injury. Warning ... -
Page 3: General Spec
1. General Spec Android 4.2.2 (Jelly Bean) Telechips TCC8930 (1GHz Cortex A9 DualCore) Display OEM LCD Internal Memory DDR3 1GB RAM + 8GB eMMC External Memory SDHC Slot Support (up to 64GB) A/V Input x 3, Rear Cam Input x 1, CAN(Controller Area Network) x 2, Function Mic x 1,... -
Page 4: System Diagram
2. System Diagram LCD Display eMMC LVDS Flash USB HUB Transmitter Memory USB Devices - USB memory - Hard Disc - Wifi dongle - BlueTooth dongle - 3G / LTE dongle - Other USB Touch Accessories DDR3 Screen Application Touch Image Scaler Controller Processor... - Page 5 3. Components WIFI dongle * 1ea(Option) (ETCETC0110) Sub-Board * 1ea LCD cable * 1ea (HLVDSC0030) LVDS cable* 1ea (HALVDSC0024) Power cable 16P * 1ea (HPOWER0079) AV/BT Cable * 1ea USB cable * 2ea (HAVCAB0020) (HARETC0027) GPS Antenna * 1ea Multi cable * 1ea (GPSANT0006) (HARETC0068) REAR CAMERA cable * 1ea...
- Page 6 4. OEM Buttons Long Press : Q-ROI Mode Short Press : OEM Mode...
-
Page 7: Cautions Before Installation
5. Cautions before installation Ignition key should be taken off before starting installation, interface power connection must be the last step in installation. Power cable should be separated when connecting interface. Should be no any electronic devices or magnetic pole around installation ... - Page 8 6. Installation 6.1 Factory Menu ※ APPS→FACTORY SETTING ① Put Password and change program upgrade and set-up of external device. (Only Installers are authorized) ※ Please contact the manufacturer to get Password.
- Page 9 6. Installation 6.2 Factory Menu ⑤ ① ④ ② ③ ① CAR MODEL : No use ② DVD TYPE : Only for DVD connected to A/V (Connect IR-AV1 to DVD to use DVD as touch Screen) ③ CMMB SELECT : Select DTV model (Only Chinese) ④...
- Page 10 6. Installation 6.3 Installation Diagram CAN1-H CAN2-H CAN1-L CAN2-L AUX-GND REAR CAM A OUT(L) A OUT(R) POWER TOGGLE POWER cable cable SD-card www.car-solutions.com support@car-solutions.com...
- Page 11 6. Installation 6.4 Plug & Play Power cable ① Pull away a OEM cable ②Connect the OEM cable to the behind the monitor. supplied female power cable. ③ Connect the opposite side of supplied power cable to the port where the OEM cable used to be connected.
- Page 12 6. Installation 6.5 Plug & Play LCD Cable ① Pull away a green color OEM ② Connect OEM LCD cable to a LCD cable marked in red circle. supplied sub-board. ③ Connect a supplied LCD cable to the sub-board and connect brown connector to the port in monitor where the OEM LCD cable was connected.


Need help?
Do you have a question about the QNAVI4-MAIN-V1.1 and is the answer not in the manual?
Questions and answers