Page 1
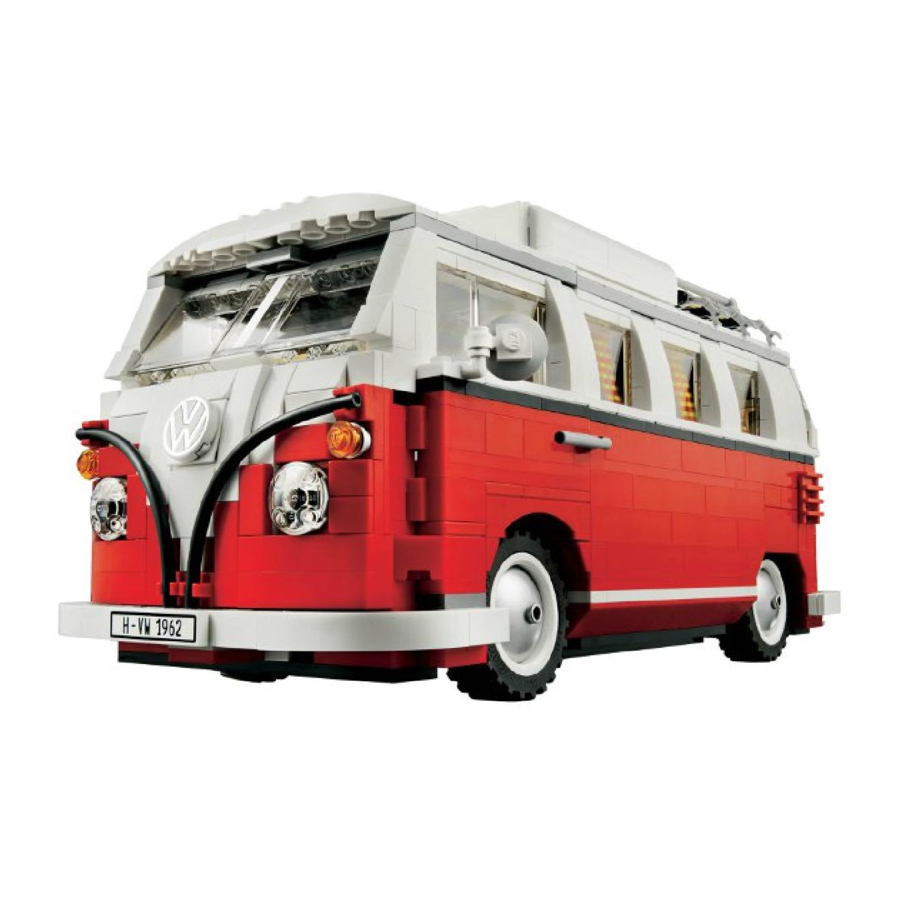
VOLKSWAGEN T1 CAMPER VAN #10220 Basic Version 1 X 12-Port Expansion Board Pocket Content: 1 X Square Button Battery Pack 2 X 30cm Warm White Dot Lights 7 X 30cm White Dot Lights LEGO Pieces Note: Place wires on the surface or under the LEGO building blocks.
Page 2
When installing dot lights, make sure they are correctly placed (Yellow LED package is exposed). You can put they either on the top of the studs or between studs. Connecting cable connectors to Strip Lights Take extra care when inserting connectors to ports on the Strip Lights. Connectors can be inserted only one way.
Page 4
Let's start with the headlights. Instruction for installing this kit Remove the front white front bumper and remove the front part of the headlights. We start the installation from the right side of the lights. Remove the corresponding piece on the right side.
Page 5
Take a 30cm white dot light and fold the light end into 90. Pass the plug end through the gap as shown in the picture. Put the lighting side of the light into the transparent round top and put it back in place.
Page 6
Remove the orange transparent piece and the next red base plate. Take one 30cm white dot light, one gray small round plate. Replace the original gray round plate with a small round plate with holes, and pass the plug end through the small round plate with holes, and the lighting side face up, fixed with orange transparent piece.
Page 7
Insert the plug end through the hole next to the transparent original plate and install the orange transparent piece back. Press the line with the red base plate and install all the parts removed from the front. Now we have completed the installation of the right side headlight.
Page 8
Screw the cables of 2 sides into 1 strand. Pull the left end of the plug through the hole under the front of the vehicle and pull it out from the bottom of the vehicle.
Page 9
Repeat the same operation on the right side, install the head and the white front bumper back, now we have completed the installation of the headlights. Take the 12-seat socket and button battery case, connect the plug, we could see the effect first...
Page 10
Now let's go to the rear of the car and start the installation of the taillights. Take three 30cm white dot light. Remove the tailgate, red transparent light on the left, red base plate and gray pieces on the left.
Page 11
The corresponding pieces are also removed on the right side. Separate the red piece from the gray base plate, take one dot light, place the lighting face up on the stud gap, and wrap the line to the right as shown below.
Page 12
Fix it with transparent part. Pass the plug end from the rear of the vehicle to the bottom of the vehicle and pull it out from the bottom of the vehicle (for easy operation, it can be assisted by tweezers). Install the red transparent light and gray pieces and hide the cables with gray pieces.
Page 13
Repeat the above operation for the second dot light and install the right side light. Install back the red base plate, now we have finished the installation of taillights on both sides.
Page 14
Now let's install the license plate light. Remove the middle piece in the picture below, take the third dot light, and insert the light end into the gap and fold it into 90°. Reconnect the pieces and press the cable between the studs to fix the dot light (also can be fixed with adhesive square).
Page 15
Install the rear door, now we have completed the installation of the taillights. You can connect to the power supply and see the effect!
Page 16
Now we are starting to install the interior lights. Take two 30cm warm white dot light 2*2 transparent round plates. ,one Remove the roof and the transparent plate on the top and take one of the warm white dot lights as shown blew.
Page 17
Pass the plug end from the side of the rear part into the bottom of the vehicle. Install the roof, remove the roof of the front, take another warm white dot light and transparent plate.
Page 18
Thread the plug end from the back of the seat into the bottom of the vehicle. Installed back the roof, now we have completed the installation of interior lights.
Page 19
Now collect the cables at the bottom of the car and remove the black base plate on the side of the car. Screw the same side cable into 1 strand, follow the stud gap, press under the base plate.
Page 20
Repeat the process on the other side to hide the cable under the base plate.
Page 21
Take 2 pieces of adhesive square on the two ends of the 12-port expansion board, wrap around the board according to the slack of the cable, and stick the board to the bottom of the car (where you think it is appropriate). Connect the battery pack to the 12-port expansion board and stick the battery pack to the bottom of the vehicle.
Need help?
Do you have a question about the T1 CAMPER VAN and is the answer not in the manual?
Questions and answers