Table of Contents
Advertisement
Quick Links
Advertisement
Table of Contents

Related Manuals for Mastech MS8269


Summary of Contents for Mastech MS8269
- Page 1 CAT II CAT III...
-
Page 2: Table Of Contents
Content Content 1. Overview 4.2.1 DC voltage 1.1 Safety Information 4.2.2 AC voltage 1.1.1 Safety instructions 4.2.3 Transistor 1.1.2 Safe operation habits 4.2.4 Resistor 1.1.3 Safety symbols 4.2.5 Diode 1.1.4 Safe maintenance habits 4.2.6 Continuity 1.2 Input protecting measures 4.2.7 Capacitance 2. -
Page 3: Overview
1. Overview • The input value should never exceed the threshold input value The multimeter is a small, safe and reliable 3 digit handheld auto defined by the range, otherwise the meter can be damaged. • When the meter is connected to the circuit to be measured, please ranging multimeter. -
Page 4: Safety Symbols
readings, which might result in electrical shock or physical hurting . the danger of electrical shock are permitted to perform the following • When conducting voltage measurements of category II, the voltage operations: meter calibration, maintenance, and service, etc.. should never exceed 1000V; When conducting voltage measurements •... -
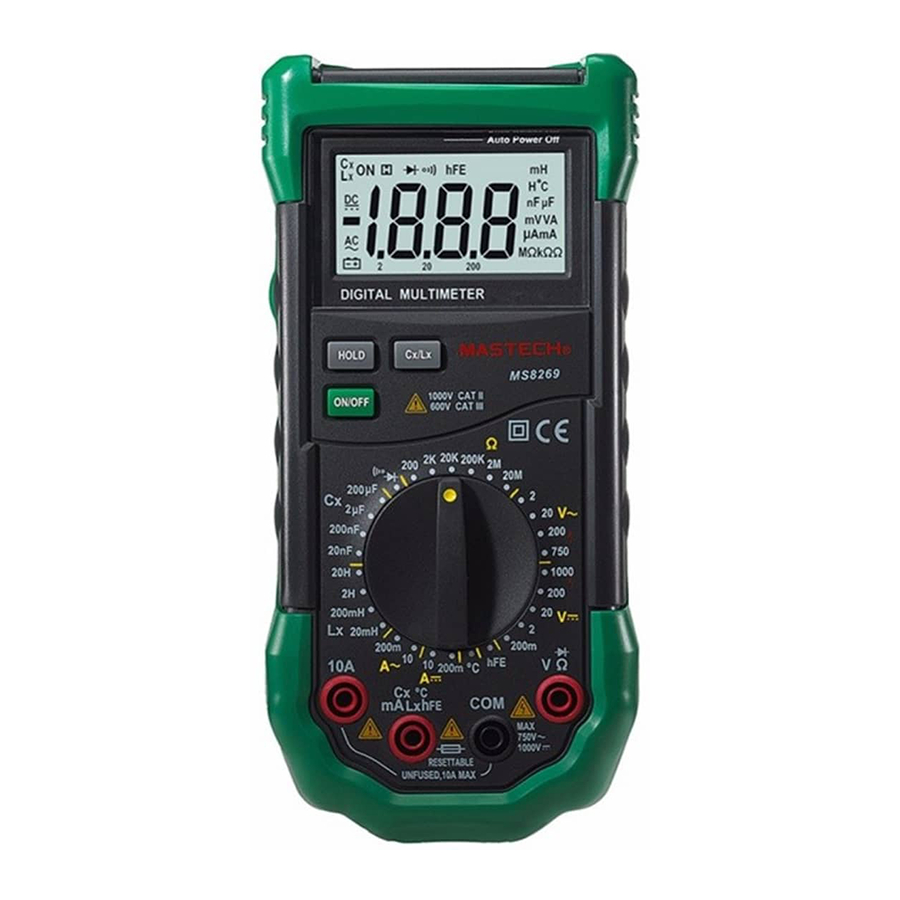
Page 5: Descriptions Of Meter Exterior
2. Descriptions of meter exterior 2.2 LCD Please refer to Table 1 for information related with the display 2.1 Exterior of the meter Fig. 1 Display Table 1 Displayed symbols Symbol Meaning Battery level is low In order to avoid electric shock or physical hurting due to wrong readings, please replace the battery as soon as possible when the low-voltage symbol for the battery appears. -
Page 6: Function Keys
Table 1 Displayed symbols (Continued) Positive input terminal for measuring current (mA), Ω: Ohm. Unit of resistance. capacitance, inductance, temperature, and hFE of Cx C KΩ: Kilo Ohm. 1x10 or 1000 Ohm. transistors (to be connected to the red measuring tip Ω,kΩ,MΩ... -
Page 7: Measuring Resistance
The ranges for DC voltage of this meter are: 200.0mV, 2.000V, from occurring, do not use the range of 40MΩ when conducting 20.00V, 200.0V, and 1000V; measurements on a resistor connected to a circuit . The ranges for AC voltage are:2.000V, 20.00V, 200.0V, and 750V. When the range is set at 20MΩ... -
Page 8: Measuring Capacitance
To conduct ON/OFF tests: 3.2.6 Transistor measurement 1. Set the rotary switch at position. WARNING 2. Connect the black measuring tip and the red measuring tip to the Do not apply a voltage higher than DC 250V or AC (effective COM input socket and the Ω... -
Page 9: Measuring Temperature
3.2.8 Transistor measurement The ranges for DC current of this meter are 200.0mA and 10.00A; The ranges for AC current of this meter are 200.0mA and 10.00A. WARNING Measuring current: Do not apply a voltage higher than DC 250V or AC(effective 1. -
Page 10: Precision Parameters
Display: 3 ½ bit LCD. Unit will be automatically displayed according Input impedance : 10MΩ to the selected measuring function. Max. input voltage: DC 1000V or AC 750V(effective value), for the out of range indication: LCD will output “1” range of 200mV: DC 250V or AC(effective value). Low voltage indication for the battery: when the battery voltage Frequency response: 40Hz - 400Hz(40-200Hz for the range of 750V), is lower than the normal operation voltage,“... -
Page 11: Capacitance
4.2.6 Humming ON/OFF 4.2.10 DC Current Range Resolution Accuracy Funct Description Test condition 200mA 0.1mA ±(1.5% of reading +1 graduation) If measured resistance Open circuit voltage: 10mA ±(2.0% of reading +5 graduation) is less than 70Ω, buzzer will sound 500mV Overload protection: self-recovery fuse (F500mA/250V);... -
Page 12: Routine Maintenance
5.1 Routine maintenance WARNING In order to avoid electric shock or damaging the meter, please do not wet the interior of the meter, Always disconnect the test tips from the input signal before remove the shell or the battery cover. Use a damp mop and a small amount of detergent to clean the shell of the meter periodically.
Need help?
Do you have a question about the MS8269 and is the answer not in the manual?
Questions and answers