
Related Manuals for Kellfri 35-VKMATV120H


Summary of Contents for Kellfri 35-VKMATV120H
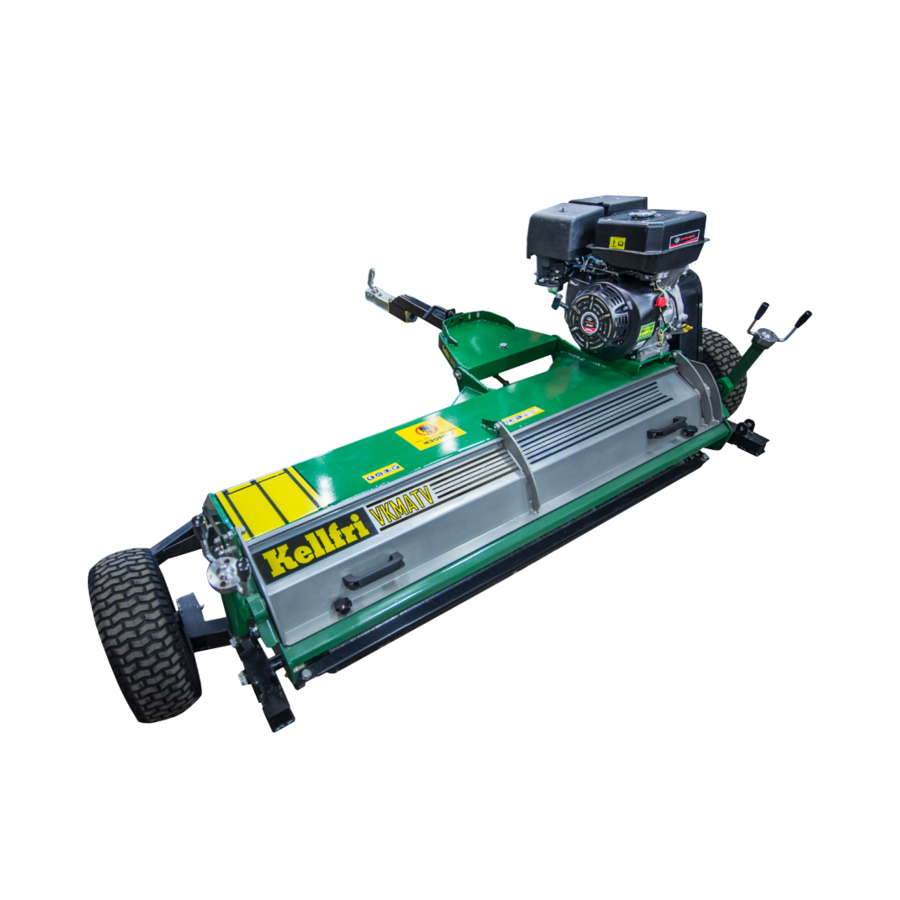
- Page 1 35-VKMATV120H 35-VKMATV150H 35-VKMATV150H2 FLAIL MOWER ATV WITH FLAP Carefully read the operating instructions before using the product! Operating instructions translated from Swedish...
-
Page 2: Table Of Contents
Deviation form Warranty terms and conditions Kellfri designs and supplies efficient, affordable machinery and components for forestry, agriculture, construction and gardening in Sweden, the rest of the Nordic region and Europe. We recommend that you always read and follow the safety instructions and the instructions in the machine's operating manual. -
Page 3: Introduction
INTRODUCTION Thank you for choosing a product from Kellfri AB. Compliance with the safety instructions, operating manual and sound common sense will guarantee many years of enjoyment using the product. Kellfri's equipment and products are aimed at self-employed farmers, horse enthusiasts and other country-dwellers who have stringent performance demands. -
Page 4: Safety Instructions
Unauthorised modifications and/or accessories may cause life-threatening injuries or death to users and others. Kellfri is not liable for any modifications, changes or rebuilds carried out by customers. Where the machine is used professionally, employers are responsible for ensuring that users of the machine have theoretical and practical knowledge of the machine and that work is performed in a safe manner. -
Page 5: Surroundings
SURROUNDINGS Check that the work area is free from bystanders and objects before hitching or using the equipment. Otherwise, there is a risk of serious injury. Be extra careful if there are children in the vicinity of the area where the equipment or product is used or stored. Check that there are no low-hanging electrical cables within the work area. -
Page 6: Use
Only those who understand the safety instructions and the operating manual may use the equipment or product. Exercise caution and care when working with the equipment or product and only use them in the way described in the instruction manual. There is a risk of crushing when working with equipment that has moving parts. -
Page 7: Maintenance And Service
Do not use your hands to locate leaks. Use a piece of paper or cardboard to look for leaks. Kellfri AB has a policy of continuous product development and therefore reserves the right to make modifications, e.g. to the design and appearance of the product, without prior notice. -
Page 8: Motorised Machines
MOTORISED MACHINES Important to bear in mind when using motorised machines: • Fumes contain toxic substances, so never use the machine in poorly ventilated spaces. Do not run the engine in an enclosed space, as the exhaust fumes contain carbon monoxide, which is lethal if inhaled. -
Page 9: Refilling With Engine Oil
REFILLING WITH ENGINE OIL Refilling/measuring stick max. level CAUTION! min. level This machine is delivered without oil! Fill up the tank BEFORE USE! Refill with engine oil 15W-40, 1 L IMPORTANT! Check and lubricate Check the level by withdrawing the measuring stick. The oil level should be between min. and all grease points before use! max. -
Page 10: Machines/Tools Connected To Hydraulics
MACHINERY/EQUIPMENT CONNECTED TO HYDRAULICS Be careful when you connect your machine or equipment to a hydraulic hose. DANGER! Pressurised oil and fuel leaks can penetrate skin and cause serious injuries. Do not use your hands to locate leaks. Use a piece of paper or cardboard to search for leaks. •... -
Page 11: Chemicals
We recommend degreasing to achieve thorough cleaning and to remove all residues of old lubricant, which may contain destructive particles. The degreasing agent we supply at Kellfri is OKQ8, in a 20-litre can. Table of Contents... -
Page 12: Risks And Hazards Associated With The Use Of Garden Machinery
RISKS AND HAZARDS ASSOCIATED WITH THE USE OF GARDEN MACHINERY Risk of crushing Observers can be injured when the machine is lowered in the cutting position. Pasture toppers have crushing points around the hinge areas and between the three-point attachment and the main body. Respect the risk zone of 15 m! Rotating blades WARNING! Any person can risk injury by putting their hands or feet under the machine when it is lifted... - Page 13 Drive safely on public roads • Always follow traffic safety rules on public roads, and following the regulations applying to driving a tractor with towed equipment on a public road. • Check that reflectors, warning signals and/or warning flags indicating protruding equipment are fitted to the machine or tractor.
-
Page 14: Warning Labels
WARNING LABELS Make sure warning labels are always visible and clean them when necessary. Do not use a high-pressure washer directly on the warning label. If a part with a label is replaced, or the label becomes worn or in any other way unusable, order a new set of labels. SYMBOL EXPLANATION Read the operating manual! Before carrying out work. -
Page 15: Before Use Of Flail Mower
BEFORE USING A FLAIL MOWER Read the towing vehicle's instruction book before connecting equipment. • Check the cog belt's tension, and adjust when necessary. • Check that the flails are not defective, and replace if necessary, • Ensure that all nuts, bolts and installations are securely mounted, that all packing/ transport material such as tape, steel bands, rope etc. -
Page 16: Starting The Engine
STARTING THE ENGINE Read and understand the engine's operating manual before using the machine. Observe all safety regulations: Keep hands and feet away from blades and other moving parts. Ensure that bystanders are at a safe distance from the machine. Ensure that there is space between the blades and the ground/grass. -
Page 17: Adjustment Of Cutting Height
ADJUSTMENT OF CUTTING HEIGHT The cutting height can be adjusted at three (3) places: the tow bar, the support roller and the wheels. To raise or lower the cutting unit, adjust the following: raise or lower the wheels, raise or lower the tow bar and roller or the tow bar and wheels. -
Page 18: Transport Mode
STEP 3 Combining tow bar and wheels: Raise or lower the tow bar exactly as described in the previous step. (Turn the turnbuckle in or out to shorten or lengthen the tow bar.) Raise the wheels by turning the levers on both sides of the machine. Check that both wheels are at the same height. -
Page 19: Support Roller And Side Skids
SUPPORT ROLLER AND SIDE SKIDS The main purpose of the support roller and the side skids is to prevent damage. If one of the wheels runs down in one direction, or if there is uneven ground between the wheels, the roller takes the weight of the mower and thus prevents the blades from touching the ground. -
Page 20: Inspection Of Belts
INSPECTION OF COG BELT A first inspection and retensioning must be performed after one hour's operation, to ensure that the cog belt is correctly tensioned. Check the cog belt regularly and tighten when necessary. Belt tensioning: the belt should move 20 mm (10 mm on each side) under pressure. ADJUSTMENT BOLT NOTE: When lubricating wheel bearings: take care not to pump in too much lubricant. -
Page 21: Service And Interval
Never use worn, cracked or repaired shackles when replacing blades. Replace with new ones. For repairs in addition to the previously listed adjustments, contact your local dealer. SERVICE INTERVAL MEASURE Flails Before each use Replace all defective flails. Sharp blades give better results. When replacing blades, tighten bolts fully. -
Page 22: Grease Points
GREASE POINTS Grease nipple. NOTE: Left and right sides of the roller. Lubricate the indicated grease nipples regularly, and every time you rinse off the machine, to remove the water that has penetrated into the bearings during the rinsing. Inadequate lubrication can result in unnecessary wear and mechanical damage. -
Page 23: Choke - Idling
CHOKE - IDLING Choke Lever to left - choke OFF. Lever to right - choke ON. Idle. Adjustment screw. Table of Contents... -
Page 24: Exploded Diagrams And Materials List
Table of Contents... - Page 25 DESIGNATION QUAN- DESIGNATION QUAN- DESIGNATION QUAN- TITY TITY TITY Guard Hex key M5x20 Screw with recessed head Engine 15 hp Support bracket M8x25 tyre Coupling Grease nipple Protective casing M8-1 Bearing housing Inner tube Cotter pin 5x28 Blade roller Wheel 8 Flat washer Sleeve suspension...
- Page 26 ITEM NO. DESIGNATION QUANTITY Wheel suspension - right Tyre, 16 x 6 5-8 Bearing 6205 Washer 12 Spring washer 12 End cover Bolt M12x30 Table of Contents...
- Page 27 ITEM NO. DESIGNATION QUANTITY Protective guard Spring Adjustment handle Elastic cylindrical pin 3x22 Bushing Tow bar attachment Axle tube for tow bar Trailer casing 12 Washer Bolt M12x65 Locking nut M12 Washer 16 Bolt M16x85 Locking nut M16 Control handle 11x55 Table of Contents...
- Page 28 ITEM NO. DESIGNATION QUANTITY Outer tube Bearing 6002 Threaded rod Bearing 51102 Adjustment handle Washer 6 Spring washer 6 Screw with hexagonal sleeve M6x25 Washer 12 Inner serrated locking washer 12 Hex key M12x20 Pin M12x1.5 Handle sleeve M10x32 Inner tube Table of Contents...
-
Page 29: Notes
NOTES: Table of Contents... - Page 30 NOTES: Table of Contents...
-
Page 31: Deviation Form
DEVIATION FORM We are grateful for your help in pointing out any defects in the product supplied to you by Kellfri. Before making a claim, read Kellfri's general purchase terms and conditions in our catalogue or on our website www.kellfri.co.uk, and in the operating manual if supplied. -
Page 32: Warranty Terms And Conditions
You are always welcome to give feedback or ask us about our equipment and products. Kellfri AB has a policy of continuous product development and therefore reserves the right to make modifications, e.g. to the design and appearance of the product, without prior notice.
Need help?
Do you have a question about the 35-VKMATV120H and is the answer not in the manual?
Questions and answers