
Related Manuals for Vents 100


Summary of Contents for Vents 100
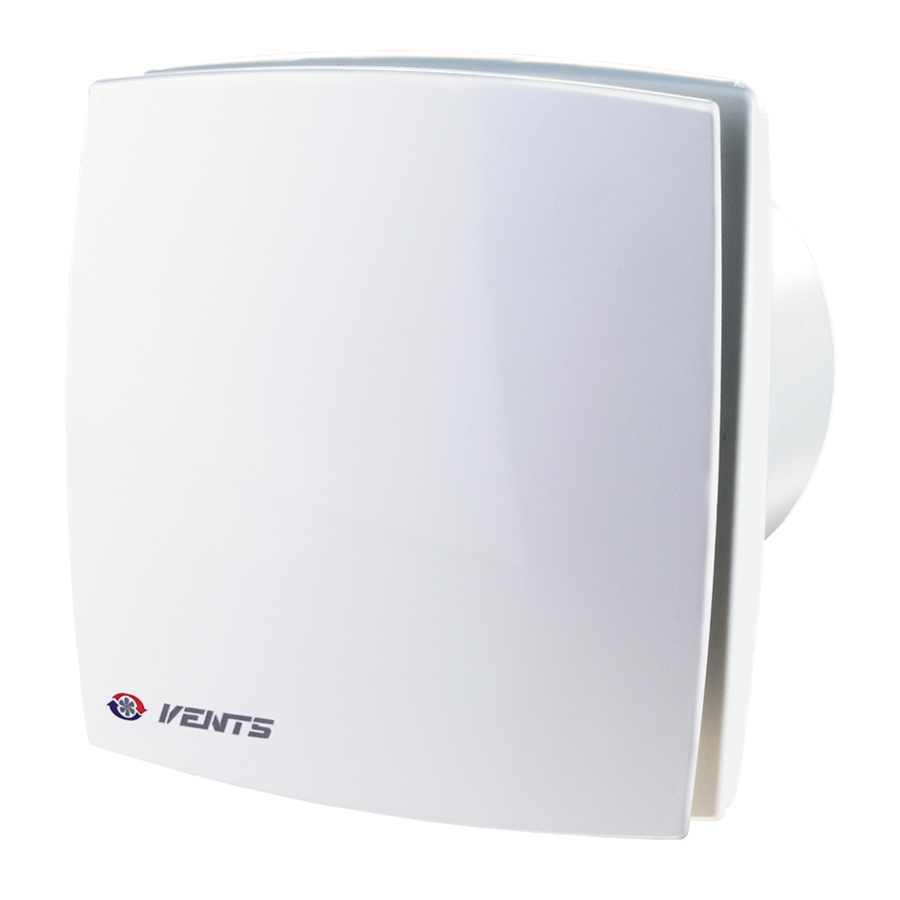
- Page 1 Wall-Through Ventilation Fan User’s manual Manuel d'utilisation Manual de usuario www.vents-us.com...
- Page 2 READ CAREFULLY AND SAVE THESE INSTRUCTIONS. WARNING! READ CAREFULLY AND SAVE THESE INSTRUCTIONS TO REDUCE THE RISK OF FIRE, ELECTRIC SHOCK AND PERSONAL INJURY. 1. Use the product only in the manner intended by the manufacturer. If you have questions, contact the manufacturer. 2.
-
Page 3: Maintenance
UNDERSTANDING MODEL NUMBER The three digit number in all model names indicates the following: 100 (100 mm) means it is used with 4” air duct 125 (125 mm) means it is used with 5” air duct 150 (150 mm) means it is used with 6” air duct... -
Page 4: Warranty
The product meets standard operating requirements in the North America. VENTS US warrants to the original purchaser of the product that it will be free from defects in materials or workmanship for a period of 24 months from the date of original purchase. - Page 5 LIRE ATTENTIVEMENT ET GARDER CETTE NOTICE ATTENTION! LIRE ATTENTIVEMENT CETTE NOTICE AFIN D'EVITER L'INCENDIE, DECHARGE ELECTRIQUE ET SINISTRES CORPORESLS 1. N'utilisez le produit que par sa vocation, précisée par le fabricant. Si vous avez des questions contactez le fabricant. 2. Consigner l'énergie électrique avant de passer à toute opération d'entretien ou de nettoyage. Bloquer le coffret électrique afin d'éviter la mise en charge accidentelle.
-
Page 6: Montage
Interprtation du numéro du modèle. Le nombre de trois chiffres dans les noms de tous les modèles signifie ce qui suit : 100 (100 mm) signifie la compatibilité avec des gaines d'air de 4” 125 (125 mm) signifie la compatibilité avec des gaines d'air de 5”;... -
Page 7: Garantie
DE L'ETAT COMMERCIAL ET DE BON ETAT DE FONCTIONNEMENT NE SONT PAS PREVUES. Pendant la période indiquée de garantie VENTS US, à son gré, s'engage à réparer ou remplacer tout produit ou ses pièces en cas de détection des défauts. La présente garantie ne couvre pas (a) l'entretien et l'exploitation soit (b) du produit ou d'une pièce endommagé... - Page 8 LEER Y GUARDAR ESTE MANUAL ¡ADVERTENCIA! PARA REDUCIR EL RIESGO DE INDENDIO, CHOQUE ELECTRICO, U OTROS TIPOS DE DAÑO A LAS PERSONAS, RESPETAR LAS SIGUIENTES RELGLAS. 1. Utilizar el producto solamente para el uso previsto especificado por el fabricante. En caso de cualquier pregunta, dirigirse al fabricante.
-
Page 9: Montaje
EXPLICACIÓN DE LOS NÚMEROS DE MODELO El número de tres dígitos en todos los nombres de modelo indica lo siguiente: 100 (100 mm) significa la compatibilidad con conductos de aire de 4”; 125 (125 mm) significa la compatibilidad con conductos de aire de 5”;... - Page 10 IMPLÍCITAS DE COMERCIALIZACIÓN O IDONEIDAD PARA UN PROPÓSITO PARTICULAR. Durante el período de garantía , VENTS US, a su elección, reparará o reemplazará, sin costo alguno cualquier producto o pieza que se encuentre defectuosa bajo uso y servicio normal. Esta garantía no cubre (a) mantenimiento y servicio normales o (b) cualquier producto o piezas que hayan sido objeto de mal uso, negligencia, accidente, mantenimiento o reparación inadecuada...
- Page 11 Typical installation Inner wall Outer wall...
- Page 12 20" shown in the Figure. 100 Kit - DIA (5") 125 Kit - DIA (6") 150 Kit - DIA (7") Install the air duct with the minimum slope 3°...
- Page 13 Installation of MA series wall-through ventilation fan Remove the front panel cover to Route all the required cables. Use the back part of the front panel to mark the four screw enable access to the fastening holes. Drill the holes. If the fan is equipped with a holes.
- Page 14 Installation of series wall-through ventilation fan Use the back part of the front Route all the required cables. Remove the front panel cover to panel to mark the 4 screw enable access to the fastening holes.Drill the holes. If the fan is equipped with a holes.
- Page 15 Installation of outer hood Use the back part of the hood to mark the four Disassemble the ventilation hood to ensure access to screw holes. Drill the holes. the fastening holes. Disconnect and remove the front part of the ventilation hood. Fix the back part of the ventilation hood to the wall Insert the expansion anchors in the holes using the supplied screws.
- Page 16 Electrical Connection of MA series wall-through ventilation fan HOUSE JUNCTION BOX GREEN GROUND AUTOMATIC SCREW SWITCH 120VAC, 60Hz POWER SOURCE EARTH GROUND STANDARD WALL SOCKET...
- Page 17 Electrical Connection of LD series wall-through ventilation fan HOUSE JUNCTION BOX GREEN GROUND AUTOMATIC SCREW SWITCH 120VAC, 60Hz POWER SOURCE EARTH GROUND STANDARD WALL SOCKET...
- Page 18 Electrical connection MA series standard wall switch TO QF HOUSE JUNCTION BOX GROUND SCREW GREEN GROUND AUTOMATIC SCREW SWITCH TO S 120VAC, 60Hz POWER SOURCE GREEN GROUND WIRE JUNCTION GROUND STANDARD WALL SWITCH TO FAN ~120V 60Hz...
- Page 19 Electrical connection LD series standard wall switch TO QF HOUSE JUNCTION BOX GROUND SCREW GREEN GROUND AUTOMATIC SCREW SWITCH TO S 120VAC, 60Hz POWER SOURCE GREEN GROUND WIRE JUNCTION GROUND STANDARD WALL SWITCH TO FAN ~120V 60Hz...
- Page 20 (nombre de empresa, timbro o sello) Date of sale The fan has been duly certified as serviceable. Date de la vente Le ventilateur a été certifié comme utilisable. Fecha de venta Este ventilador está certificado para el uso normal. V-US141EN-02 www.vents-us.com...
Need help?
Do you have a question about the 100 and is the answer not in the manual?
Questions and answers