Table of Contents
Advertisement
Quick Links
How to connect your Accuenergy AcuREV20XX meter to Wattics
This post illustrates how to enable the automated transmission of meter readings from your
Accuenergy AcuREV20XX meters to the Wattics Energy Analytics Dashboard in nine easy steps.
Accuenergy AcuREV20XX meters allow for automated data transmission via HTTP Post,
meaning that once the meter is given internet access it can be configured to send data to Wattics
without the need of additional hardware requirements such as a gateway device. The set up to
configure the meter to automatically push data to Wattics is extremely easy and can be carried
out in a few minutes following this step-by-step guide.
STEP 1: Request a Meter ID from Wattics
Each meter you wish to connect to Wattics requires a Meter ID as unique identifier. Unless your
meter has been pre-configured already with a unique Meter ID, you must request a new Meter ID
from Wattics via the
Wattics Meter ID Request
Form. One of our agents will be in touch shortly with
your new Meter ID needed to configure your meter.
Wattics Ltd | wattics.com | support@wattics.com | 1
Advertisement
Table of Contents

Related Manuals for AccuEnergy AcuREV20 Series


Summary of Contents for AccuEnergy AcuREV20 Series
- Page 1 How to connect your Accuenergy AcuREV20XX meter to Wattics This post illustrates how to enable the automated transmission of meter readings from your Accuenergy AcuREV20XX meters to the Wattics Energy Analytics Dashboard in nine easy steps. Accuenergy AcuREV20XX meters allow for automated data transmission via HTTP Post, meaning that once the meter is given internet access it can be configured to send data to Wattics...
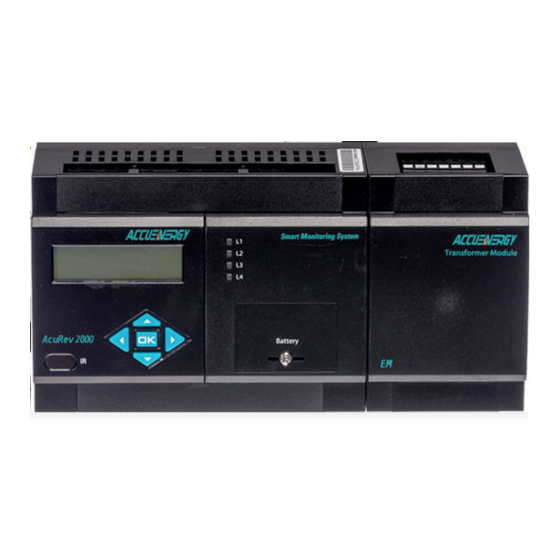
- Page 2 How to connect your Accuenergy AcuREV20XX meter to Wattics STEP 2: Install your meter If not done yet, install your meter using the AcuREV20XX user manual. STEP 3: Provide network access to your meter Connect your AcuREV20XX meter to your Ethernet LAN with a cat5 cable.
- Page 3 How to connect your Accuenergy AcuREV20XX meter to Wattics STEP 5: Retrieve your meter IP address The meter IP address can be retrieved via the meter display menu: Select NET at the main screen and press OK. Enter the meter password (default is 0000) and press OK.
- Page 4 How to connect your Accuenergy AcuREV20XX meter to Wattics Click on the ‘Settings’ menu tab and submit the password (default password is ‘12345678’). STEP 7: Configure the network parameters After the password has been entered, a ‘Network Parameter Configuration’ page is displayed.
- Page 5 How to connect your Accuenergy AcuREV20XX meter to Wattics Select Manual or Auto Setting to enable Internet access on your meter. You will need to get network parameters from your IT department if IP Address, Subnet Mask and Gateway IP address must be registered with your IT department for Internet access.
- Page 6 How to connect your Accuenergy AcuREV20XX meter to Wattics Submit. STEP 8: Configure the Http Push functionality Hover over the ‘Settings’ tab and select the ‘Http Push’ option from the list. Configure your meter to automatically send data to Wattics cloud platform as follows: On the Http Push webpage, tick the ‘HTTP POST Enable’...
- Page 7 How to connect your Accuenergy AcuREV20XX meter to Wattics Click on ‘Submit’ to complete the configuration. Reboot your meter (power down and up again), your meter is now configured to upload new data readings to the Wattics platform every five minutes.
- Page 8 How to connect your Accuenergy AcuREV20XX meter to Wattics Please contact us at support@wattics.com if you have any difficulty with configuring your system. Wattics Ltd | wattics.com | support@wattics.com | 8...
Need help?
Do you have a question about the AcuREV20 Series and is the answer not in the manual?
Questions and answers