Advertisement
Quick Links
HermanMiller
Motia
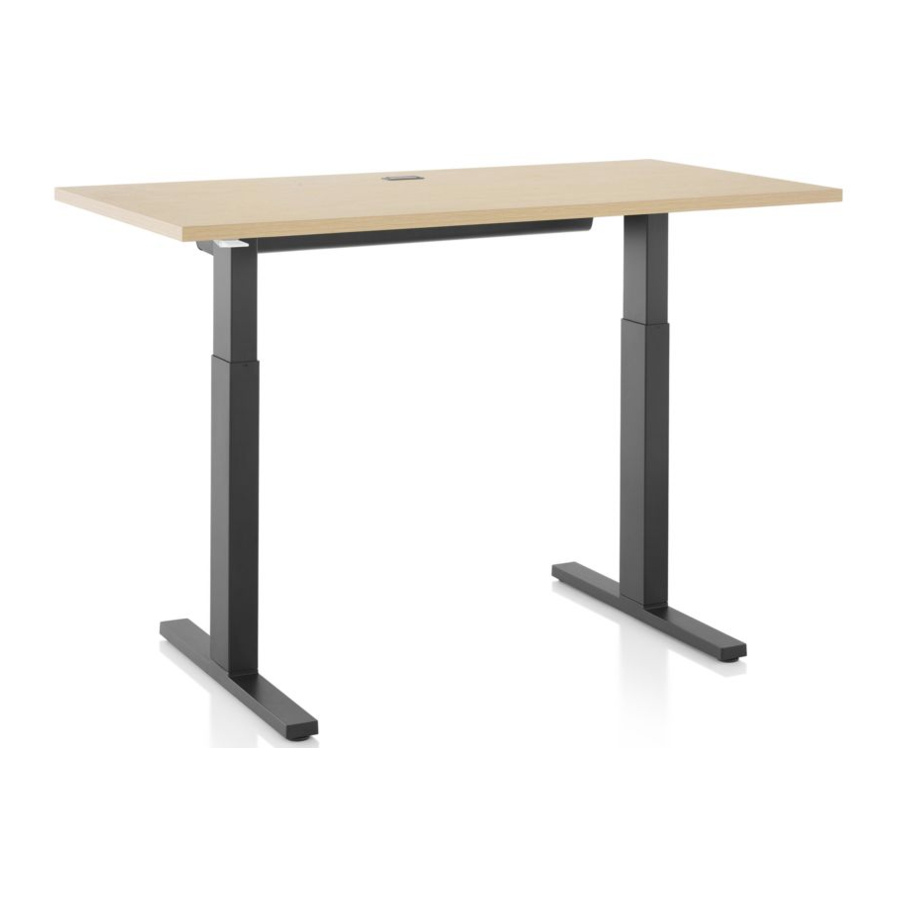
Sit-to-Stand Table
TM
Installation
How to assemble your table.
Tools Required
Power Driver
Phillips Bit
Torque Wrench
IMPORTANT SAFETY INSTRUCTIONS
When using an electrical furnishing, basic precautions should always be followed,
including the following:
Read all instructions before using this furnishing.
DANGER
- To reduce the risk of electric shock always unplug this furnishing from
the electrical outlet before cleaning.
WARNING
- To reduce the risk of burns, fire, electric shock, or injury to persons:
Close supervision is necessary when this furnishing is used by, or near children,
invalids, or disabled persons.
Sitting or standing on product may cause risk of personal injury (use for chairs,
tables consider obvious misuse of product).
Use this furnishing only for its intended use as described in these instructions.
Do not use attachments not recommended by the manufacturer.
Never operate this furnishing if it has a damaged cord or plug, if it is not working
properly, if it has been dropped or damaged, or dropped into water. Return the
furnishing to a service center for examination and repair.
Failure to fully tighten screws (bolts) may cause injury by causing Motia tables to
collapse. Tighten screws (bolts) until they stop plus a quarter turn.
Periodically check to make sure legs are properly aligned. Failure to do so may
cause risk of personal injury.
HermanMiller for Motia
Table
TM
5 mm Hex bit
8 mm Hex bit
Parts Included
Worksurface
Corner Worksurface
C Foot
T Foot
Stiffener
Rectangle
Control Box
Cap Screw
Socket Screw
If using power drive set on low torque.
Keep the cord away from heated surfaces.
Never drop or insert any object into any opening.
Do not use outdoors.
Do not operate where aerosol (spray) products are being used or where
oxygen is being administered.
This furnishing is intended for commercial use
control box rating: 5.0A, 120V
Duty cycle: 2 min on, 18 min off
WARNING
- Risk of Electric Shock – Connect this furnishing to a properly
grounded outlet only. See Grounding Instructions.
For loading always put heavier items in the center and distribute the load.
Risk of Injury - Maximum Load 250 lbs (113 kg).
GROUNDING INSTRUCTIONS
This product must be grounded. If it should malfunction or breakdown,
grounding provides a path of least resistance for electric current to reduce
the risk of electric shock. This product is equipped with a cord having an
equipment-grounding conductor and a grounding plug. The plug must be
plugged into an appropriate outlet that is properly installed and grounded in
accordance with all local codes and ordinances.
1
1BGGNR rev K
Top Mounting
Plate
Glide
Corner Foot
Corner Adapter
Corner
Control Box
Tapping Screw
Cable Holder
Assembly Instructions
Corner
Mounting
Plate
Leg
Switch
Power Cord
Advertisement

Subscribe to Our Youtube Channel
Related Manuals for HermanMiller Motia Sit-to-Stand Table


Summary of Contents for HermanMiller Motia Sit-to-Stand Table
- Page 1 Periodically check to make sure legs are properly aligned. Failure to do so may plugged into an appropriate outlet that is properly installed and grounded in cause risk of personal injury. accordance with all local codes and ordinances. HermanMiller for Motia Table 1BGGNR rev K Assembly Instructions...
-
Page 2: Instructions Importantes Concernant La Sécurité
Ce produit doit être mis à la terre. En cas de dysfonctionnement ou de panne, la mise à la terre offre un chemin de moindre résistance pour le courant électrique afin de réduire le risque d’électrocution. Ce produit HermanMiller for Motia Table 1BGGNR rev K... - Page 3 3.3 Do the same for other leg. Note: If worksurface other than Herman Miller’s is being installed. Center legs front to back. Distance between legs to be determined by length of stiffener. HermanMiller for Motia Table 1BGGNR rev K Assembly Instructions...
- Page 4 Note: Switch can be installed either right or left side of table. Switch will be on opposite side from control box. Cables will be fastened to surface in step 10. If extension cables are needed, please order service part U1BP0JY. HermanMiller for Motia Table 1BGGNR rev K Assembly Instructions...
- Page 5 12.4 When torque wrench is available, tighten fasteners to 20 Ft-Lbs. If you do not have access to a torque wrench, then tighten fasteners to snug, plus a ¼ turn. 12.5 Do the same for other legs. Top Mounting Plate Corner Mounting Plate HermanMiller for Motia Table 1BGGNR rev K Assembly Instructions...
- Page 6 16.2 Install the Corner Control Box using 2 Tapping Screws. Tapping Screws. Note: If worksurface other than Herman Miller’s is being installed. Center legs front to back. Distance between legs to be determined by length of stiffener. HermanMiller for Motia Table 1BGGNR rev K Assembly Instructions...
- Page 7 Leg Column Cord Label 6.2 Plug the cables to Control Box. Step 19 Step 20 19.1 Plug the switch cable to Control Box. 20.1 Plug the Power Cord to Control Box. HermanMiller for Motia Table 1BGGNR rev K Assembly Instructions...
- Page 8 WARNING For instructions on how to disassemble legs, see environmental information section of Renew product page at hermanmiller.com Lower legs completely to minimum height before disassembling table. Failure to do so can result in leg stage separation causing table to fall, resulting in possible injury.
Need help?
Do you have a question about the Motia Sit-to-Stand Table and is the answer not in the manual?
Questions and answers