Advertisement
Quick Links
HermanMiller
Mora
System Wall Mounted Cases
™
Installation and Disassembly for Recycling
Instructions
How to assemble your Wall Mounted
Cases
Tools Required
Power Driver
Drill Bit
Level
Tape Measure
Step 1
1.1 Position Wall Cleat onto wall.
1.2 Measure distance (X) from Floor to bottom hole of wall cleat. Distance (X)
will be 28 9/16" for standard 36" AFF worksurface or 26 9/16" for ADA 34"
AFF worksurface. Mount the cleat at the highest point of the floor.
1.3 Measure 2" in from where case is to be located to find the vertical
position of wall cleat. Mark Location.
2"
Side
Edge
Bottom of Case
Wall
Cleat
Cleat orientation on wall
HermanMiller for Healthcare
Phillips Bit
Laser Level &
Stud Finder
Tripod
Pencil
Safety Glass
Wall Cleat
X
Level
Floor
Unlevel
Floor
Parts Included
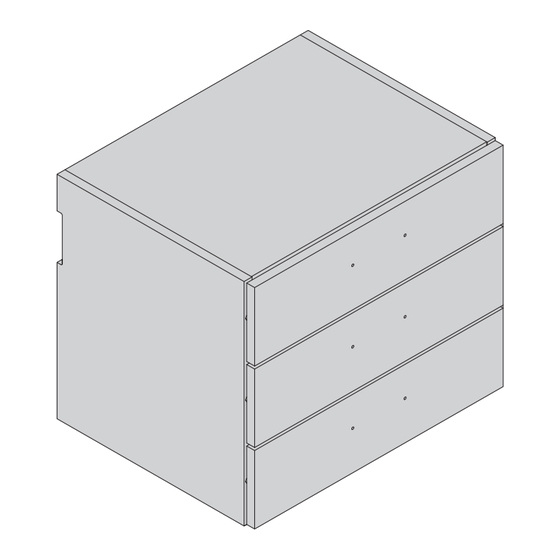
3 Small Drawer
Full Door
Additional Product Needed - Sold Separately
CH110. Ganging Hardware
Note: Field supplied #10-3/16" Flat Washer.
Note: Please refer to Mora System planning guide for different wall
constructions.
Step 2
2.1 Set up self-leveling laser to match mark, on wall.
2.2 Align Wall Cleat to level line and distance from outside cabinets. Using
Cleat as template, mark mounting holes.
Center of
bottom hole
1
CH200.,CH210. Wall Mounted Cases
1 Small, 1 Large Drawer
2" Pan Head Screw
Toggle Bolts
3" Pan Head
(Included in 24" deep
Machine Screw
CH200 w/drawer units
(Included in 24"
only)
deep CH200 w/
drawer units only)
CH100 Wall Cleat
Mark Holes
1BJ80M rev E
Full Drawer
Flat washer
(Included in 24" deep CH200
w/drawer units only)
1 1/4" Pan Head Screw (2)
(For attaching surface. Not
used in this application)
CH105 Hanging Cleat Hard-
ware kit (pak of 25 or 100)
Assembly Instructions
Advertisement

Related Manuals for HermanMiller Mora


Summary of Contents for HermanMiller Mora
- Page 1 CH110. Ganging Hardware CH100 Wall Cleat CH105 Hanging Cleat Hard- ware kit (pak of 25 or 100) Note: Field supplied #10-3/16” Flat Washer. Note: Please refer to Mora System planning guide for different wall Level Pencil Tape Measure Safety Glass constructions.
- Page 2 2 anchors to. Middle of Run Case Wall Stud Wall Stud Notch Wall Stud Standalone Case Notch Right End Case Stud Mounting Hole Wall Cleat Bore New Hole Bore New Hole 1BJ80M rev E HermanMiller for Healthcare Assembly Instructions...
- Page 3 Dissassemble from cleat Install wall anchors in the holes from step 5.1 Install back onto cleat 1BJ80M rev E HermanMiller for Healthcare Assembly Instructions...
- Page 4 5” appearance reason. Case Drill Hole Drill Hole Drill Hole Clamping Screw 3” 3” 2” Pan Head Screw Cabinet with Drawers or Flat Side Doors Open Cabinet 1BJ80M rev E HermanMiller for Healthcare Assembly Instructions...
- Page 5 Also the gap between the door and the sides of the cabinet should have a uniform gap. Turn screw clockwise to move door closer to side panels. Counter-clockwise to move door farther away from side panels. 1BJ80M rev E HermanMiller for Healthcare Assembly Instructions...
Need help?
Do you have a question about the Mora and is the answer not in the manual?
Questions and answers