Table of Contents
Advertisement
Quick Links
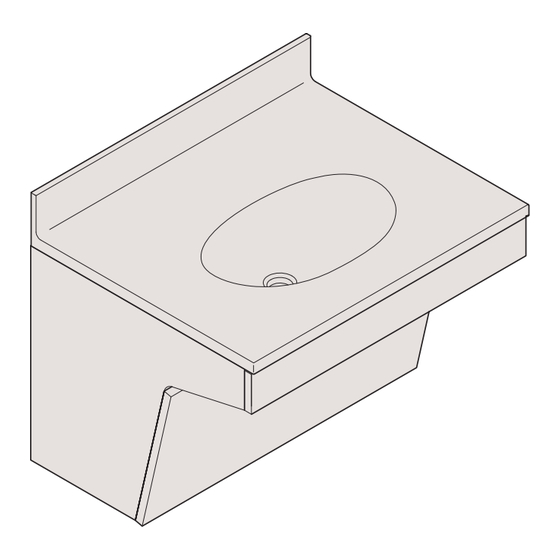
HermanMiller
Mora
System ADA Installation and
™
Disassembly for Recycling Instructions.
How to assemble your ADA
Tools Required
Power Driver
Drill Bit
Level
Tape Measure
Step 1
1.1 Attach Support Brackets to Side Panels with 3 Shoulder Screws.
1.2 Attach 3 Male Push-In Clips per side panels with 2 Flat Head Screws.
1.3 Start 1 Shoulder Screw at each Front and Back Support attachment
location as shown.
Shoulder Screw
Shoulder Screw
Support Bracket
HermanMiller for Healthcare
Stud Finder
Laser Level &
Phillips Bit
Tripod
Pencil
Safety Glass
Flathead Screws
Male Push-in Clip
Parts Included
RH End Panel
LH End Panel
Upper Front Panel
Back Support (2)
Female Hafele
Support Bracket (2)
Push-In Clip (6)
Additional Products Needed - Sold Seperately
#8-15 x 1/2 Pan Head
Tapping Screw(4)
Ch607 Surface
Step 2
2.1 Position Back Supports onto Shoulder Screws in Side Panels.
Back Support
Shoulder Screw
1BM3WH rev B
1
Lower Front Panel
Front Support
Pan Head Shoulder
Male Hafele
#6-18 x 5/8 Flat CS
Push-In Clip (6)
Screw (32)
Tapping Screw (24)
LH End Panel
LH End Panel
#8-32 x 1 Pan Head
Toggle Bolt (4)
Machine Screw(4)
Shoulder Screw
Back Support
Assembly Instructions
Advertisement
Table of Contents

Related Manuals for HermanMiller Mora


Summary of Contents for HermanMiller Mora
- Page 1 1.3 Start 1 Shoulder Screw at each Front and Back Support attachment Back Support Shoulder Screw location as shown. Shoulder Screw Shoulder Screw Support Bracket Shoulder Screw Flathead Screws Back Support Male Push-in Clip 1BM3WH rev B HermanMiller for Healthcare Assembly Instructions...
- Page 2 5.3 Drill 1/2” holes through drywall. Make sure there are no utilities present. 5.4 Insert wall anchors into holes. Orient toggles vertically. Secure to wall. Mark Holes Mark Holes Shoulder Screw Toggle Bolt 1BM3WH rev B HermanMiller for Healthcare Assembly Instructions...
- Page 3 3/16” Toggle Attachment Supplied with Toggle Step 8 8.1 Install Female Push-In Clips onto Front Panels. Flathead Screws Female Push-In Clip Lower Front Panel Flathead Screws Female Push-In Clip Correct Incorrect Upper Front Panel 1BM3WH rev B HermanMiller for Healthcare Assembly Instructions...
- Page 4 Ferrous metals can be identified using a small magnet for recycling. Non-ferrous metals should be separated and recycled separately. To disassemble product, reverse the above installation steps. 1BM3WH rev B HermanMiller for Healthcare Assembly Instructions...
Need help?
Do you have a question about the Mora and is the answer not in the manual?
Questions and answers