Table of Contents
Advertisement
Quick Links
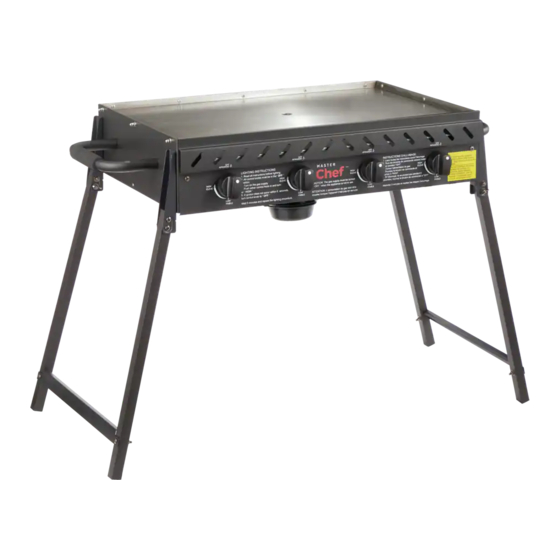
MC GRIDDLE 4B-PORTABLE
MODEL No. 085-3179
OWNER'S MANUAL
WARNING: Improper installation, adjustment, alteration, service or
maintenance can cause injury or property damage.
Read the installation, operation and maintenance instructions thoroughly
before installing or servicing this equipment.
Toll-free: 1-855-803-9313
Read this manual thoroughly before using and save it for future reference.
Advertisement
Table of Contents

Related Manuals for Master Chef BG1207G4


Summary of Contents for Master Chef BG1207G4
- Page 1 MC GRIDDLE 4B-PORTABLE MODEL No. 085-3179 OWNER’S MANUAL WARNING: Improper installation, adjustment, alteration, service or maintenance can cause injury or property damage. Read the installation, operation and maintenance instructions thoroughly before installing or servicing this equipment. Toll-free: 1-855-803-9313 Read this manual thoroughly before using and save it for future reference.
- Page 2 Model No. 085-3179 | Contact us: 1-855-803-9313 Barbecue Operation Important Safety Information Illustrated Parts List Hardware List Assembly Instructions Operating the Barbecue Care and Maintenance Troubleshooting Warranty Barbecue Operation 1-2-3 Before Barbecuing 1. Keep your barbecue a safe distance away from buldings, fences and structures on your property.* 2.
-
Page 3: For Your Safety
DANGER 1. Never leave this appliance unattended while operating it. 2. Never operate this appliance within 10’ (3 m) of any structure, combustible material or other gas cylinder. 3. Never operate this appliance within 25’ (7.5 m) of any flammable liquid. 4. - Page 4 Model No. 085-3179 | Contact us: 1-855-803-9313 WARNING Cylinders must be stored outdoors out of the reach of children and must not be stored in a building, garage or any • other enclosed area. The use of alcohol, prescription or non-prescription drugs may impair an individual’s ability to properly assemble or •...
-
Page 5: General Information
WARNINGS Do not use this appliance under overhead combustible surface or covered area (e.g., awnings, umbrellas, porches or gazebos). Always confirm that this barbecue is not positioned under the overhang of a house, a garage or other structure before lighting it. An overhang will serve to deflect flare-ups and radiated heat into the structure itself, which could result in a fire. - Page 6 Model No. 085-3179 | Contact us: 1-855-803-9313 Part Description Qty. Firebox assembly 1 Pc Leg brackets 4 Pcs 4 Pcs Leg support brackets 2 Pcs Regulator hose hook 1 Pc Ignition stick 1 Pc Handle 2 Pcs Grease cup 1 Pc Grease cup hook 1 Pc...
- Page 7 Part No. Description Qty. M6x12mm bolt 9 Pcs M6 Steel Washers 13 Pcs M6 Nut 9 Pcs Wing Nut 4 Pcs M6x40mm bolt 12 Pcs M6x16mm bolt 4 Pcs Tools Required for Assembly (Included) #2 Cross-head Screwdriver 1 Pc M6-M10 Wrench 2 Pcs Hardware listed above is not scaled to exact size.
- Page 8 Model No. 085-3179 | Contact us: 1-855-803-9313 Step 1 Do not return to place of purchase. For assistance, call 1-855-803-9313 toll-free. Please have your owner’s manual and model number available for reference. Note: The model number is printed on a label which can be found on the side of the firebox. Assembly Tips: 1.
- Page 9 Step 3 Attach the legs (3) to the leg support bracket (2) using long screws (E), washers (B), nuts (C) and wingnuts (D). Then attach the leg cross brace (4) using long screws (E), washers (B) and nuts (C) on the left side. Continue another leg cross brace (4) on the right using long screws (E), washers (B) and nuts (C).
- Page 10 Model No. 085-3179 | Contact us: 1-855-803-9313 Step 5 Attach regulator hose hook (5) using short screws (A) one washer (B) and one nut (C) as shown below. 1 Pc 1 Pc 1 Pc Step 6 Inserting and Securing LP Gas Tank. so the tank valve is facing the gas line connection as shown below.
- Page 11 Step 7 Seasoning Griddle Important: season your griddle every time you use it. Griddle chefs at Japanese steakhouses and short-order restaurants do it all the time, and it is critical for you to do it too. Seasoning helps prolong the life of your griddle, makes the cooking surface non-stick and helps prevent rust.
-
Page 12: Disconnecting Lp Gas Tank
Model No. 085-3179 | Contact us: 1-855-803-9313 To operate, you will need a precision-filled standard barbecue grill LP gas tank with external valve threads CAUTION: LP gas tank must be properly disconnected and removed prior to moving 20 lb this griddle 9 kg The installation must comply with local codes or, in the absence of local codes, with the National Fuel Gas Code , ANSI Z223.1/NFPA 54, Storage and Handling of Liquefied Petroleum Gases, ANSI/NFPA 58;... - Page 13 Tank/Gas Line Connection Figure 2 APAGADO 1. Make 2-3 oz. of leak detection solution by mixing one part liquid dish washing soap with three parts water. 2. Make sure control knobs are in the “OFF” position (Figure 2). 3. Connect LP gas tank per “Installing LP Gas Tank” section. 4.
- Page 14 Model No. 085-3179 | Contact us: 1-855-803-9313 4. Turn LP gas tank valve to “OPEN”. Figure 6 5. Push and turn any control knob to (HIGH). The burner should light. If it does not, repeat up to three times. Flame 6.
- Page 15 CAUTION: 1. All cleaning and maintenance should be done when griddle is cool and with the fuel supply disconnected. 2. Do NOT clean any griddle part in self-cleaning oven. The extreme heat will damage the finish. 3. Do NOT enlarge valve orifices or burner ports when cleaning the valves or burners. Notices 1.
-
Page 16: Before Storing
Model No. 085-3179 | Contact us: 1-855-803-9313 15. Connect LP gas tank per “Installing LP Gas Tank” section. 16. Perform leak test per “Checking for Leaks” section. Before Storing 1. Turn LP gas tank valve to “CLOSED.” 2. Turn all control knobs clockwise to the “OFF” position. Note: A “poof”... - Page 17 After Each Use 1. Turn griddle o per “Turning O ” section. 2. While the griddle is still warm, gently scrape o all food residue with a scraper. 3. Wipe down griddle surface, inner and outer walls with a towel or paper towels. 4.
- Page 18 Model No. 085-3179 | Contact us: 1-855-803-9313 Problem Possible Cause Prevention/Resolution Burner will not light using LP gas tank valve is closed Make sure regulator is securely attached to the LP gas tank per “Installing igniter LP Gas Tank,” then turn LP gas tank valve to “OPEN” Exchange, refill or replace LP gas tank LP gas tank low or empty 1.Turn LP gas tank valve to “CLOSED”...
-
Page 19: Warranty
Warranty This product carries a one (1) year warranty against defects in workmanship and materials. Master Chef agrees to replace a defective product, within the stated warranty period, when returned to the place of purchase with proof of purchase. This product is not guaranteed against wear or breakage due to misuse and/or abuse.
Need help?
Do you have a question about the BG1207G4 and is the answer not in the manual?
Questions and answers