Perma STAR VARIO Installation And Operation
Hide thumbs
Also See for STAR VARIO:
- Operating instructions manual (85 pages) ,
- Translation of the original operating instructions (37 pages) ,
- Pocket manual (28 pages)
Table of Contents
Advertisement
Quick Links
3/29/2016
| Print |
STAR VARIO Installation and Operation
Installation & Servicing Tips
1.
Always ensure that newly installed bearings are prepacked with grease.
2.
Prelubricate bearings using a grease gun to ensure that the point can receive grease freely. Clean all fittings to prevent contamination.
3.
Decide whether to direct or remote mount depending on access and safety considerations.
4.
Do not exceed the recommended line dimensions.
5.
Select the desired TIME and VOLUME settings for the application.
6.
Assemble the lubricator:
a) Seat the Drive Unit correctly onto the Lubricant Cartridge (you will feel it seat into the correct position). Insert battery pack.
b) Fit the Drive Cover and screw into position. Do not overtighten screw down firmly.
c) Turn unit on and check that grease is being discharged.
d) Firmly attach the support adaptor (B110/B111) for direct mount applications.
e) Fit the protective cap (B700, B701, B702, or B703).
7.
Write the date of installation on the lubricator and record the date of installation in the site maintenance scheduling system or keep a
separate record.
8.
Once installed the lubricator should be periodically inspected to check that accidental damage has not occurred. Observe the LED signals
and the position of the piston.
9.
When changingout empty lubricators, manually purge the bearing to ensure the lubrication conditions have not changed.
Components
B700 Protective Cap STAR VARIO lubricators are supplied standard with the B700 protective cover. Alternative covers are
available for differing operating conditions.
Drive Unit Cover Forms part of the Drive Unit and incorporates the ON/OFF switch. Connect to the lubricant cartridge and
tighten firmly. Do not over tighten.
Battery Pack A battery pack is supplied with every lubricant cartridge. Always change the battery set when changing the
lubricant cartridge.
Drive Unit Ensure the correct TIME and VOLUME settings for your application. To assemble place the Drive Unit on top of
the LC and seat correctly. Then screw on the Drive Unit Cover.
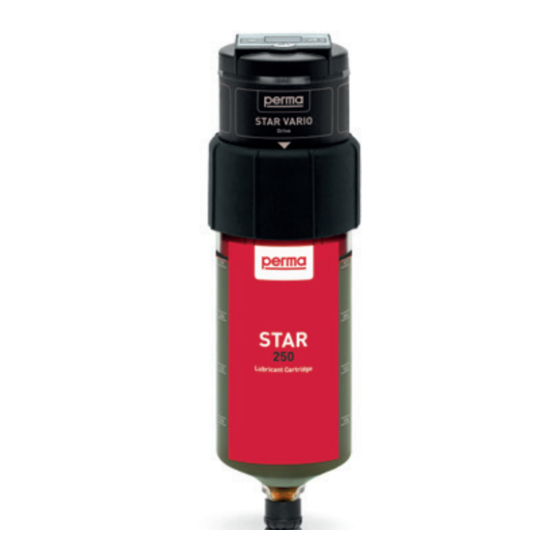
Lubricant Cartridge (LC) Lubricant cartridges are filled with oils and greases. Empty cartridges cannot be refilled. The
nozzle of the cartridge is 1/4" BSPM.
B110/B111 Support Adapter The support adapter accessory provides a durable connection between the LC and the point of
lubrication. It is recommended for all direct mount installations. The support adapter is available in 1/4" and 1/8" Mnpt sizes.
http://permausa.com/electromechanical/s2/starvarioinstallation?tmpl=component&print=1&page=
perma STAR VARIO Installation and Operation
1/3
Advertisement
Table of Contents

Related Manuals for Perma STAR VARIO


Summary of Contents for Perma STAR VARIO
- Page 1 3/29/2016 perma STAR VARIO Installation and Operation | Print | STAR VARIO Installation and Operation Installation & Servicing Tips Always ensure that newly installed bearings are prepacked with grease. Prelubricate bearings using a grease gun to ensure that the point can receive grease freely. Clean all fittings to prevent contamination. Decide whether to direct or remote mount depending on access and safety considerations. Do not exceed the recommended line dimensions. Select the desired TIME and VOLUME settings for the application. Assemble the lubricator: a) Seat the Drive Unit correctly onto the Lubricant Cartridge (you will feel it seat into the correct position). Insert battery pack. b) Fit the Drive Cover and screw into position. Do not overtighten screw down firmly. c) Turn unit on and check that grease is being discharged. d) Firmly attach the support adaptor (B110/B111) for direct mount applications. e) Fit the protective cap (B700, B701, B702, or B703). Write the date of installation on the lubricator and record the date of installation in the site maintenance scheduling system or keep a separate record. Once installed the lubricator should be periodically inspected to check that accidental damage has not occurred. Observe the LED signals and the position of the piston. When changingout empty lubricators, manually purge the bearing to ensure the lubrication conditions have not changed. Components B700 Protective Cap STAR VARIO lubricators are supplied standard with the B700 protective cover. Alternative covers are available for differing operating conditions. Drive Unit Cover Forms part of the Drive Unit and incorporates the ON/OFF switch. Connect to the lubricant cartridge and tighten firmly. Do not over tighten. Battery Pack A battery pack is supplied with every lubricant cartridge. Always change the battery set when changing the lubricant cartridge. Drive Unit Ensure the correct TIME and VOLUME settings for your application. To assemble place the Drive Unit on top of the LC and seat correctly. Then screw on the Drive Unit Cover. Lubricant Cartridge (LC) Lubricant cartridges are filled with oils and greases. Empty cartridges cannot be refilled. The nozzle of the cartridge is 1/4" BSPM. B110/B111 Support Adapter The support adapter accessory provides a durable connection between the LC and the point of lubrication. It is recommended for all direct mount installations. The support adapter is available in 1/4" and 1/8" Mnpt sizes. http://permausa.com/electromechanical/s2/starvarioinstallation?tmpl=component&print=1&page=...
- Page 2 3/29/2016 perma STAR VARIO Installation and Operation LED Performance Lights Operational Status LED message Initial purge when turned on Continual red for 25 seconds System on and operating correctly Green flash every 15 seconds System error (blockage detected) Red flash every 8 seconds Grease canister empty Green & red flash every 15 seconds Drive unit discharging Continual red for 1 to 5 seconds Operational Principles The STAR VARIO consists of a drive unit, microprocessor including batteries (except for STAR CONTROL) and a replaceable lubrication canister (LC/reservoir). The STAR VARIO can be set for 1, 3, 6 or 12 month discharge periods. The STAR VARIO can also be turned “ON” and “OFF” with a switch. Make sure to prelubricate the lubrication point with the same grease or oil which is contained in the LCunit. After setting the desired discharge period and size of the LCunit, the lubricator can be screwed into the lubrication point. To activate it, turn the switch on the cover from "OFF" to "ON". When the STAR VARIO is turned “ON” the motor will begin to run and the lubricant will be discharged. The STAR VARIO builds up to 5 bar (75 psi) of pressure at the initial discharge. With the discharge period set, the STAR VARIO will dispense either .13cc, .26cc or .53cc of lubricant depending on the size of the lubrication cartridge (60cc, 120cc or 250cc). The discharge periods can be changed during the lubrication period , if required (please refer to operating instructions, or call your local sales engineer). At the end of the discharge period, simply replace the lubrication canister (LC/reservoir) and batteries to begin a new lubrication cycle. You will always be able to check the functioning mode of the lubricator by looking at the LED display. The red / green blinking lights indicate the status of the perma STAR VARIO (see the chart above for more information). To reuse a perma STAR VARIO only an LC kit is needed. The perma STAR VARIO drive unit is reusable so only the LC kit is needed to reorder. A lubricant filled LC and a new battery pack is included in a LC kit and can be used with the current STAR VARIO drive unit. For operation in rough/wet conditions, you may order a protection cap. Temperature Range a. Recommended for use within the temperature range of 14°F to 122°F. b. Prolonged temperatures exceeding 122°F may diminish the stability of the plastic reservoir and the resultant reduction of pressure resistance.
- Page 3 3/29/2016 perma STAR VARIO Installation and Operation Warranty a. LC unit = 1 year (also dependent upon lubricant manufacturer's warranty for life of lubricant) b. Drive = 1 year Remote Installations Use flexible lines which are no more than 9 feet long and have an internal diameter of at 3/8". Smaller diameter lines present increased resistance to grease flow. Before installing, always prime grease lines and pregrease bearings. Minimize small orifice restrictions and ensure that the bearing will freely receive grease. http://permausa.com/electromechanical/s2/starvarioinstallation?tmpl=component&print=1&page=...
Need help?
Do you have a question about the STAR VARIO and is the answer not in the manual?
Questions and answers