
Related Manuals for Festo CRHD Series


Summary of Contents for Festo CRHD Series
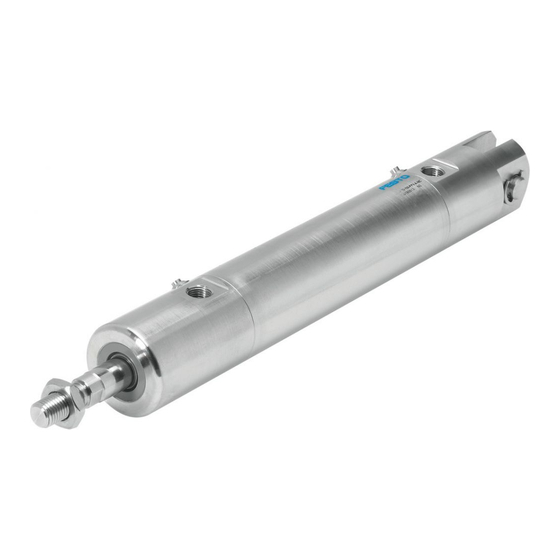
- Page 1 Cylinder with piston rod Round cylinder, stainless steel CRHD Repair instructions (en) 7CRHDb_en...
- Page 2 Imprint Version: 7CRHDb_en (06.2013) Copyright: ©Festo AG & Co. KG Postfach 73726 Esslingen Germany Editorial team: SC-S Tel.: +49 (0) 711 / 347-0 Fax: +49 (0) 711 / 347-2144 E-mail: service_international@festo.com Internet: http://www.festo.com Reproduction, distribution or sale of this document or communication of its contents to others without express authorisation is prohibited.
- Page 3 These repair instructions have been prepared with care. Festo AG & Co. KG does not, however, accept liability for any errors in these repair instructions or their consequences. Likewise no liability is accepted for direct or consequential damage resulting from improper use of the products.
-
Page 4: Table Of Contents
Inserting the piston rod into the cylinder barrel 4.4.5 Repairing and attaching the bearing and end caps Cleaning and greasing Cleaning Greasing 5.2.1 Extremely thin grease film 5.2.2 Thin grease film 5.2.3 Grease reservoir Maintenance and care Tools Standard tools Special tools Liability 4 / 23 Festo 7CRHDb_en... -
Page 5: Important Information
Can be found in the online spare due to normal wear. The entire structure, application, installation, parts catalogue on the Festo cylinder must be replaced in the event commissioning, maintenance and website (www.Festo.com). -
Page 6: General Safety Instructions
Repairs must only be carried out in conjunction with these repair instructions and the device-specific operating instructions. Note Instead of carrying out the repair yourself, your local Festo sales office offers the option of having the repair carried out by Festo. Environment Components and equipment replaced as part of a repair must be disposed of in accordance with the locally valid environmental protection regulations. -
Page 7: Type Codes (Ascertaining The Features Of A Cylinder)
The precise features of the current cylinder with piston rod can be ascertained with the help of the rating plate on the cylinder. The type designation is located directly beneath the Festo logo and describes the cylinder's features separated by a hyphen (-). -
Page 8: Orientation Designations And Bearing Cap Variants
This diagram provides an overview of the orientation designations of the cylinder with piston rod as well as the different variants of the bearing cap and seals for repair-relevant features. Orientation: Festo = product identifi cation (rating plate) as reference point O = top... -
Page 9: Component Overview
Component overview This diagram is intended only to provide an overview of the individual components. To order spare and wearing parts, please use the online spare parts catalogue on the Festo website (spareparts.festo.com). Festo 7CRHDb_en 9 / 23... - Page 10 Use screw locking agent Cylinder barrel End cap Use screw locking agent End cap MS MS only, use screw locking agent End cap MC MC only, use screw locking agent MC only Retaining washer MC only 10 / 23 Festo 7CRHDb_en...
-
Page 11: Repair Steps
Bearing cap with male thread External position sensing End cap with clevis End cap with lug 4.3.1 Structure of the bearing cap 1 Bearing cap 2 O-ring 3 Cushioning seal 4 Bearing 5 Piston rod seal Festo 7CRHDb_en 11 / 23... -
Page 12: Removing The Bearing And End Caps
Remove any residues of the screw locking agent from the threads of the piston rod and threaded coupling as well as the seat of the piston. • Clean the piston rod as described in chapter "Cleaning". 12 / 23 Festo 7CRHDb_en... -
Page 13: Inserting The Piston Rod Into The Cylinder Barrel
Insert the piston fully into the cylinder barrel through the insert sleeve. The sealing lip must not fold back against the inside of the piston. Note If necessary use a flat and blunt-edged object to insert the lip ring into the insert sleeve. Festo 7CRHDb_en 13 / 23... -
Page 14: Repairing And Attaching The Bearing And End Caps
Fill 2/3 with grease 2 External surface for bearing cap Thin fi lm 3 Grease reservoir for bearing Fill 2/3 with grease See chapter 5.2.3 "Grease reservoir" See chapter 5.2.2 "Thin grease fi lm" 1 2 3 14 / 23 Festo 7CRHDb_en... - Page 15 Align the bearing and end caps so that the two air connections are in line. • Perform a functional test as per the operating instructions (enclosed with the cylinder or can be called up on the Festo website (www.Festo.com)) and commission the repaired cylinder. Festo 7CRHDb_en...
-
Page 16: Repairing The Cylinder Crhd
Wear suitable protective gloves. The area near the cushioning screw 2 must not be heated. • Heat the thread section 3 between the bearing cap 1 and cylinder barrel 4 to between 160 °C and 170 °C. 16 / 23 Festo 7CRHDb_en... -
Page 17: Replacing The Piston Components
(see table). Type Torque CRHD-32 10 Nm CRHD-40 20 Nm CRHD-50 50 Nm CRHD-63 50 Nm CRHD-80 60 Nm CRHD-100 60 Nm Festo 7CRHDb_en 17 / 23... -
Page 18: Inserting The Piston Rod Into The Cylinder Barrel
Remove the retaining ring 1 and the piston rod seal 2 from the bearing cap 3. • Remove the O-ring 4 from the groove of the bearing cap and end cap. • Remove the cushioning seal 5 from the bearing and end caps. 18 / 23 Festo 7CRHDb_en... - Page 19 Grease the new O-rings and insert them into the groove in the bearing and end caps. • Apply a thin fi lm of grease to the new cushioning seals on the front side of the sealing surface and insert them into the bearing cap and end cap. Festo 7CRHDb_en 19 / 23...
- Page 20 Align the bearing and end caps so that the two air connections are in line. • Perform a functional test as per the operating instructions (enclosed with the cylinder or can be called up on the Festo website (www.Festo.com)) and commission the repaired cylinder. 20 / 23...
-
Page 21: Cleaning And Greasing
Festo recommends Loctite 7063 and Loctite 7070 for cleaning. When using other cleaning agents, make sure that they do not corrode the seals of the cylinder with piston rod. In case of doubt, check the resistance of the seals using the data on the Festo website (www.Festo.com). Greasing The various components and seals of the cylinder with piston rod require different levels of greasing depending on a number of factors. -
Page 22: Tools
"Accessories, equipment and tools" (7Accessories_a_en). It can be found in the online spare parts catalogue on the Festo website (http://spareparts.festo.com/xdki/data/SPC/0/PDF_SAFE/Hilfsmittel.pdf Liability The General Terms and Conditions of Sale of Festo AG & Co. KG, which can be viewed on the Festo website (www.Festo.com), apply. 22 / 23 Festo 7CRHDb_en... - Page 23 Festo or third parties have The latter applies particularly to extracts protection rights concerning this electronic of the documents for the user’s own Example: E 2003, Festo AG & Co. KG, documentation which Festo makes available documentation. The guarantee and liability D-73726 Esslingen...
Need help?
Do you have a question about the CRHD Series and is the answer not in the manual?
Questions and answers