Table of Contents
Advertisement
Advertisement
Table of Contents

Related Manuals for golmar TEKNA HF GTWIN


Summary of Contents for golmar TEKNA HF GTWIN
- Page 1 TEKNA HF GTWIN MONITOR Code. 50120254 REV.0219 TEKNA HF GTWIN EN...
-
Page 2: Table Of Contents
TEKNA HF GTWIN MONITOR INTRODUCTION First of all, we thank and congratulate you for purchasing this product manufactured by Golmar. Our commitment to achieving the satisfaction of customers like you is manifested through our ISO-9001 certification and the manufacture of products like the one you have just purchased. -
Page 3: Characteristics
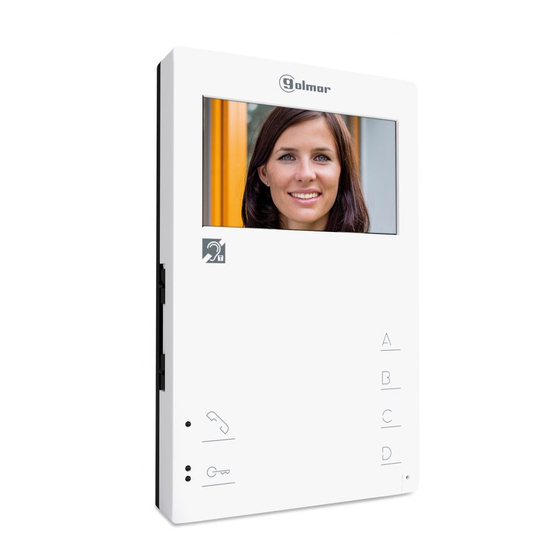
TEKNA HF GTWIN MONITOR CHARACTERISTICS - Monitor for Gtwin installation. - 4.3” TFT colour screen. - Monitor with simple installation (non-polarised 2 wire BUS). - Enables communication with hearing aids equipped with T-mode, making conversation possible (inductive loop). - Function and programming access buttons (to customise monitor functions). -
Page 4: Description Of The Monitor
TEKNA HF GTWIN MONITOR DESCRIPTION OF THE MONITOR Description of the Tekna HF Gtwin monitor: Hands-free monitor for the Gtwin system with button and coded panels. SW1 SW2 1 2 3 4 5 6 7 8 9 10 4.3” TFT colour screen overleaf. -
Page 5: Function Buttons
2 long audible tones and the monitor's exit from programming mode. Call volume control: The Tekna HF Gtwin monitor has a call volume control which can be set to maximum, medium and no volume (night mode). Night mode: (Monitor status LED). -
Page 6: Communication With Hearing Aids
DESCRIPTION OF THE MONITOR Communication with hearing aids: The Tekna HF Gtwin monitor enables communication with hearing aids equipped with T-mode, making conversation possible (inductive loop). Make sure that the hearing aid is 15-20 cm away from the monitor to ensure maximum audio quality during communication with the door panel. -
Page 7: Sw1 Configuration Switch
TEKNA HF GTWIN MONITOR MONITOR SETTINGS SW1 configuration switch: configuration switch is located at the back of the monitor. DIP 1: This defines the operating mode of the monitor - OFF 'Hands-free' (factory default)/ON 'Push-to-talk.' 1 2 3 4 5 6 7 8 9 10 DIP 2 to DIP 8: To configure the desired code (2 = most significant bit and 8 = least significant bit). - Page 8 TEKNA HF GTWIN MONITOR MONITOR SETTINGS Continued from previous page. US R E 54 US R E 55 US R E 56 US R E 57 US R E 58 US R E 59 US R E 60 US R...
-
Page 9: Sw2 Configuration Switch
TEKNA HF GTWIN MONITOR MONITOR SETTINGS SW2 configuration switch: configuration switch is located at the back of the monitor. It enables the monitor to be configured as master/slave. 1 2 3 4 5 6 7 8 9 10 INT: Internal code of the monitor/telephone to set as master/slave. -
Page 10: Installing The Monitor In A Wall Mounting Connector
TEKNA HF GTWIN MONITOR INSTALLING THE MONITOR IN A WALL MOUNTING CONNECTOR Avoid dusty or smoky environments or locations near sources of heat. Positioning the wall mounting connector: The top of the connector must be positioned at a height of 1.60m. The minimum distance between the sides of the connector and the closest object must be 5cm. -
Page 11: Installing The Monitor In An Embedding Box
TEKNA HF GTWIN MONITOR INSTALLING THE MONITOR IN AN EMBEDDING BOX Avoid dusty or smoky environments or locations near sources of heat. Location of the embedding box: Make a hole in the wall to position the top of the universal embedding box at a height of 1.60 m from the ground. The minimum distance between the sides of the embedding box and the closest object must be 5cm. -
Page 12: Advanced Programming (Monitor Functions)
TEKNA HF GTWIN MONITOR ADVANCED PROGRAMMING (MONITOR FUNCTIONS) Advanced programming of the functions of the Tekna HF Gtwin monitor: Advanced programming enables the monitor's default settings to be changed: With the monitor in standby: Press button for more than 5 seconds to access 'programming mode,'... - Page 13 TEKNA HF GTWIN MONITOR OPTIONAL PROGRAMMING (ADDITIONAL MONITOR FUNCTIONS) Intercom function of the Tekna HF Gtwin monitor: In the Gtwin system, a monitor/telephone button can be programmed to call another apartment in the same Building (channel) or to call another monitor/telephone in the same apartment .
- Page 14 TEKNA HF GTWIN MONITOR OPTIONAL PROGRAMMING (ADDITIONAL MONITOR FUNCTIONS) Continued from previous page. Or go to a door panel and press the call button of apartment B; the monitor/telephone in programming (apartment A) emits a completed programming beep. While this operation is being carried out, the monitors/telephones in apartment B sound.
- Page 15 TEKNA HF GTWIN MONITOR OPTIONAL PROGRAMMING (ADDITIONAL MONITOR FUNCTIONS) Intercom function in the same apartment: To programme a monitor/telephone (internal device C1) to call another monitor/telephone (device C2) in the same apartment: Without picking up the handset. Press and hold button for more than 5 seconds: It emits 3 short tones and the slow blinking of the programming LED (yellow) confirms entry into programming mode.
- Page 16 TEKNA HF GTWIN MONITOR OPTIONAL PROGRAMMING (ADDITIONAL MONITOR FUNCTIONS) Continued from previous page. Check the programmed function: with the monitor in function mode (device C1), press the programmed button. On the monitor/telephone (device C2), a ringtone will be heard, press button , or pick up the handset in the case of a telephone, and check communication.
-
Page 17: Optional Connections
Button for receiving calls from the apartment front door: The Tekna HF Gtwin monitor features as standard the ability to receive calls from the apartment front door. This feature precludes the need to use the bell by positioning a button between the 'CP' terminals of the monitor. -
Page 18: Panic Button For Reception In Guard Unit
Panic button for reception in guard unit. The Tekna HF Gtwin monitor features as standard an input for the connection of a panic button between the 'PANIC' terminals. When this button is pressed, it sends a panic signal to the guard unit. -
Page 19: Additional Call Repeater With Sar-12/18 Relay Unit
TEKNA HF GTWIN MONITOR OPTIONAL CONNECTIONS Continued from previous page. Additional call repeater with SAR-12/18 relay unit in monitor/telephone. MONITOR TELEPHONE LINE LINE To connect the TF-104 transformer to the filter and line protector, see Apartment the TGTWIN SYSTEM MANUAL, p. 44. -
Page 20: Wiring Diagram
To connect the FA-Gtwin power supply to the filter and line protector, see the TGTWIN SYSTEM MANUAL, p. 44. To connect the secondary AC lock release (Golmar), see the TGTWIN SYSTEM MANUAL, p. 45. Main panel Video door entry system... -
Page 21: Notes
TEKNA HF GTWIN MONITOR NOTES:... -
Page 22: Compliance
C/ Silici, 13 08940- Cornellá de Llobregat SPAIN Golmar se reserva el derecho a cualquier modificación sin previo aviso. Golmar se réserve le droit de toute modification sans préavis. Golmar reserves the right to make any modifications without prior notice.
Need help?
Do you have a question about the TEKNA HF GTWIN and is the answer not in the manual?
Questions and answers