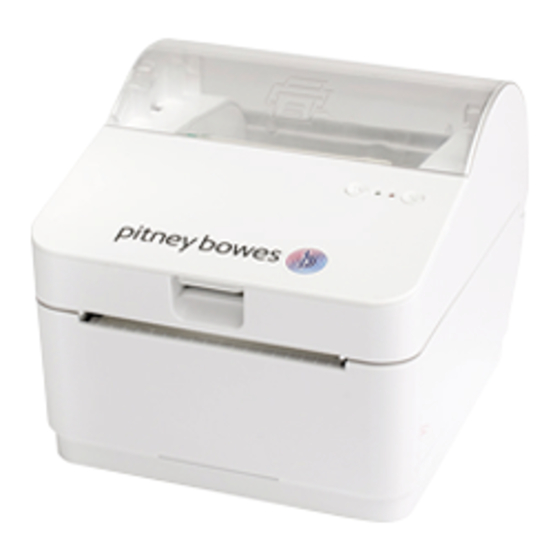
Pitney Bowes SendKit PB-SP100 Installation Instruction
Hide thumbs
Also See for SendKit PB-SP100:
- Installation instruction (4 pages) ,
- Installation instruction (6 pages) ,
- Installation instruction (8 pages)
Summary of Contents for Pitney Bowes SendKit PB-SP100
- Page 1 Shipping & Mailing Postage Management Windows SendKit Installation Instructions Sendkit- PB-SP100 (1E52), SL-397-D SDC2192A UK English Edition...
- Page 2 Please select the relevant equipment and setup from the options below and follow the step by step instructions. If you are installing your PB-SP100 SendKit or Printer on a Mac computer please visit the Pitney Bowes Support site and select the Mac Installation Instructions.
- Page 3 If you have not received the email from Pitney Bowes, do not go any further PB-SP100 Printer Installation via USB with this installation. Please visit pitneybowes.com for contact details. Connection Opening the box and unpacking This instruction will guide you through installing your PB-SP100 Printer on Here are diagrams and explanations of the items you should find in your a Windows computer using a USB connection.
-
Page 4: Printer Ready
2. Connect the power cord and adapter to your printer (as shown) and switch on. 2. Tear off the correctly dispensed label. Printer Ready Wait for about 10 seconds until the 2 green lights remain constant and the printer is ready. Pitney Bowes Installation Instruction November, 2020 Page 4 of 17... - Page 5 1. On a PC, use the Windows Search Box to search for Printers & scanners and click to view the settings. Manually Download the Printer Driver 2. Select Pitney Bowes PB-SP100 and select Manage. 1. Visit pitneybowes.com/uk/support/products/network-sendkit- 3. Select Printing preferences.
- Page 6 If you have any issues with the print refer to Troubleshooting later in this document. If you are installing a SendKit go to the SL-397-D Scale Installation section of this guide. Pitney Bowes Installation Instruction November, 2020 Page 6 of 17...
- Page 7 If you have not received the email from Pitney Bowes, do not go any further PB-SP100 Printer Installation via with this installation. Please visit pitneybowes.com for contact details. Network Connection Opening the box and unpacking This instruction will guide you through installing your PB-SP100 Printer on Here are diagrams and explanations of the items you should find in your a Windows computer using a Network connection.
-
Page 8: Connecting The Printer
1. Connect your Network cable to your printer and Network socket. 2. Ensure you have the correct power cord for your region. 3. Connect the power cord and adapter (as shown) to your printer and switch on. Pitney Bowes Installation Instruction November, 2020 Page 8 of 17... -
Page 9: Printing A System Report
Print the System Report to obtain the IP address assigned to the label printer. 1. To print the System Report press the recessed button on the back of the printer with a suitable object such as a pencil or similar. Pitney Bowes Installation Instruction November, 2020 Page 9 of 17... -
Page 10: Set Up The Printer
1. On a PC, use the Windows Search Box to search for Printers & 7. Select Network and Next. scanners and click to view the settings. 8. Select the PB-SP100. 2. Select Pitney Bowes PB-SP100 and select Manage Pitney Bowes Installation Instruction November, 2020 Page 10 of 17... -
Page 11: Test Print
3. Select Printing preferences. Test Print Again, use the Windows Search Box to search and open the Printers & scanners settings. 1. Select Pitney Bowes PB-SP100. 2. Select Manage. 4. Select Stock. 3. Select Printing preferences. 4. Select Print a test page. - Page 12 2. Select Download SendPro® Scale Utility for Windows. guide. 3. Select Run or Open (this depends on your internet browser). 4. Follow the prompts on screen to install. 5. Click Finish. Pitney Bowes Installation Instruction November, 2020 Page 12 of 17...
- Page 13 Viewing your History Exporting a History Report Maximum Transaction Limit Searching for a Shipment Carrier Services and Packaging For information about size and weight restrictions, visit the carrier’s website: Royal Mail Pitney Bowes Installation Instruction November, 2020 Page 13 of 17...
-
Page 14: Troubleshooting
Immediately release both buttons when - A4, select Roll - 4 x 6. the media begins to move. The media should advance one label and the left LED should be solid green. Pitney Bowes Installation Instruction November, 2020 Page 14 of 17... - Page 15 Try moving the scale to a different location to determine if Pitney Bowes Installation Instruction November, 2020 Page 15 of 17...
- Page 16 Pitney Bowes. Use only Pitney Bowes-approved supplies, in particular aerosol Use only Pitney Bowes approved direct thermal label media. dusters. Improper storage and use of aerosol dusters or flammable Keep fingers, long hair, jewelry and loose clothing away from moving aerosol dusters can cause an explosive-like condition that could parts at all times.
- Page 17 For a formal Declaration of Conformity please contact Compliance Engineering. Contact information is given in this guide or on a separate document supplied with your system. The system has been designed to work on all Pan-European Telecommunication Networks. Pitney Bowes Installation Instruction November, 2020 Page 17 of 17...


Need help?
Do you have a question about the SendKit PB-SP100 and is the answer not in the manual?
Questions and answers