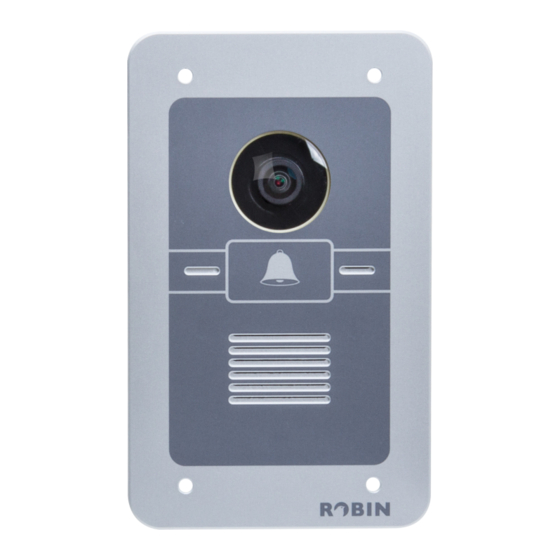
Summary of Contents for Robin SIP
- Page 1 Robin SIP / SV TECHNICAL INSTRUCTION Replacement SD-card Version: Robin_SV_1.0 ENG Datum: 07-04-2015...
- Page 2 (07-04-2015) This document This document describes the steps needed to replace the build-in SD-card of a Robin SIP or Robin SV for a new one. After replacement of the SD-card the settings are set back to factory defaults. The Robin needs to be re-configured.
- Page 3 Robin_SV_1.0_ENG (07-04-2015) Preperation Make sure the work environment is clean and ESD safe. Necessary tools To remove the back of the Robin SIP or Robin SV you’ll need the following tools: • Cap screwdriver, size 5.5 Necessary parts •...
- Page 4 TECHNICAL INSTRUCTION REPLACEMENT SD-CARD ROBIN SIP / SV version Robin_SV_1.0_ENG (07-04-2015) Necessary tools and parts Aantal Omschrijving Foto(s) Robin SIP / SV Programmed Sandisk SD- card Cap screwdriver, size 5.5 Page 4...
- Page 5 REPLACEMENT SD-CARD ROBIN SIP / SV version Robin_SV_1.0_ENG (07-04-2015) Removal of the back Place the Robin on its front, on a clean surface. • Unscrew the six nuts on the back. • Remove the back of the Robin. Page 5...
- Page 6 Removal of the old SD-card en placement of the new SD-card • Keep the Robin on its side, so you can see the SD-card (above the connectors) • Unlock the SD-card by pressing on the card (the card pops out of the holder) •...
- Page 7 Replacing the back Place the Robin on its front, on a clean surface. • Place the back on the Robin • Screw the six bolts back in place After reconnecting the Robin it will boot with factory default settings. Page 7...


Need help?
Do you have a question about the SIP and is the answer not in the manual?
Questions and answers