Table of Contents
Advertisement
Quick Links
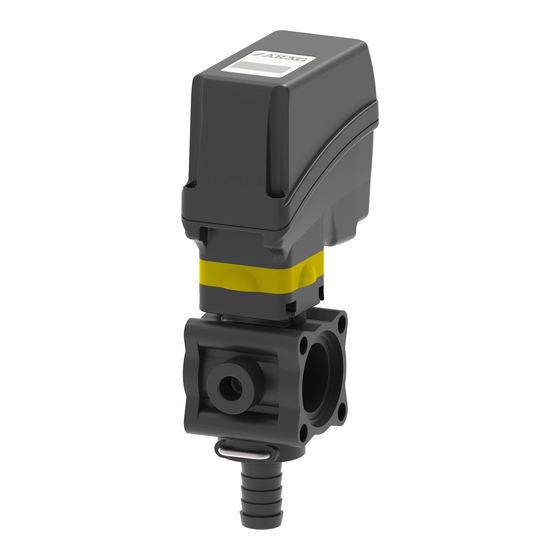
- 1 Electric Control Units with Main Control Valve Series 871
- 2 Components of Electric Control Units
- 3 Electric Control Units with Main Control Valve Series 864
- 4 Installing and Connecting the Unit
- 5 Connecting up the System
- 6 Electrical Connections
- 7 Electric Unit Adjustments before Operation
- Download this manual
Advertisement
Table of Contents


Need help?
Do you have a question about the 863 Series and is the answer not in the manual?
Questions and answers