Advertisement
Quick Links
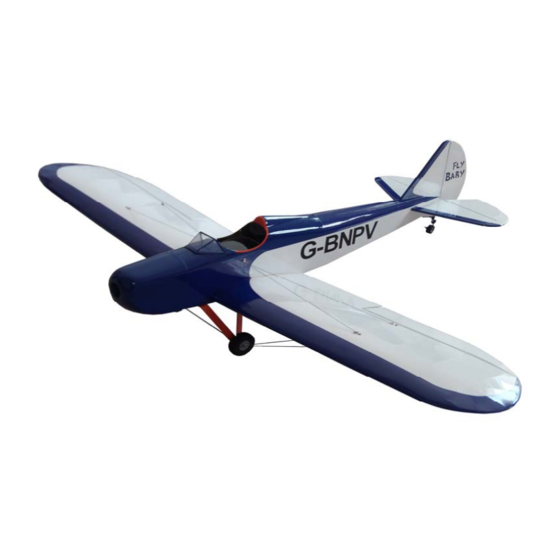
AIRCRAFT SPECIFICATIONS:
Wing Span: 1350mm/53.15"
Wing Area: 30.29 Sq dm/ 469.4 Sq in Lenght:955mm/37.6in
Weight: 1200g RTF less battery
RECOMMENDED EQUIPMENT:
Motor: 2826
Radio: 4 channels, 4 servos
Battery: 3S/4S 2200mAh-3300mAh
ESC: 40-60A
Warning! This model is not a toy.
It is designed for maximum performance. Please seek advice if
one is not familiar with this kind of electric powered precision
model.
Operating this model without prior preparation may cause in
juries.
Remember, safety is the most important thing. Always keep this
instruction manual at hand for quick reference.
Advertisement

Related Manuals for HobbyKing Fly Baby-EP


Summary of Contents for HobbyKing Fly Baby-EP
- Page 1 AIRCRAFT SPECIFICATIONS: Wing Span: 1350mm/53.15" Wing Area: 30.29 Sq dm/ 469.4 Sq in Lenght:955mm/37.6in Weight: 1200g RTF less battery RECOMMENDED EQUIPMENT: Motor: 2826 Radio: 4 channels, 4 servos Battery: 3S/4S 2200mAh-3300mAh ESC: 40-60A Warning! This model is not a toy. It is designed for maximum performance.
- Page 2 1. Wing / Main Landing Wheel Wings Part List Fix the hinge with instant glue Cut the covering away for installing Cut the covering away for installing the aileron servo connection terminal Fix the wing bolt with epoxy glue Fix the aileron servo...
- Page 3 Fix the aileron horn Completed the wing servo’s installing Main Landing Wheel Part List Cut the covering away for fixing the main landing gear fix the main landing gear according the picture to passing the shaft and 2pcs M3 through the main landing gear...
- Page 4 main wheel with 4pcs Fix the wings self-locking nut Fix the connection terminal with Judging by the picture passes through 2pcs M3*40 cross head screw,2pcs the steel wire and clamp the aluminium M3*15 cross head screw and 2pcs connection terminal for fixing the steel M3*30 cross head screw;Then adjust wire the steel wire’s length and last...
- Page 5 2.Stabilizer/Vertical/Tail Wheel Stabilizer / Vertical / Tail Wheel Draw a line for cutting the covering Part List away Judging by the line to cutting the Fix the horizontal tail and the vertical covering away tail with instant glue Cut the wood away for fixing the Drill a diameter 2mm hole for fixing elevator linkage rod the elevator linkage rod...
- Page 6 Fix the hinge with instant glue Fixing the elevator linkage rod with epoxy glue Install the tail wheel and bend the steel Fix the tail wheel with 4pcs tapping wire screws Cut away the wood for fixing the tail wheel Drill a diameter 2mm hole for fixing the tail steel wire wheel steel wire...
- Page 7 Fix the rudder hinge with instant glue Fix the tail wheel steel wire with epoxy glue Install the elevator and rudder Fix the elevator and rudder’s horn push-and-pull rod Completed the elevator and rudder servo’s system installing...
- Page 8 3.Canopy/Cowling/Motor Mounting Cowl/Motor mounting Part List Fix the PVC ornament with epoxy glue Fix the motor with 4pcs M3*15 socket Draw a mark for drilling the cowling’s head screw hole Judging by the mark to drilling the Fix the cowling hole...
- Page 9 Install the canopy...
Need help?
Do you have a question about the Fly Baby-EP and is the answer not in the manual?
Questions and answers