Table of Contents
Advertisement
Quick Links
Advertisement
Table of Contents

Related Manuals for Monoprice Dolby Atmos SB-300


Summary of Contents for Monoprice Dolby Atmos SB-300
- Page 1 Dolby Atmos® Soundbar SB-300 P/N 42033 Instruction Manual...
-
Page 2: Table Of Contents
Contents Important Safety Instructions ......................3 Safety .........................................3 Caution ........................................4 Warning ........................................4 What’s in the Box ..........................6 Identifying the Parts ........................7 Main Unit ........................................7 Remote Control .....................................8 Preparations ............................. 8 Prepare the Remote Control ................................8 Replace the Remote Control Battery .............................8 Placement and Mounting ........................ -
Page 3: Important Safety Instructions
1. Important Safety Instructions If the provided plug does not fit into your CAUTION outlet, consult an electrician for replacement RISK OF ELECTRIC SHOCK of the obsolete outlet. DO NOT OPEN Protect the power cord from being walked on or pinched particularly at plugs, convenience CAUTION: TO REDUCE THE RISK OF ELECTRIC SHOCK, DO NOT REMOVE COVER (OR BACK). -
Page 4: Caution
1.2 Caution Battery usage CAUTION To prevent battery leakage which may result in Use of controls or adjustments or performance bodily injury, property damage, or damage to the of procedures other than those described apparatus: herein, may result in hazardous radiation Install all batteries correctly, + and - as exposure or other unsafe operation. - Page 5 FCC INFORMATION : Déclaration de la FCC : NOTE: This equipment has been tested and found Remarque: cet équipement a été soumis à des essais to comply with the limits for a Class B digital device, et a été déclaré conforme aux limites stipulées pour pursuant to Part 15 of the FCC Rules.
-
Page 6: What's In The Box
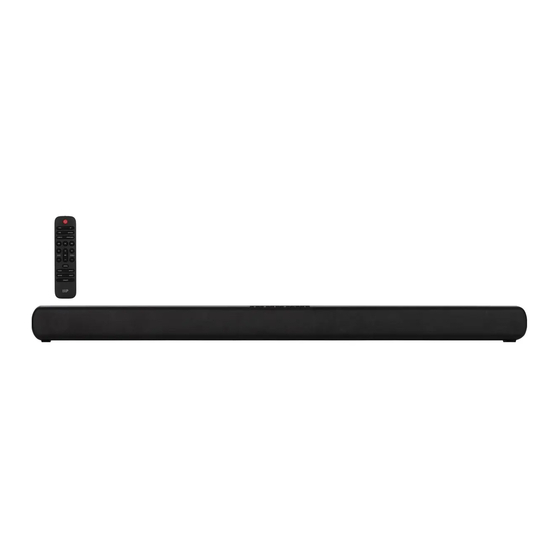
2. What’s in the Box Remote Control / Main Unit AC Power Cord AAA Batteries x 2 3.5mm to 3.5mm HDMI Cable Wall Bracket Audio Cable Wall mounting Screw • Design and specifications are subject to change without notice. • Images, illustrations and drawings shown on this User Manual are for reference only, actual product may vary in appearance. -
Page 7: Identifying The Parts
3. Identifying the Parts 3.1 Main Unit Remote Control Sensor Receive signal from the remote control. Display Window Show the current status. Wall bracket screws (ON/OFF) button Sw i tc h t h e u n i t b e t we e n O N a n d Standby mode. -
Page 8: Remote Control
3.2 Remote Control Switch the unit between ON and STANDBY mode. 2 SOURCE buttons Select the play function. Skip to previous/next track in Bluetooth/USB mode. • Play/pause/resume playback in Bluetooth/USB mode. Press and hold to activate the pairing function in Bluetooth mode or disconnect the existing paired Bluetooth device. -
Page 9: Placement And Mounting
5. Placement and Mounting 5.1 Placement If your TV is placed on a table, you can place the unit on the table directly in front of the TV stand, centered with the TV screen. If your TV is attached to a wall, you can mount the unit on the wall directly below the TV screen. -
Page 10: Connections
6. Connections Tips: • Your TV must support the HDMI-CEC and ARC function. HDMI-CEC and ARC must be 6.1 Dolby Atmos® set to On. Dolby Atmos gives you amazing experience you • The setting method of HDMI-CEC and ARC have never before by overhead sound, and all the may differ depending on the TV. -
Page 11: Use The Coaxial Socket
HDMI OUT 7. Basic Operation 6.4 Use the COAXIAL Socket • You also can use the COAXIAL cable (not HDMI eARC/ARC 7.1 Standby/ON included) to connect the TV's COAXIAL OUT socket and COAXIAL socket on the unit. HDMI IN When you first connect the main unit to the mains HDMI OUT (eARC/ARC) socket, the main unit will be in Standby mode. -
Page 12: Adjust The Volume
7.7 Adjust the Volume • The full Dolby Atmos experience is only available when the Soundbar is connected to Press the + / - (VOL) buttons on the unit or • the source via a HDMI 2.0 cable. on the remote control to adjust the volume. •... -
Page 13: Listen To Music From Bluetooth Device
10. USB Operation Play music from the connected Bluetooth device. Insert the USB device. To disconnect the Bluetooth function, you can : Switch to another function on the unit. Disable the function from your Bluetooth d e v i c e . T h e B l u e t o o t h d e v i c e w i l l b e disconnec ted from the unit af ter the “Disconnected”... -
Page 14: Troubleshooting
11. Troubleshooting To keep the warranty valid, never try to repair the system yourself. If you encounter problems when using this unit, check the following points before requesting service. • Ensure that the AC cord of the apparatus is properly connected . No power •... -
Page 15: Specifications
12. Specifications 12.1 Soundbar Power Supply AC100-240V~ 50/60Hz Power Consumption 30 W / < 0.5 W (Standby) Speakers Impedance 4Ω x 2 500mA Hi-Speed USB (2.0) 32G (max) , MP3 Audio input sensitivity 500mV Frequency Response 40Hz - 20KHz Dimension (WxHxD) 39.4"...
Need help?
Do you have a question about the Dolby Atmos SB-300 and is the answer not in the manual?
Questions and answers