Advertisement
Advertisement
Table of Contents

Related Manuals for Iceco GO20


Summary of Contents for Iceco GO20
- Page 1 GO20...
- Page 2 Contents 4.1 How to use the refrigerator 4.2 Electronic control 4.3 Battery protection level...
-
Page 3: Safety Information
SAFETY INFORMATION: Please read this operating manual carefully before starting the appliance. Keep it in a safe place for future reference. If the appliance is passed on to another person, this instruction manual must be handed over to the user along with it. The manufacturer cannot be held liable for damage resulting from improper usage or incorrect operation. -
Page 4: Data Sheet
Shell material Naming Method: For example: GO20#*S 20 with mean capacity; # = B or W or G; with mean different Appearance Color B(black); G(gray);W(white); * = S or D with mean Single Zone or Dual Zone design; S = S with mean app; N with mean no app. -
Page 5: Installation
INSTALLATION BEFORE INITIAL USE ● Place the refrigerator on a dry, sheltered, flat surface and away from any edges. The refrigerator must not be used unsheltered, in the open air or exposed to splashing or rain. ● Your refrigerator requires good ventilation, especially around the back of the refrigerator, allow a gap of at least 15 cm around the sides, back and top. -
Page 6: Electronic Control
ELECTRONIC CONTROL The device is equipped with a multi-level battery monitor that protects your vehicle battery against excessive discharging when the device is connected to the on-board DC supply. If the cooler is operated when the vehicle ignition is switched off, the cooler switches off automatically as soon as the supply voltage falls below a set level. -
Page 7: Control Panel Use
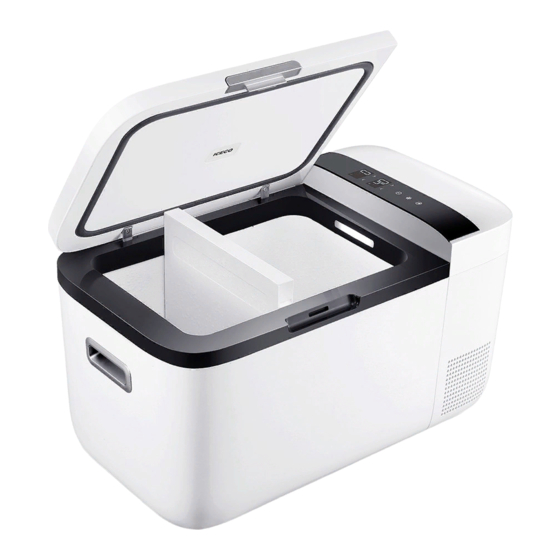
CONTROL PANEL USE LEFT BIN FAST SPEED COOLING RIGHT BIN ON/OFF ON/OFF LEFT BOX FAST SPEED COOLING UNLOCK SETTINGS: When the fridge is off, press the button “ON/OFF” for 3 seconds, the fridge will start to work; When the fridge is working, press the button “ON/OFF” for 3 seconds, the fridge will be off. TEMPERATURE SETTING: ●... - Page 8 TEMPERATURE CONVERSION: ● In the standby status, long press the right box control area button “∨” and “∧”at the same time for 3 second can enter Advanced Setting. ● When the Advanced setting comes up, short press “ON/OFF” button to cycle into pro mode (battery protection), or F/C function (Celsius Fahrenheit switch mode) ●...
-
Page 9: Off-Set Value
OFF-SET VALUE This is the information needed to align the temperature shown on the display with the actual temperature inside the refrigerated compartment. Each off-set can be adjusted within a range of from -18°C to +10C° (0°F to 50°F). After running the refrigeration system for a few hours, place a digital thermometer (not supplied) inside the compartment, in a location where a more accurate temperature is required, and check that the temperature shown on the display coincides with the temperature shown on the digital thermometer.If the temperature is not the same, the off-sets must be adjusted in relation... -
Page 10: Maintenance
The power supply cable must be replaced only by qualified technical personnel and in any case by an after sales service authorised by the Manufacturer. ICECO is not liable in any way if you do not comply strictly with all the previsions in this manual. FAULTS When there is error for the fridge, there will be code on the display. - Page 11 APP CONTORL Google Play App Store APP Download and Installation: Register/Log In APP Register with your phone number Users of Android mobile phone can download in Android market, and iPhone users can down become a member of us -load from IOS App Store. log in the APP after registration Instruction: Log in the APP, with Bluetooth on, and click “Add Devices”.
-
Page 12: Questions And Comments
ICECO product comes with a 5-year warranty on the compressor and 1 year warranty on all other parts for your peace of mind. In the unlikely event this product fails when used according to our user guide, we will either repair or replace it. For full warranty terms and conditions on this product, please see the user guide.
Need help?
Do you have a question about the GO20 and is the answer not in the manual?
Questions and answers