Sign In
Upload
Download
Table of Contents
Contents
Add to my manuals
Delete from my manuals
Share
URL of this page:
HTML Link:
Bookmark this page
Add
Manual will be automatically added to "My Manuals"
Print this page
×
Bookmark added
×
Added to my manuals
Manuals
Brands
Proluxe Manuals
Commercial Food Equipment
Impact X1
Operation manual
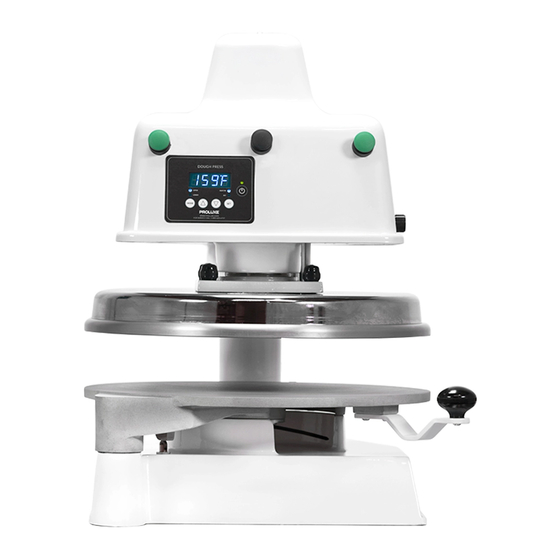
Proluxe Impact X1 Operation Manual
Electro-mechanical automatic dough press
Hide thumbs
1
2
3
4
5
6
7
8
9
10
11
12
13
14
15
16
17
page
of
17
Go
/
17
Contents
Table of Contents
Bookmarks
Table of Contents
Installation
Specifications
Controller Operation
Additional Notes
International Symbols
Warranty and Return Policy
Terms and Conditions
Advertisement
Quick Links
Download this manual
Operations Manual
Impact X1 - Electro-mechanical Automatic Dough Press
Model #: DP3300
WWW.PROLUXE.COM
Version: 51219
Rev 5
Table of
Contents
Previous
Page
Next
Page
1
2
3
4
5
Advertisement
Table of Contents
Need help?
Do you have a question about the Impact X1 and is the answer not in the manual?
Ask a question
Questions and answers
Related Manuals for Proluxe Impact X1
Commercial Food Equipment Proluxe Impact X1 DP3300 Operation Manual
Electro-mechanical automatic dough press (19 pages)
Commercial Food Equipment Proluxe DP1350 Operation Manual
Apex pro x1 hydraulic automatic dough press (16 pages)
Commercial Food Equipment Proluxe FAST-FIRE'D BLAZE PIZZA DOUGHPRO DP2010MBZE Operation Manual
Blaze dual heat semiautomatic dough press (17 pages)
Commercial Food Equipment Proluxe TORTILLAPRO DP2000PB Operation Manual
Dual heat tortilla press (17 pages)
Commercial Food Equipment Proluxe DP2000 Operation Manual
Endurance x2 dual heat manual dough press (18 pages)
Commercial Food Equipment Proluxe FAST-FIRE'D BLAZE PIZZA DOUGHPRO DP1300BZ Operation Manual
Automatic dough press (12 pages)
Commercial Food Equipment Proluxe DPR3000 Operation Manual
Dual pass dough sheeter (13 pages)
Commercial Food Equipment Proluxe Apex Pro X1 Operation Manual
Hydraulic automatic dough press (18 pages)
Commercial Food Equipment Proluxe Endurance X2 Operation Manual
Dual heat manual dough press (17 pages)
Commercial Food Equipment Proluxe Endurance X1 Operation Manual
Manual dough press (17 pages)
Commercial Food Equipment Proluxe Apex X1 Operation Manual
Air-driven automatic dough press (19 pages)
Commercial Food Equipment Proluxe DP2000E Operation Manual
Dual heat manual dough press (19 pages)
Commercial Food Equipment Proluxe DOUGHPRO DP1300 Series Operation Manual
Automatic dough press (12 pages)
Commercial Food Equipment Proluxe CS157 Operation Manual
Vantage light - single lid clamshell grill (17 pages)
Commercial Food Equipment Proluxe Apex Pro X2M Operation Manual
Hydraulic dough press with interchangeable molds (15 pages)
This manual is also suitable for:
Dp3300
Table of Contents
Print
Rename the bookmark
Delete bookmark?
Delete from my manuals?
Login
Sign In
OR
Sign in with Facebook
Sign in with Google
Upload manual
Upload from disk
Upload from URL


Need help?
Do you have a question about the Impact X1 and is the answer not in the manual?
Questions and answers