
Related Manuals for Cavius 2107-001


Summary of Contents for Cavius 2107-001
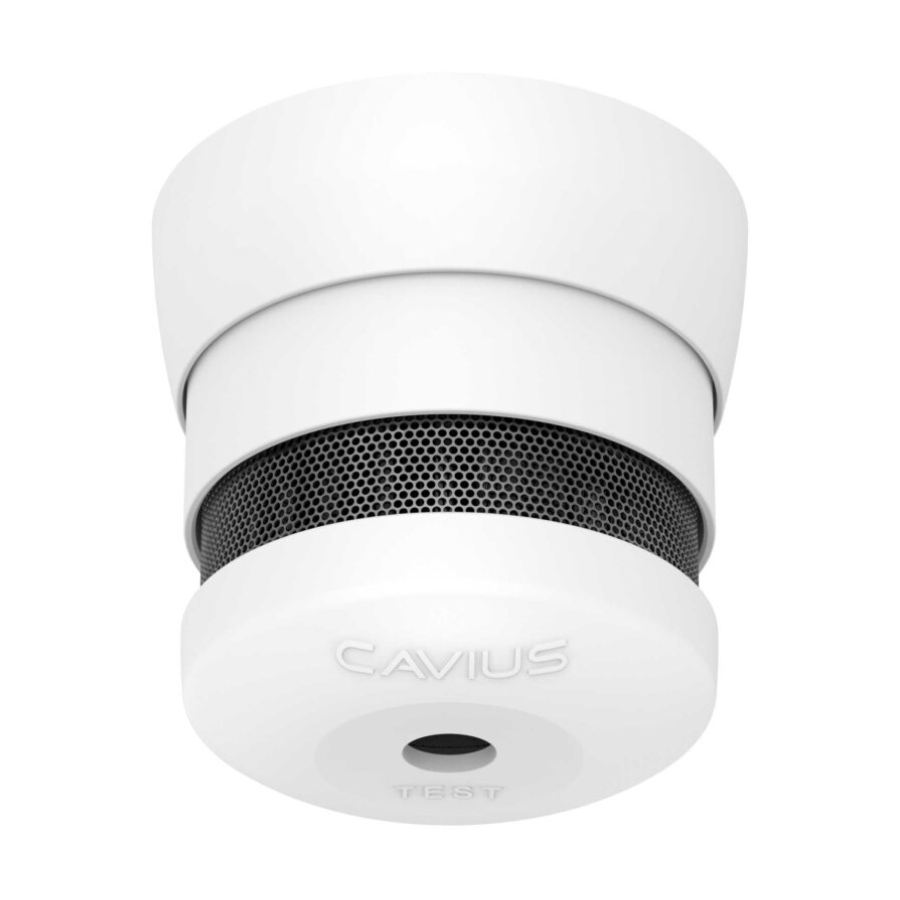
- Page 1 PHOTOELECTRIC SMOKE ALARM THE WORLD’S SMALLEST PLEASE READ THIS USER GUIDE CAREFULLY...
- Page 2 The maximum number of CAVIUS Wireless Family alarms that can be interconnected within a house group are 32. CAVIUS Photoelectric Smoke Alarm Please note: These must be alarms from the CAVIUS Wireless Family range. Part Code: 2107-002/10022/10026 Model: 2107-001 Recess Kit Part Code: 11014...
- Page 3 The alarm is powered by two 3v CR123A lithium batteries. 1. The best areas to install an alarm: Interconnected by RF: 926.365 MHz • Install alarms on each floor of the house, in hallways and stairways. Complies to standards: AS3786:2014/RCM • Alarms in each room such as bedrooms and living rooms. Alarm condition aural signal pattern according to ISO 8201.
- Page 4 2. Areas where NOT to install smoke alarms: 3. Placement: • In dusty rooms The smoke alarm is designed to be installed on a ceiling (preferred) or wall. Ceiling installation: • At the top of a high pointed ceiling, in corners of a room, and within 50cm of where a ceiling and wall join. The smoke alarm should be a minimum of 50cm from the wall. • In rooms where the temperature goes outside +4c to 38c or above 90% relative humidity not condensing.
- Page 5 For catheral or peak ceiling or wall installation: 4. How to set up and connect alarms: For cathedral or peak ceiling; a minimum of 50cm from the peak All alarms that need to be connected in the house should be put into ‘Link Mode’ by sliding the switch on the back of the alarm to the ‘Link Mode’ position. Ceiling Ceiling Wall...
- Page 6 Press the button on the top of one alarm only. This alarm will become the Remove the Safety lock from the ‘Master’ and will start sending out a specific house code to the other alarms mounting base. (take note of which alarm is the ‘Master’, you may need this for adding extra devices in future). The red LED will flash. As the other alarms receive the specific house code, they will also flash the LED light. When all alarms flash the red LED, they are connected and can be switched out of ‘Link Mode’ and installed. Place the Safety lock into the slot once the alarm has been clicked into the base.
- Page 7 5. Installation of smoke alarm: MARK UP USE THE SCREW HOLES ENCLOSED Info: The label on the product must not be removed WITH A PEN SCREWS AND due to PLUGS FOR INSTALLATION important information. Option 1 – Standard base 1. Use the mounting base ring to mark the screw CLICK THE SMOKE holes on the ceiling.
- Page 8 Option 2 – Recess Kit 2. Using your hole saw (81mm-85mm), cut a 1. Place the Cover Ring on the area where you wish to install the smoke INSERT RECESS KIT hole into the surface. alarm, trace around the inside of the ring. MOUNTING BASE INTO CAUTION: Ensure THE HOLE AND SECURE WITH SCREWS there is no wiring or any electrical equipment...
- Page 9 The alarms will emit a short beep and the LED will flash every 8 seconds for 2 minutes. TIP: It is safe to cover the sound output hole with your finger during the testing to minimise the sound level emitted. If any problems occur during testing, visit www.cavius.co.nz or www.cavius.com.au for further trouble shooting.
- Page 10 7. Normal mode: 9. Hush function: In normal mode the LED will flash every 48 seconds to show the alarm is If the smoke alarms are to set into a false alarm by cooking, fireplace, etc. functioning. all of them can be paused for 10 minutes by pressing the test button on the originating smoke alarm only (indicated by the flashing LED). 8. Alarm mode: You can hush each alarm individually, however the source alarm will continue When a concentration of smoke is detected, the smoke alarm will go into to sound until hushed. ‘Alarm Mode’. It will sound the alarm signal and the LED will flash. Please note that only the source alarm’s LED will flash, so it can be identified. The reason for this is that it is necessary to locate the source of the alarm before using the hush function.
- Page 11 10. Add extra device: Low battery indicator: A short acoustic “beep” will sound and the LED will flash every 48 seconds when the battery is near the end of its life. In this stage All CAVIUS interconnected alarms within the it will continue for a minimum of 30 days. You must replace the smoke alarm after 10 years of use, or if the smoke alarm has suffered any damage. The smoke alarm is not active unless it is clicked range can be added to the system as they run on the same frequency and use into the mounting base.
- Page 12 FUNCTIONAL INFORMATION Developed & Manufactured by: Type of alarm: CAVIUS smoke alarm is a photoelectric smoke alarm. Julsøvej 16 - DK8600 Silkeborg Alarm signal: Fire alarm activation is indicated by a series of repeated tones. cavius.com - info@cavius.com The minimum sound level is 85 dB at 3 metres.
- Page 13 Under some unusual circumstances the presence of high levels of radio spectrum pollution The warranty applies to reasonable and normal conditions of use only. It does not include may result in the batteries within the CAVIUS device not lasting as indicated in the product damage as a result of misuse, incorrect installation, accidental damage, neglect, unauthorised sheet.
- Page 14 PHOTOELECTRIC SMOKE ALARM THE WORLD’S SMALLEST PLEASE READ THIS USER GUIDE CAREFULLY...
Need help?
Do you have a question about the 2107-001 and is the answer not in the manual?
Questions and answers