Advertisement
Quick Links
SCUBAPRO
Repair Guide
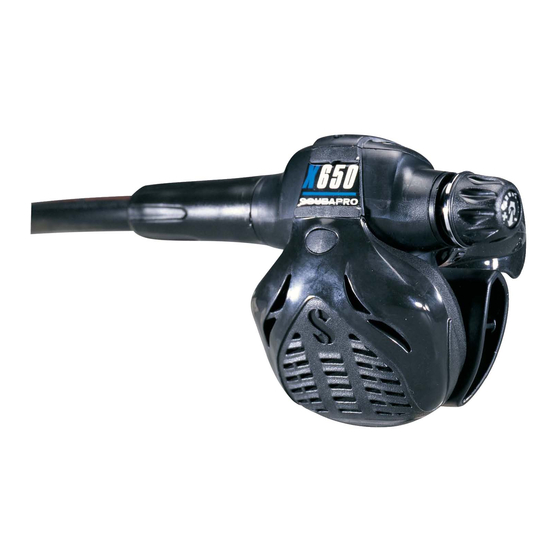
X650
Second Stage
X650
USE THIS GUIDE AS A REFERENCE WHEN SERVICING THE X650
SECOND STAGE
©2003 SCUBAPRO
Important note: The following information is not designed to be a complete training guide for servicing the listed SCUBAPRO regulators. All SCUBAPRO
technicians are required to attend an annual service training program to insure safe handling and servicing of SCUBAPRO products. All SCUBAPRO technicians
must be employed by an authorized SCUBAPRO facility.
Advertisement

Subscribe to Our Youtube Channel
Related Manuals for Uwatec X650


Summary of Contents for Uwatec X650
- Page 1 X650 Second Stage X650 USE THIS GUIDE AS A REFERENCE WHEN SERVICING THE X650 SECOND STAGE ©2003 SCUBAPRO Important note: The following information is not designed to be a complete training guide for servicing the listed SCUBAPRO regulators. All SCUBAPRO technicians are required to attend an annual service training program to insure safe handling and servicing of SCUBAPRO products.
-
Page 2: Icon Legend
SCUBAPRO X650 SECOND STAGE TOOLS NEEDED FOR REPAIR OF X650 TOOLS NEEDED Quantity Part Number Description 43.650.220 X-650 Lever Tool 1 set 10.102.100 Brass o’ring picks (Peter Built) 1 tube 41.047.000 Christo-Lube Christo-Lube OXYGEN COMPATIBLE LUBRICANT P/N 41-047-000 47.010.000 Counter Mat 41.496.101... - Page 3 SCUBAPRO X650 SECOND STAGE Remove hose from the second stage. Remove the hose o’rings. This step performed only as needed With the small Philips screwdriver, loosen and remove the 2 screws from the top of the case. Remove the o’ring.
- Page 4 SCUBAPRO X650 SECOND STAGE No tools needed this step TOOLS NEEDED Remove the front cover. Loosen and remove the diaphragm cover ring, frictionless washer and diaphragm. Insert the X-650 tool as shown. Apply gentle pressure to the poppet and remove the lever by gently pulling downward.
- Page 5 SCUBAPRO X650 SECOND STAGE Turn the housing upside down as shown and view the dive switch assembly through the front cover opening. Remove the stop clip using the small screwdriver or o’ring pick. No tools needed this step TOOLS NEEDED Remove the adjustment assembly and dive switch from the case.
- Page 6 SCUBAPRO X650 SECOND STAGE No tools needed this step TOOLS NEEDED Push the adjustment components out of the dive switch as shown. Remove the o’ring. No tools needed this step TOOLS NEEDED To remove the knob stem, use the knob.
- Page 7 SCUBAPRO X650 SECOND STAGE No tools needed this step TOOLS NEEDED Remove the balance chamber, spring, and poppet as shown. Remove the jam nut using the universal tool. Remove the o’ring. Remove the air barrel from the case as shown...
- Page 8 SCUBAPRO X650 SECOND STAGE This Step Is Only Performed As Needed To remove the exhaust valve cover, use the small screwdriver to push the stainless pin away. NOTE: The exhaust valve will seldom need to be replaced. Careful inspection is usually all that is necessary.
- Page 9 SCUBAPRO X650 SECOND STAGE Lubricate and place the o’ring on the adjustable orifice. Lightly lubricate the threads. Use the Universal Tool to thread in the adjustable orifice 3 or 4 turns. Place the o’ring onto the air barrel. NOTE: Lubrication of the air barrel o’ring is not necessary.
- Page 10 SCUBAPRO X650 SECOND STAGE Monoject Prepare the poppet by replacing the seat and replacing the dynamic o’rings. No tools needed this step TOOLS NEEDED Hold the poppet shaft and guide the poppet “wings” into the grooves of the air barrel by positioning the lever tab toward the mouthpiece tube.
- Page 11 SCUBAPRO X650 SECOND STAGE Monoject Install the o’ring on the fine adjustment screw and the knob stem as shown. NOTE: Do not lubricate the inner thread or o’ring. Thread the fine adjustment screw into the knob stem. Turn counterclockwise using the 3mm jeweler’s screwdriver until the fine adjustment screw is flush with the bottom of the knob stem.
- Page 12 SCUBAPRO X650 SECOND STAGE Monoject Inspect, lubricate and install the o’rings on the dive switch. Install the adjustment assembly into the dive switch as shown. No tools needed this step TOOLS NEEDED Install the dive switch into the housing as shown.
- Page 13 SCUBAPRO X650 SECOND STAGE No tools needed this step TOOLS NEEDED The stop clip groove should be now visible when case is turned upside down. Install the stop clip. The “nipples” on the stop clip should be aligned with the round depression in the dive switch.
- Page 14 SCUBAPRO X650 SECOND STAGE No tools needed this step TOOLS NEEDED Inspect, clean and install the diaphragm. Install the frictionless washer and cover. No tools needed this step TOOLS NEEDED Install the diaphragm cover by first engaging the top nipple, then place the bottom portion.
- Page 15 SCUBAPRO X650 SECOND STAGE Use the pneumatic adjusting tool to make the initial air-on adjustments to the second stage. The 3mm screwdriver can be used to make course adjustments on the balance chamber and to stop free flows. Adjusting the balance...
- Page 16 SCUBAPRO X650 SECOND STAGE No tools needed this step TOOLS NEEDED Install a new “Dive” decal if appropriate. Check the cracking effort of the regulator. Inhalation effort range: 1.0 to 1.4 inches of water. ©2003 SCUBAPRO Important note: The following information is not designed to be a complete training guide for servicing the listed SCUBAPRO regulators. All SCUBAPRO technicians are required to attend an annual service training program to insure safe handling and servicing of SCUBAPRO products.
Need help?
Do you have a question about the X650 and is the answer not in the manual?
Questions and answers