Table of Contents
Advertisement
Quick Links
No: 24258 – 04/20 rev. 3
Catalog Number • Numéro de Catalogue • Número de Catálogo: RT-200
Country of Origin: Made in China • Pays d'origine: Fabriqué en Chine • País de origen: Hecho en China
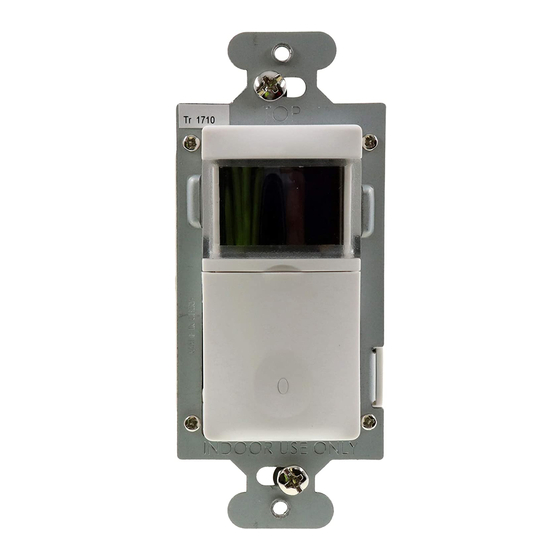
The RT-200 is an astronomic time clock and timer switch that controls the connected light or fan either manually or through user
programmed times.
Upon installation the user enters the correct longitude/latitude coordinates, date, and local time. This ensures that once the schedules
are programmed, the load turns ON/OFF at the correct local times. The button switch is a customizable manual override feature with a
default countdown of 2 hours.
Lighted Switch
To help locate the switch button in a dark room, an amber LED illuminates the ON/OFF button while the controlled load is OFF. When
the load is ON, the LED is OFF.
DISCONNECT POWER AT THE CIRCUIT BREAKER BEFORE INSTALLING THIS PRODUCT.
ONLY CONNECT THE RT-200 TO A SINGLE POLE CIRCUIT. THE RT-200 IS NOT SUITABLE FOR 3-WAY SWITCHING.
IF THE EXISTING WIRING DOES NOT MATCH THE DESCRIPTION FOR A SINGLE POLE
INSTALLATION & WIRING
1. Prepare the switch box
After the power is turned OFF at the circuit breaker box,
remove the existing wall plate and mounting screws. Pull the
old switch from the wall box.
2. Identify the type of circuit
In a single pole circuit, two single wires connect to two screws
on the existing switch. A ground wire may also be present and
connected to a ground terminal on the old switch. A neutral
wire should also be present in the wall box.
3. Prepare the wires
Tag the wires currently connected to the existing switch, so
that they can be identified later. Disconnect the wires. Make
sure the insulation is stripped off the wires to expose their
copper cores to the length indicated by the "Strip Gauge"
(approximately ½ inch).
DESCRIPTION AND OPERATION
CIRCUIT, YOU SHOULD CONSULT WITH A QUALIFIED ELECTRICIAN.
Strip Gauge
1/2"
12.7mm
Wattstopper
Astronomical Time Switch
Installation Instructions • Instructions d'Installation • Instrucciones de Instalación
Voltage .....................................................120/277VAC, 50/60Hz
Load (Single Pole) ................ 0-800W tungsten or ballast, 1/6HP
Environment ...................................................... Indoor Use Only
Operating Temperature .............. 32˚ to 122˚ F (0˚ to 50˚ C)
Humidity ..................................... 95% RH, non-condensing
Countdown Options ........... none, 5 min, 10 min, 15 min, 30 min,
..............................1 hr, 2 hr (default), 3hr, 4 hr, 5 hr, or 6hr
Tools Needed
Insulated Screwdriver
Wire Strippers
WARNING
Black > HOT (power
Industry standard
switch cover plate
(not provided)
®
SPECIFICATIONS
from circuit box)
Green > GROUND
Terminal
Red > LOAD (power
to lamp or fan)
White > NEUTRAL
Advertisement
Table of Contents

Related Manuals for LEGRAND Wattstopper RT-200


Summary of Contents for LEGRAND Wattstopper RT-200
- Page 1 Wattstopper ® Astronomical Time Switch No: 24258 – 04/20 rev. 3 Installation Instructions • Instructions d’Installation • Instrucciones de Instalación Catalog Number • Numéro de Catalogue • Número de Catálogo: RT-200 Country of Origin: Made in China • Pays d’origine: Fabriqué en Chine • País de origen: Hecho en China SPECIFICATIONS Voltage .............120/277VAC, 50/60Hz Load (Single Pole) ....
-
Page 2: Viewing Settings
4. Wire the time switch Twist the existing wires together with the wire leads on the RT-200 as indicated in the table below. Cap them securely using the wire nuts provided. Power wire from the circuit (hot) Black wire on RT-200 Power wire from the lamp or fan (load) to Red wire on RT-200 Neutral wires from the circuit... -
Page 3: Location Menu
SET TIME AND DATE MENU LOCATION MENU Within the SET TIME AND DATE menu you will enter the correct Within the LOCATION menu you will be required to enter the local time, date and Daylight Savings Time (DST) start and end days. longitude/latitude coordinates and time zone. - Page 4 PREFERENCES SCHEDULING The PREFERENCES menu allows the user to customize the unit’s The RT-200 has 8 programs allowing the user flexibility in setting features including the time/date format, sound and flash. schedules to turn the connected load ON/OFF. • Time format – choose between a 12-hour or 24-hour format Setting Steps •...
-
Page 5: Product Reset
Minneapolis, MN and release the reset button. The display Boston, MA Nashville, TN will reset so that the Legrand logo appears Charlotte, NC New Orleans, LA as it does upon initial power up. At this point, the user will be able to set the date,... - Page 6 Setting the DATE Press the center Press the ↓ or the ↑ Press the ↓ or Press the center Press the center Press the ↓ button button to highlight button to change the ↑ button to button to move to button to move to to highlight DATE.
- Page 7 Setting the LATITUDE Once PREVIOUS menu is highlighted Press the center Once Latitude Press the ↓ or the ↑ press the center button to highlight Press the ↓ is set, press the Press the ↓ button to decrease button to return to Latitude values.
- Page 8 No. 24258 – 04/20 rev. 3 © Copyright 2020 Legrand All Rights Reserved. 800.879.8585 © Copyright 2020 Tous droits réservés Legrand. www.legrand.us/wattstopper © Copyright 2020 Legrand Todos los derechos reservados.
Need help?
Do you have a question about the Wattstopper RT-200 and is the answer not in the manual?
Questions and answers