
Related Manuals for Eaton Char-Lynn S Series


Summary of Contents for Eaton Char-Lynn S Series
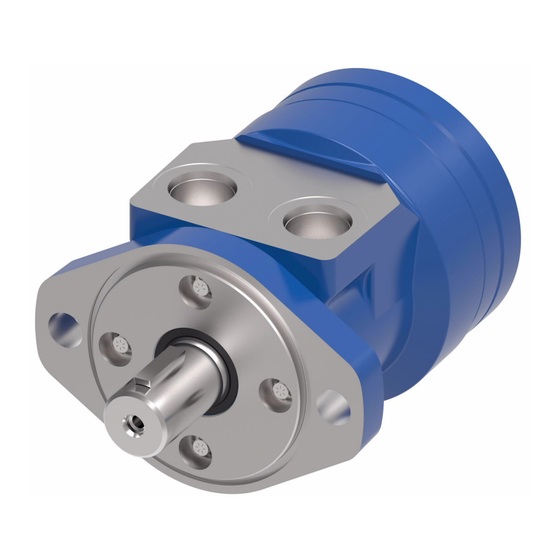
- Page 1 Char-Lynn ® November, 1996 Hydraulic Motor Repair Information S Series General Purpose Geroler Motor 008 009 010 ®...
- Page 3 General Purpose Motors S Series Output Geroler Motors Shaft Needle Thrust Bearing Bearing Race Seal Pressure Seal Back-Up Ring (-009 and -010 Motors) Mounting Flange Exclusion Seal Screw Cap Screw Seal Washers (Not Used with End Cap 6 Point (E10) Seal Drive Screws) Geroler...
- Page 4 General Purpose Motors S Series Disassembly Seal Washer Screw Seal End Cap Figure 2 3 Remove cap screws and seal washers from end cap (seal washers used on 59, 69 and 95 cm /r [3.6, 4.2 and 5.8 in /r] displacement Cleanliness is extremely important when repairing these motors.
- Page 5 General Purpose Motors S Series Disassembly Seal The screws will require approximately 34-45Nm [300-400 lb-in] of torque to break loose and approximately 11 Nm [100 lb-in] torque to remove after they are broken loose. Do not use an impact wrench on Loctited screws, this may result in rounded heads or broken sockets.
- Page 6 General Purpose Motors S Series Disassembly 15 The dust seal, pressure seal and oil seal will come off with the Back-up Ring (-009 and -010 Motors) flange. Use a seal remover tool, like the one shown in Fig. 7, to Seal remove the dust seal and pressure seal, as shown in Fig.
- Page 7 General Purpose Motors S Series Reassembly Check all mating surfaces. Replace any parts that have scratches or burrs that could cause leakage or damage. Clean all metal parts in clean solvent. Blow dry with air. Do not wipe parts with cloth or paper towel, lint or other matter can get into the hydraulic system and cause damage.
- Page 8 General Purpose Motors S Series Reassembly Important: Prior to installing high pressure shaft seal it is necessary 23 Lubricate I.D. of seal tube and 0.D. of shaft pressure seal with a to break the sharp corner of the flange seal seat, see Fig. 12. Use light film of clean petroleum jelly.
- Page 9 General Purpose Motors S Series Reassembly Apply 30 Pour approximately 35 cc of clean hydraulic oil in output shaft Output shaft petroleum cavity. jelly across this area, see Dust Seal Seal step 28. Back-up Ring (-009 and -010 Motors) This Lip to Face Pressure Inward...
- Page 10 General Purpose Motors S Series Reassembly Timing Procedure A. Align shaft timing dot with any bolt hole. B. Install drive. For the 59 and 74 cm /r [3.6 and 4.5 in /r] displace- Reverse rotation is obtained by positioning any star valley, rather than ments on the -010 motors, install the wide end of the drive in the any star point, over the aligned bolt hole.
- Page 11 General Purpose Motors S Series 43 Install pressure seal flush against bearing race, see Fig. 22. Lightly Reassembly lubricate pressure seal O.D. Back-up Seal Sleeve Dust 39 Install cap screws (and seal washers when required, see informa- Seal Ring or Bullet tion below) in end cap.
- Page 12 General Purpose Motors S Series For Additional Literature Contact Eaton Corp. Hydraulics Date Code Char-Lynn ® Division 15151 Highway 5 Eden Prairie, MN 55344. 00 00 Product number Specifications and performance Data, Catalog No. 11-885 Replacement Part Numbers and Kit Information:...
- Page 13 Shanghai 200021 Tel: +41 (0) 21 811 4600 China Tel: 952-937-9800 Tel: 86-21-6387-9988 Fax: 952-294-7722 Fax: +41 (0) 21 811 4601 Fax: 86-21-6335-3912 www.eaton.com/hydraulics © 2008 Eaton Corporation All Rights Reserved Printed in USA Document No. C-MOLO-TS010-E Supersedes 07-116 November 2008...
Need help?
Do you have a question about the Char-Lynn S Series and is the answer not in the manual?
Questions and answers