Advertisement
Quick Links
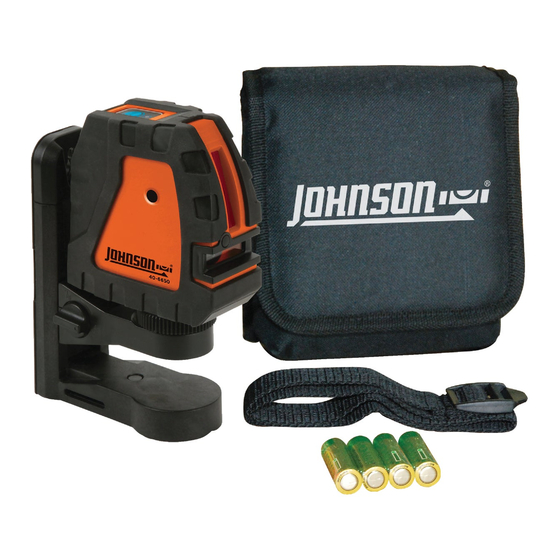
40-6650, 40-6651 & 40-6657 Operator's Manual
Thank you for purchasing this Johnson crossline
laser. Lasers are the easiest way to lay out your
jobsite, helping you to work faster, safer and smarter.
SAFETY INFORMATION
This is a Class II laser tool and is manufactured to
comply with CFR 21, parts 1040.10 and 1040.11 as well as
international safety rule IEC 285.
THIS TOOL EMITS LASER RADIATION. DO NOT
STARE INTO BEAM. AVOID DIRECT EYE EXPOSURE.
ATTENTION:
• Read all instructions before operating this tool. Do not
remove any labels from the tool.
• Do not project the laser into the eyes of others.
• Do not set up the laser tool at eye level, or operate
the tool near reflective surfaces, as the beam can be
projected into your eyes or the eyes of others.
• Do not place the laser tool in a manner that may cause
someone to unintentionally look into the laser beam.
Serious eye injury may result.
• Do not operate the tool in explosive environments (i.e.,
in the presence of gases or flammable liquids).
• Keep the laser tool out of the reach of children and
other untrained persons.
• Do not attempt to view the laser beam through optical
tools such as telescopes - serious eye injury may result.
• Always turn off the laser tool when not in use or when
left unattended for any period of time.
• Disassembly or repair by unqualified persons will void
the warranty.
SAFETY LABEL LOCATION
40-6650
40-6651
40-6657
40-6650 40-6651 40-6657 v2.indd 1
MAIN COMPONENTS
OPERATING PANEL
LASER
EMITTING
WINDOWS
PENDULUM LOCK
TRIPOD THREAD
(UNDERSIDE)
BATTERY DOOR
OPERATING PANEL OVERVIEW
H/V: Toggles between horizontal
beam, vertical beam, both and off.
PULSE: Enables pulse mode, so the
laser can be used with a detector.
TILT LED: Illuminates when TILT
mode is active.
BATTERY LED: Flashes when the battery is low.
PULSE LED: Indicates pulsed operation is enabled.
INSTALLING BATTERIES
Models 40-6650 & 40-6657 require 4 "AA"
alkaline batteries to operate, while model 40-6651
operates from an internal lithium ion battery pack
or 4 "AA" batteries. Lift the latch on the battery
door and pivot the door open
to install batteries. Always install
batteries per the indicated polarity
and using the battery holder.
NOTE: When storing the tool for
more than three months, remove
the batteries to prevent corrosion.
UNLOCKING THE PENDULUM
The pendulum lock secures the laser during
transport to prevent damage to the self-leveling
mechanism. It also enables the laser to be used at
any angle in manual mode. To lock the pendulum,
rotate the pendulum lock
switch to the OFF position,
indicating the laser will
be powered off. To unlock
the pendulum and allow
it to self-level, rotate the
switch to the ON position,
indicating the laser can be
powered on in self-leveling
mode.
OPERATING THE LASER
• Insert batteries. See INSTALLING BATTERIES.
• Install the laser on a tripod, the included magnetic
wall mount bracket or other stable surface.
• Unlock the pendulum to use in self-leveling mode.
Lock the pendulum to use in manual mode. See
UNLOCKING THE PENDULUM. In manual mode,
the TILT LED will illuminate to alert you to that
the laser is not self-leveling.
• Power on or off each individual laser by pressing
. The laser will toggle between illuminating the
horizontal beam, vertical beam, both beams and
powering off. Disabling a laser you are not using
extends the life of the battery.
• Press
at any time to enable pulsed operation,
which makes the beam detectable by compatible
laser detectors. The PULSE LED will illuminate
when in pulse mode.
Note: For information about laser detector
compatibility and operation, contact Johnson or
your local Johnson dealer.
• When you have completed your work, lock the
laser pendulum and store the tool in its provided
case.
Download this manual at
www.johnsonlevel.com/manuals
40-6650/40-6651/40-6657 v2
6/19/2018 11:18:51 AM
Advertisement

Subscribe to Our Youtube Channel
Related Manuals for Johnson 40-6650


Summary of Contents for Johnson 40-6650
- Page 1 INSTALLING BATTERIES laser detectors. The PULSE LED will illuminate SAFETY LABEL LOCATION Models 40-6650 & 40-6657 require 4 “AA” when in pulse mode. alkaline batteries to operate, while model 40-6651 Note: For information about laser detector operates from an internal lithium ion battery pack compatibility and operation, contact Johnson or or 4 “AA”...
- Page 2 *Battery life as tested with Lithium AA / Alkaline AA NOTE: If your laser needs calibration or service, batteries, and all beams enabled. In Canada: 800-346-6682 return it to a Johnson authorized service center for repair. On the Web: www.johnsonlevel.com Download this manual at www.johnsonlevel.com/manuals...
Need help?
Do you have a question about the 40-6650 and is the answer not in the manual?
Questions and answers