Advertisement
Quick Links
Advertisement

Subscribe to Our Youtube Channel
Related Manuals for RTA Techni Mobili 2338


Summary of Contents for RTA Techni Mobili 2338
- Page 1 MODEL RTA-2338 A02 180822...
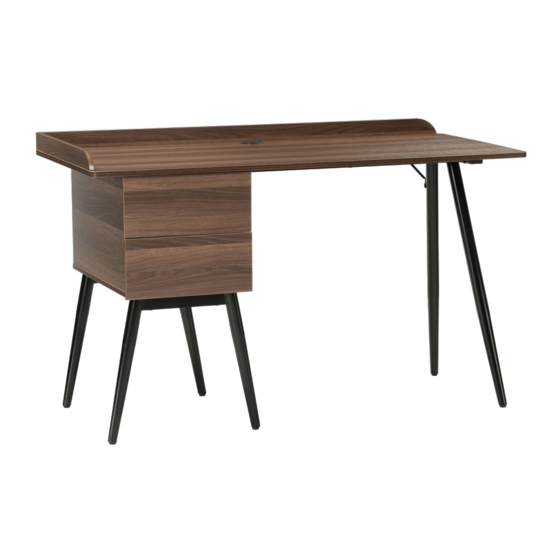
- Page 2 RTA-2338 Drawers Inside Space: 15.5"WX11.5"DX4"H " " " Product Size:51 WX23 DX32 H 50 Lbs 10 Lbs 10 Lbs...
-
Page 3: Parts List
RTA-2338 PARTS LIST Front horizontal bar Short structure Tall structure Back horizontal bar Right back support Central bar Stud Left panel Right panel... - Page 4 RTA-2338 Back panel Bottom panel Tabletop Back guard panel Left guard panel Drawer slider X4 (2 Sets) Drawer connector Drawer front panel Drawer Left panel Drawer right panel Drawer bottom panel Drawer back panel Grommet...
-
Page 5: Screws List
RTA-2338 SCREWS LIST PART QTY. ITEM PART QTY. ITEM 6X40 MM 6X25 MM 6X12 MM 6X30 MM 6X45 MM 6X50 MM 3X12 MM 3X15 MM 4X35 MM... - Page 6 RTA-2338...
-
Page 7: Assembly Steps
RTA-2338 ASSEMBLY STEPS: Insert the studs (7) on the bottom of the short structures (1). SCREWS 6X12 MM Assemble the Central bar (5) in between the structures (1) using screws (B) as shown. BACK BACK First orientate the side panels (8) and (9) with their top sides away from you and their backs facing each other;... - Page 8 RTA-2338 BACK BACK SCREWS 3X15 MM Extend the sliders (15) and secure them to the panels (8) and (9) in the middle and the back using screws (G) as shown. SCREWS 6X25 MM Assemble the Side panels (8) and to the Back panel (10) using bolts (I) as shown and as explained in page 5.
- Page 9 RTA-2338 SCREWS With the box assembled in the previous step upside-down, 6X50 MM assemble the structures (1) to the bottom of panel (11) using screws (E). PAY ATTENTION TO THE POSITION OF (3) AND (4) AND THE ORIENTATION OF THEIR BOTTOM HOLES!
- Page 10 P.10 RTA-2338 P.10 BACK LEG SCREWS Using screws (B), secure the Horizontal bars (3) and (4) to the Structure (2) ON THE INNER HOLES ONLY, as the outer holes 6X12 MM are intended for use until step 13.Also assemble the Support (6) to the back leg on (2) and the bar (4) as shown.
- Page 11 P.11 RTA-2338 P.11 SCREWS 6X12 MM Secure the bars (3) and (4) to the Left panel (8) using screws (B). ATTENTION:MAKE SURE TO USE THE CORRECT SIZE OF BOLTS AS SHOWN! SCREWS 6X40 MM Assemble the Tabletop (12) to the panels (8), (9) and (10)
- Page 12 P.12 RTA-2338 P.12 SCREWS 6X30 MM Secure the Tabletop (12) to the Structure (2) using screws (Unit viewed from behind) SCREWS 4X35 MM Assemble the Guard panels (13) on the back and (14) on the left of the Tabletop (12) using screws (H).
- Page 13 P.13 RTA-2338 P.13 ATTENTION:MAKE SURE TO ASSEMBLE ON THE FRONT ON THE PANELS. BACK END SCREWS BACK END 3X12 MM Assemble the Drawer connectors (16) to the FRONT of the side panels (18) and (19) using screws (F). SCREWS 4X35 MM Assemble the Drawer back panel (21) to the side panels (18) and (19) using screws (H).
- Page 14 P.14 RTA-2338 P.14 (Assembiy tip: Assemble the bottom drawer first) SCREWS Extend the sliders and assemble the drawers using screws 3X12 MM (F) as shown, then install the Grommet (22) in the hole of the Tabletop (12). Close the drawers and make sure they open and close properly.
- Page 15 P.15 RTA-2338 P.15...
Need help?
Do you have a question about the Techni Mobili 2338 and is the answer not in the manual?
Questions and answers