Zummo Z40 Nature Maintenance Program
Hide thumbs
Also See for Z40 Nature:
- User manual (216 pages) ,
- Technical instructions (29 pages) ,
- Instructions manual (7 pages)
Advertisement
Quick Links
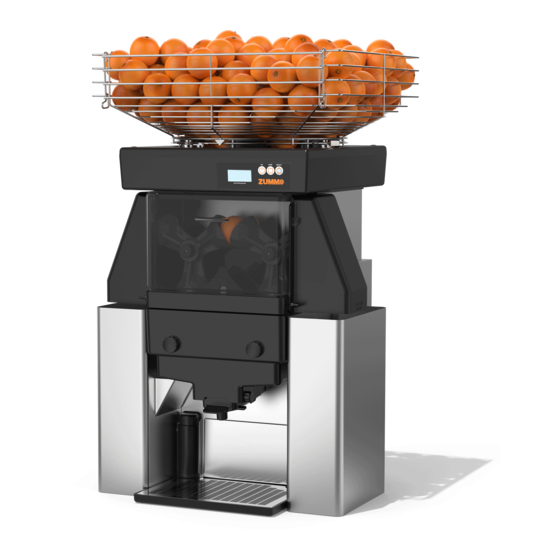
Z40
DATE:
SERIAL Nr:
LOCATION:
MAINTENANCE CHECKLIST 1
1.- PRIOR INSPECTION BEFORE OPENING THE MACHINE
1.1.- Check machine operation
1.2.- Check machine synchronization
1.3.- Check external spare parts, classifiers use and safety system
1.4.- Check ventilation and power input cable
1.5.- Note the cycles counter reading
2.- MACHINE DISMANTLING AND INTERNAL INSPECTION
2.1.- Dismantle the hopper track (Check all the screws and gasket ring)
2.2.- Check the machine body screws
2.3.- Check wiring and interconnection plugs
2.4.- Check sliders cover
2.5.- Check pushing plate and both Torx 8x35 bolts
2.6.- Check ratchets condition. Replace rubber cover if necessary.
2.7.- Check wedges condition
2.8.- Check ratchet's springs condition
2.9.- Check both cup shafts
2.10.- Check feeder condition
2.11.- Check automatic filter belt
2.12.- Check motor/gearbox assembly
2.13.- Internal cleaning and greasing
2.14.- Operation test while the machine is open
3.- MACHINE CLOSING
3.1.- Machine closing and operation test
COMENTARIOS:
Technician's name and signature:
011604-02
NATURE
st
YEAR
Reading:
Name and signature of the centre responsible:
OK
NOK
OK
NOK
OK
NOK
1
Advertisement

Related Manuals for Zummo Z40 Nature


Summary of Contents for Zummo Z40 Nature
- Page 1 NATURE DATE: SERIAL Nr: LOCATION: MAINTENANCE CHECKLIST 1 YEAR 1.- PRIOR INSPECTION BEFORE OPENING THE MACHINE 1.1.- Check machine operation 1.2.- Check machine synchronization 1.3.- Check external spare parts, classifiers use and safety system 1.4.- Check ventilation and power input cable 1.5.- Note the cycles counter reading Reading: 2.- MACHINE DISMANTLING AND INTERNAL INSPECTION...
- Page 2 NATURE DATE: SERIAL Nr: LOCATION: MAINTENANCE CHECKLIST 2 YEAR 1.- PRIOR INSPECTION BEFORE OPENING THE MACHINE 1.1.- Check machine operation 1.2.- Check machine synchronization 1.3.- Check external spare parts, classifiers use and safety system 1.4.- Check ventilation and power input cable 1.5.- Note the cycles counter reading Reading: 2.- MACHINE DISMANTLING AND INTERNAL INSPECTION...
- Page 3 NATURE DATE: SERIAL Nr: LOCATION: MAINTENANCE CHECKLIST 3 YEAR 1.- PRIOR INSPECTION BEFORE OPENING THE MACHINE 1.1.- Check machine operation 1.2.- Check machine synchronization 1.3.- Check external spare parts, classifiers use and safety system 1.4.- Check ventilation and power input cable 1.5.- Note the cycles counter reading Reading: 2.- MACHINE DISMANTLING AND INTERNAL INSPECTION...
- Page 4 NATURE 1.- PRIOR INSPECTION BEFORE OPENING THE MACHINE 1.1.- Check machine operation. The machine will be switched on with all external parts properly assembled to check operation. It is necessary to double check if the cups go down rhythmic and symmetrical and that no obstacle is observed when descending.
- Page 5 NATURE 1.3.1 Verify magnet’s condition on all parts: FILTER TRAY SIDE COVER BINS CHUTES BASKET FRONT COVER SELF SERVICE TRAY 1.3.2 Check filter tray and pulp scraper status double check when the machine is completely assembled that it moves properly. It can be checked looking by the hole underneath the filter tray.
- Page 6 NATURE 1.3.5 Check the properly use of both classifiers, the upper and lower one. If working with the medium size cups (53 / 76) we must use the upper classifier with the same size and lower separator at the same position show on picture below.
- Page 7 NATURE 2.- MACHINE DISMANTLING AND INTERNAL INSPECTION 2.1.- Check all the hopper track screws condition. Dismantle the machine following point 3 of the technical instructions. Double check all screws condition while being removed. Once the Hopper track has been removed, we will be able to disassemble the machine front.
- Page 8 NATURE 2.3.- Check the wiring and interconnection plugs. Once the hopper track is released, lift it carefully and unplug both from the interconnections box. Double check both plugs and wiring status. To be able to remove the machine we must disconnect the power input, ground connection and fan cables.
- Page 9 NATURE 2.6.- Check both ratchets condition. We must check if both are well greased, if the four safety rings (T-471- E14) are in good condition and if both ratchets have all their soundproof plugs (blue arrows). With the connecting rod on its vertical position verify that the chassis closure screws (I-933-M8X35) are securely tight.
- Page 10 NATURE 2.9.- Verify both cup shafts (210504A). Check that we haven’t got any play in both shafts and that they have the safety rings (I-471-E28) in good condition. Release the safety ring. 2.9.1 Once we have removed the safety rings of both cup shafts, push each shaft inwards, as seen in the pictures and grease the part which is inserted inside the slider.
- Page 11 NATURE 2.11.- Check the automatic filter belt. 2.12.- Check the motor / gear box assembly condition. Check the hexagonal bolt (I- 933-M6x16) on the gear box rear is well tight. Check that the belt tension is correct and check that both pulleys, motor one and gear box one, are in perfect condition.
- Page 12 NATURE 2.13.2 Grease both ratchets and wedges set. We will also grease both springs, put them back and check its tension. 2.13.3 Grease the feeder conical crown and check that the E-20 safety ring is on its place. 2.13.4 Grease the bearing of the cup slider set and he copier surface which is in contact with the bearing.
- Page 13 NATURE 2.14.- Operation test while the machine is open. Use the Allen wrench to move manually the machine, double check the ratchets sets and verify if the greasing has been done properly. 3.- MACHINE CLOSING 3.1.- Firstly we need to connect again all the cables disconnected before. We will place the stainless-steel rear and front and then the hopper track following point 14 on the technical instructions.
Need help?
Do you have a question about the Z40 Nature and is the answer not in the manual?
Questions and answers