
Related Manuals for Accu-Chek Guide Me


Summary of Contents for Accu-Chek Guide Me
- Page 1 Blood Glucose Monitoring System User’s Manual for Single Patient Use Only Blood Glucose Meter...
- Page 2 Contents Important Safety Information ....................2 Chapter 1: Your New System ....................5 Chapter 2: The Accu‑Chek Softclix Lancing Device ............10 Chapter 3: Blood Glucose Tests ..................12 Chapter 4: Control Tests ....................18 Chapter 5: Review Your Data ..................... 22 Chapter 6: Wireless Communication, Meter Pairing, and Data Transfer ......
- Page 3 • Sample data screens are shown Accu‑Chek Guide control solutions are for throughout the manual. Your data will use with the Accu‑Chek Guide Me Blood differ. Glucose Monitoring System to check that the meters and test strips are working together...
- Page 4 Important Safety Information • Do not use the meter system to measure back‑up meter and test strips. Ask your healthcare professional or blood glucose in people who are pharmacist about other possible experiencing cardiovascular collapse back‑up methods. (severe shock) or decreased peripheral blood flow.
- Page 5 Do not swallow or inject the interchangeable and mean the same control solution or use the control thing. solution for any purpose other than testing the Accu‑Chek Guide Me system. Special Information for Caregivers • Consult your healthcare professional to NOTE...
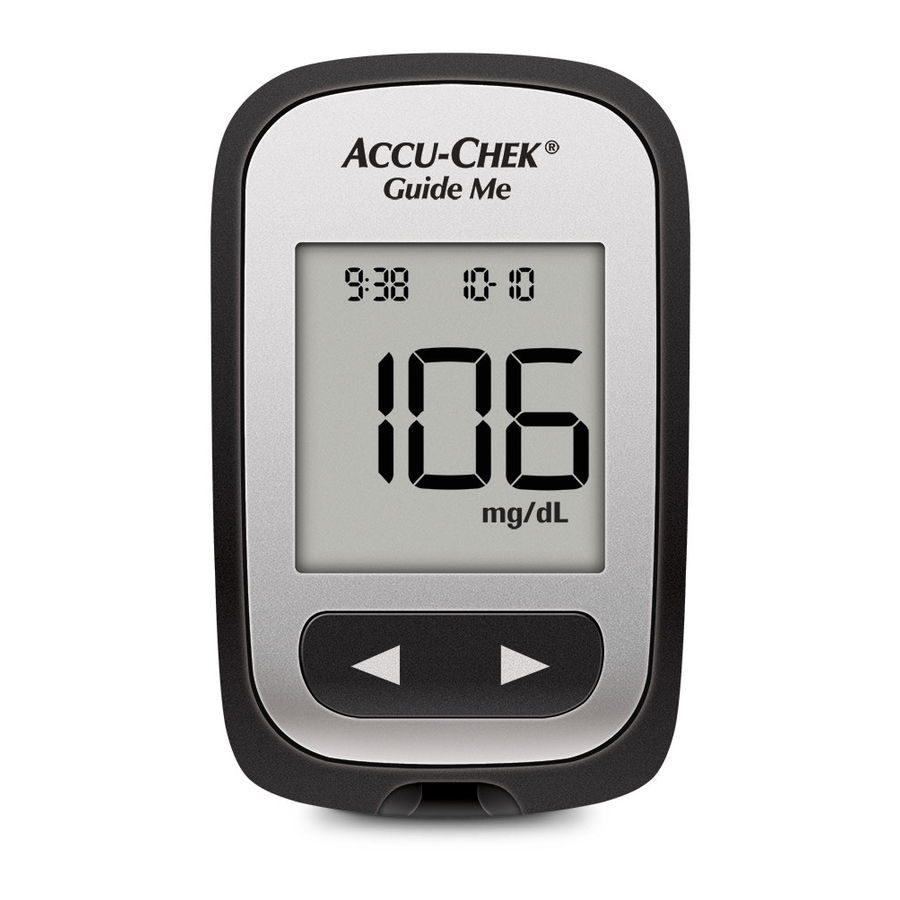
- Page 6 Your New System The Accu‑Chek Guide Me Meter Front View Back View Side View 1. Power/Set Button 6. Battery Door Turns meter on or off and sets options. Open to replace batteries. 2. Display 7. Micro USB Port Shows results, messages, and test Transfers data from meter to a results stored in memory.
- Page 7 Your New System 8. Test Strip Container* 11. Control Solution Bottle* 9. Test Strip* – Metallic End 12. Batteries Insert this end into meter. 13. USB Cable* 10. Test Strip* – Yellow Edge Connects meter to a PC. Touch blood drop or control solution here.
- Page 8 Your New System Using the Meter Buttons When instructed to press a meter button, press it briefly and release it. When instructed to press and hold a meter button, press and hold it for 3 or more seconds. Button Functions Here are the functions of the power/set button and arrow buttons on the meter.
- Page 9 Your New System Symbols Symbol Description 7‑day average symbol. This indicates that you are viewing the 7‑day average of your blood glucose results. 14‑day average symbol. This indicates that you are viewing the 14‑day average of your blood glucose results. 30‑day average symbol.
- Page 10 Your New System Setting the Time and Date NOTE • The meter prompts you to set the time and date the first time you turn the Press and release meter on or if an error occurs. to turn the meter on. •...
- Page 11 The Accu‑Chek Softclix Lancing Device Using the Accu‑Chek Softclix Lancing Device • The black cap is for fingertip testing only. • Remove the cap by pulling it straight off. Do not twist the cap. • The penetration depth indicator on the comfort dial shows the current depth setting.
- Page 12 The Accu-Chek Softclix Lancing Device Using the Accu‑Chek Softclix Lancing Device Adjust the lancet depth by turning the comfort dial. Press the priming button in as far as it will go, like a pen. The release button turns yellow when the lancing device is ready.
- Page 13 Failure to move your finger away from the test strip Using the Accu‑Chek Guide Me during measurement could give System inaccurate results. WARNING To prevent inaccurate results: •...
- Page 14 Blood Glucose Tests • The Accu‑Chek Guide test strips are for NOTE testing fresh capillary whole blood. • Use only Accu‑Chek Guide test strips. • Before you perform your first blood glucose test, set the meter time and • Use the test strip immediately after date.
- Page 15 Blood Glucose Tests Check the Use By date Gently squeeze your on the test strip finger to assist the container. blood flow. This helps you get a blood drop. Do not use test strips past the Use By date. Touch the yellow edge Remove a test strip of the test strip to the from the test strip...
- Page 16 Blood Glucose Tests Performing a Blood Glucose Test with Blood from Your Palm or Discard the used Upper Arm (Alternative Site lancet. Remove the Testing, AST) lancing device cap. Point the lancet away WARNING from you. • Do not use alternative site testing to Slide out the ejector to release the lancet calibrate a continuous glucose into a puncture‑proof container.
- Page 17 Blood Glucose Tests You may perform a palm • immediately before a meal. or upper arm test • while fasting. You may NOT perform a • up to 2 hours following a meal, when blood glucose values palm or upper arm test can rise quickly.
- Page 18 Blood Glucose Tests Symptoms of Low or High Blood Glucose WARNING • The meter is designed to provide a numerical value for blood glucose in the range of 20–600 mg/dL. • Being aware of the symptoms of low or high blood glucose can help you understand your test results and decide what to do if they seem unusual.
- Page 19 Control Tests When to Perform a Control Test • The control solution can stain fabric. Remove stains by washing with soap and Performing a control test lets you know the water. meter and test strips are working properly. • Control solution is available for purchase. You should perform a control test when: To order the control solution, talk to your •...
- Page 20 Control Tests Remove a test strip Touch the drop to the from the test strip yellow edge of the container. test strip. Do not put control solution on top Close the cap tightly. of the test strip. A flashing appears Insert the metallic end when there is enough of the test strip into the...
- Page 21 Control Tests Wipe the tip of the bottle with a tissue. Cap the bottle tightly. Remove and discard the used test strip. Understanding Out‑of‑Range Control Results WARNING • The control range applies only to a control result. It only indicates that the test strips and meter are working properly.
- Page 22 Control Tests Troubleshooting Checks Action Were the test strips or control Discard the test strips or control solution if either is solutions expired? past the Use By date. If the control solution was opened more than 3 months ago, discard it. Repeat the control test with an unexpired test strip and an unexpired control solution.
- Page 23 Review Your Data Overview Reviewing Blood Glucose Results in Memory • The meter automatically stores up to 720 blood glucose results in memory with the time and date of the test. • Once 720 blood glucose results are in With the meter off, memory, adding a new blood glucose press result deletes the oldest blood glucose...
- Page 24 Review Your Data With the most recent test result on the display, press . The 7‑day average memory appears on the display. Press to scroll through 7, 14, 30, and 90‑day averages. The number of test results memory in the average = n. Press to scroll back from 90, 30, 14, and 7‑day averages.
- Page 25 Wireless Communication, Meter Pairing, and Data Transfer Overview The process of creating a connection On Your Meter between the meter and the mobile device is called pairing. You will need an application With the meter off, on your mobile device that can accept the press and hold meter’s data.
- Page 26 Wireless Communication, Meter Pairing, and Data Transfer On Your Meter Press and hold until the Bluetooth symbol disappears. Turning Bluetooth On OK appears if pairing is successful. Err appears if pairing is unsuccessful. If you have turned Bluetooth off (flight mode), follow the steps below to turn it back on.
- Page 27 Wireless Communication, Meter Pairing, and Data Transfer Plug the small end of the USB cable into the meter. Plug the large end of the USB cable into a USB port on the PC. If the meter is off, it turns on. Start the diabetes management software on the PC and initiate a data transfer.
- Page 28 Meter and Lancing Device Cleaning and Disinfecting What is the difference between NOTE cleaning and disinfecting? For technical assistance or questions on Cleaning is the removal of dirt from the cleaning and disinfecting, contact the meter or lancing device. Accu‑Chek Customer Care Service Center Disinfecting is the removal of most, but not at 1‑800‑858‑8072.
- Page 29 Meter and Lancing Device Cleaning and Disinfecting NOTE Using cleaning and disinfecting products could result in damage to the meter. If you notice any of the following signs of deterioration after cleaning and disinfecting your meter, stop using your meter and contact the Accu‑Chek Customer Care Service Center at 1‑800‑858‑8072: residue around buttons, clouding of display, button malfunction, out‑of‑range control results.
- Page 30 Meter and Lancing Device Cleaning and Disinfecting Cleaning and Disinfecting the Lancing Device Wash hands with To clean and disinfect without damaging the soap and water and lancing device, follow these procedures dry thoroughly. carefully. When to Clean and Disinfect the Lancing Device •...
- Page 31 Meter and Lancing Device Cleaning and Disinfecting • You might observe a slight discoloration of the lancing device A separate Super Sani‑Cloth should be after multiple cleaning and disinfecting used for cleaning and disinfection. For cycles. This does not affect the disinfecting the lancing device, use a functionality of the lancing device.
- Page 32 Meter Maintenance and Troubleshooting Meter Maintenance The meter automatically tests its own Slide the new batteries systems every time you turn it on and lets under the black tabs you know if something is wrong. See the with the (+) side facing Error Messages section in this chapter.
- Page 33 Meter Maintenance and Troubleshooting NOTE The error code and Err will alternate on the display for all coded error messages (E‑1 through E 14). The meter is connected to a PC and a blood glucose or control test cannot be performed.
- Page 34 Meter Maintenance and Troubleshooting (The error code and Err will alternate on the display.) Blood glucose may be higher than the A meter or test strip error has occurred. measuring range of the system. This error message could appear if the See the Unusual Blood Glucose Results cap on the test strip container was not section in the chapter Blood Glucose...
- Page 35 Meter Maintenance and Troubleshooting (The error code and Err will (The error code and Err will alternate on the display.) alternate on the display.) Not enough blood or control solution was The temperature is above or below the drawn into the test strip for proper range for the system.
- Page 36 Meter Maintenance and Troubleshooting (The error code and Err will (The error code and Err will alternate on the display.) alternate on the display.) Your blood sample may contain a high The time and date setting may be level of ascorbate. incorrect.
- Page 37 Weight Approx. 43 g (with batteries) Construction Hand‑held Protection class Meter type The Accu‑Chek Guide Me meter is suitable for continuous operation. Control solution storage Refer to the control solution package insert. conditions USB: micro‑B connector; Bluetooth low energy technology;...
- Page 38 Technical Information Bluetooth Wireless Technology – The increase the distance between the meter meter uses Bluetooth low energy wireless and that device. You can also turn off the technology to communicate and transfer interfering device. In addition, you can turn information.
- Page 39 Test Principle – Refer to the test strip package insert. Lancing Devices, Lancets, and Batteries Communication Protocol – The Accu‑Chek Guide Me blood glucose meter is Continua Certified. Continua Certified signifies that WARNING this product complies with applicable IEEE • Any product coming in contact with 11073‑10417 standards and that it has...
- Page 40 These symbols may appear on the FDA Public Health Notification: “Use of packaging, on the type plate, and in the Fingerstick Devices on More than One instructions for the Accu‑Chek Guide Me Person Poses Risk for Transmitting meter. Bloodborne Pathogens: Initial Communication, (2010).
- Page 41 License and Warranty Warranty with respect to the Accu‑Chek Guide Me meter shall be replacement. Accu‑Chek Guide Me Meter 30‑day This warranty does not apply to the Money‑back Guarantee for performance of an Accu‑Chek Guide Me Qualifying Consumers meter that has been damaged by accident or...
- Page 42 4‑October‑2022); 8,303,801 (expires 4‑October‑2022); 8,329,026 (expires All requests for return of Accu‑Chek 4‑October‑2022); 7,452,457 (expires Guide Me meters under the above warranty 2‑May‑2026); 7,488,601 (expires or service policy must be made to the 1‑February‑2026); 7,569,126 (expires Accu‑Chek Customer Care Service Center.
- Page 43 Accu‑Chek Softclix warranties covering the Accu‑Chek lancing device only with Accu‑Chek Softclix Guide Me system are voided by use of the lancets. If you do not agree to the terms and Accu‑Chek Guide Me system with any test conditions of the restricted license, you may strips other than Accu‑Chek Guide test...
- Page 44 Index alternative site testing 15 maintenance, meter 31 averages, viewing 22 memory 22 meter, cleaning and disinfecting 27 batteries, changing 31 battery type 31, 36 pairing 24 blood glucose results, unusual 16 product limitations 36 blood glucose test, performing 13 product specifications 36 blood glucose, warning 17, 33 buttons, functions 5, 7...
- Page 45 Roche Diabetes Care, Inc 9115 Hague Road Indianapolis, Indiana 46256 www.accu‑chek.com ACCU‑CHEK, ACCU‑CHEK GUIDE, ACCU‑CHEK GUIDE ME, and SOFTCLIX are trademarks of Roche. CONTINUA, the CONTINUA logos, and CONTINUA CERTIFIED are trademarks, service marks, or certification marks of the Continua Health Alliance.
Need help?
Do you have a question about the Guide Me and is the answer not in the manual?
Questions and answers
I've just bought the strips and the packet says 2024-11-16. Is that the make date, or the use by date.
The date 2024-11-16 on the Accu-Chek strips is the Use By date.
This answer is automatically generated
Does it come with a USB cord for charging?
No, the Accu-Chek Guide Me meter uses two 3-volt lithium coin cell batteries (CR2032) for power. It has a micro-USB port, but there is no mention of a USB cord for charging.
This answer is automatically generated
Is there a screen light for darkness
No, the Accu-Chek Guide Me does not have an illuminated screen.
This answer is automatically generated