Avaya S8500 Job Aid
Replacing media server release 2.0 and later
Hide thumbs
Also See for S8500:
- Manual (330 pages) ,
- Job aids for field replacements (186 pages) ,
- Installing and configuring (118 pages)
Advertisement
Quick Links
Job Aid
Replacing the Avaya S8500
Media Server—Release 2.0 and
Later
This job aid describes the steps required to replace an Avaya S8500 Media Server running Release 2.0
and later of Communication Manager. You should replace the media server only to correct a problem,
such as a functional failure of the motherboard, the hard drive, or other components.
The hard drive in the replacement media server comes blank. If you are using this blank hard drive, you
must install the software from the CD-ROM that the customer received from an earlier installation of
Release 2.0 software. The software CD-ROM contains the Linux operating system and the appropriate
release of Avaya Communication Manager.
If the hard drive in the failed media server is good, you can replace the blank hard drive in the
replacement media server with the old hard drive.
Required Equipment
Verify that you have the following equipment and tools on site:
•
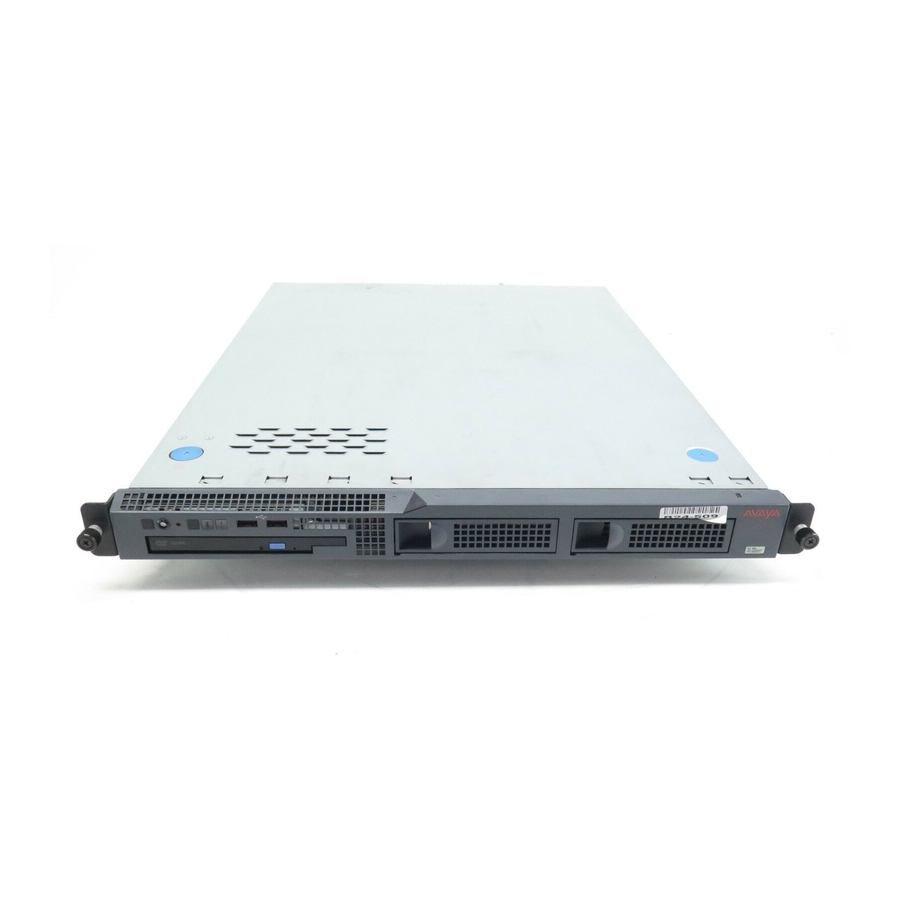
Replacement S8500 Media Server
•
CD-ROM with the software load (from the customer) if not reusing the hard drive
•
Ethernet crossover cable for direct connection of your laptop to the media servers
•
Flat-head screwdriver
•
Cross-point (Phillips) screwdriver
•
Electrostatic wrist ground strap and mat
•
Paper clip
Pre-site tasks
Before you go on site, verify that the following tasks are done.
•
Ask the customer for the Product ID for the media server being replaced. If the customer does not
have it, run the Automatic Registration Tool (ART) to obtain the Product ID number and port
number (customer dial-up) for the replacement media server.
•
If the customer is using SNMP for alarming, you will need to get the IP addresses and community
names from the customer because the SNMP programming is not saved after the replacement.
Replacing the Media Server with Release 2.0—S8500
December 2003
Job Aid Replacing the Avaya S8500 Media Server—Release 2.0 and Later
Required Equipment
1
555-245-762, Issue 1
Advertisement

Related Manuals for Avaya S8500


Summary of Contents for Avaya S8500
- Page 1 Media Server—Release 2.0 and Later This job aid describes the steps required to replace an Avaya S8500 Media Server running Release 2.0 and later of Communication Manager. You should replace the media server only to correct a problem, such as a functional failure of the motherboard, the hard drive, or other components.
- Page 2 If using the blank hard drive that comes with the media server, verify that you have the current license and Avaya authentication files to install on the replacement media server. Go to the Remote Feature Activation (RFA) Web site to get them (http://rfa.avaya.com).
- Page 3 Media Server (555-245-111) on the Avaya S8300, S8500, and S8700 Media Server Library CD-ROM, 555-233-825, Issue 3, for details on the tasks. Checklist 2. Initial tasks for replacing a hard drive in a failed S8500 Media Server (if functional) Task...
- Page 4 Job Aid Replacing the Avaya S8500 Media Server—Release 2.0 and Later Media server considerations Checklist 3. Initial tasks for replacing an S8500 Media Server reusing the original hard drive Task Description Log onto Maintenance Web Connect to the services port on the back of the media server.
- Page 5 Job Aid Replacing the Avaya S8500 Media Server—Release 2.0 and Later Tasks to replace an S8500 Media Server Tasks to replace an S8500 Media Server Checklist 4. Tasks for replacing an S8500 Media Server Task Description Shut down the media server If the hard drive is functional, under Server, click Shutdown This Server then unclick Restart Server after Shutdown.
-
Page 6: Final Tasks
Server reusing the original hard drive on page 10. If not reusing the old hard drive, you must install the Linux operating system and Avaya Communication Manager on the blank hard drive, then restore the backed up system files to the media server. Follow the... - Page 7 Final tasks NOTE: If at any time you cannot log into the media server or RSA card, clear the ARP cache. Checklist 5. Final tasks for replacing an S8500 Media Server using the blank hard drive Task Description Disconnect the RJ45 cable Disconnect the Ethernet RJ45 cable from the Services port on the media server.
- Page 8 Job Aid Replacing the Avaya S8500 Media Server—Release 2.0 and Later Final tasks Checklist 5. Final tasks for replacing an S8500 Media Server using the blank hard drive Task Description Check software version Under Server, click Software Version to verify that the hard drive has the current release of Communication Manager.
- Page 9 Job Aid Replacing the Avaya S8500 Media Server—Release 2.0 and Later Final tasks Checklist 5. Final tasks for replacing an S8500 Media Server using the blank hard drive Task Description Check the translations Using the SAT screen, type list configuration all and press Enter and check that all the hardware displays.
- Page 10 Job Aid Replacing the Avaya S8500 Media Server—Release 2.0 and Later Final tasks Checklist 5. Final tasks for replacing an S8500 Media Server using the blank hard drive Task Description Set a timeout value On the RSA welcome screen, on the...
- Page 11 Replacing the S8500 Media Server When replacing a failed S8500 Media server, there may be several components that can be reused. These include the hard drive, Remote Supervisor Adapter (RSA), and Network interface card (NIC), if being used. If these components are serviceable, we recommend that you remove them from the failed media server and install them in the replacement media server.
- Page 12 Wear an anti-static wrist ground strap whenever handling components such as the hard drive of an Avaya S8500 Media Server. Connect the strap to an approved ground, such as an unpainted metal surface. Also, place the hard drive on an anti-static mat that is similarly grounded.
- Page 13 Job Aid Replacing the Avaya S8500 Media Server—Release 2.0 and Later Replacing the S8500 Media Server Use the two black pull handles on the ribbon cables to unplug the data connectors from the back of the CD-ROM and hard drive.
- Page 14 Wear an anti-static wrist ground strap whenever handling components such as the hard drive of an Avaya S8500 Media Server. Connect the strap to an approved ground, such as an unpainted metal surface. Also, place the hard drive on an anti-static mat that is similarly grounded.
- Page 15 Job Aid Replacing the Avaya S8500 Media Server—Release 2.0 and Later Replacing the S8500 Media Server Loosen the captive screw located to the right of the slot labeled PCI 1. The riser connector must be removed by pulling straight up on the adapter support bracket. Place...
- Page 16 Wear an anti-static wrist ground strap whenever handling components such as the hard drive of an Avaya S8500 Media Server. Connect the strap to an approved ground, such as an unpainted metal surface. Also, place the hard drive on an anti-static mat that is similarly grounded.
- Page 17 CAUTION: Make sure that the NIC is completely and correctly seated in the PCI-2 expansion slot of the S8500 Media Server. Incomplete insertion might cause damage to the system board or the NIC. Replacing the Media Server with Release 2.0—S8500...
- Page 18 5 to continue with the listed tasks. See Getting Started with the Avaya S8500 Media Server for information on installing the S8500 Media Server in the rack and reconnecting all the cables. Preparing the failed media server for shipment...
- Page 19 • On the front of the S8500 Media Server, press the power button to shut off the media server. CAUTION: Do not unplug a functioning server without stopping all processes first. Failure to do this will corrupt the hard drive.
- Page 20 Job Aid Replacing the Avaya S8500 Media Server—Release 2.0 and Later Expanded Procedures Type telnet 192.11.13.6 and press Enter to view the first screen. NOTE: To navigate on these screens, use the arrow keys to move to an option, then press the space bar to select the option.
- Page 21 Job Aid Replacing the Avaya S8500 Media Server—Release 2.0 and Later Expanded Procedures Select <OK> and press Enter to partition the hard drive and reformat the partitions. The program begins the installation process and reports the progress. These processes can take up to 20 minutes. When the media server is ready to reboot, the CD- ROM drive drawer opens.
- Page 22 Job Aid Replacing the Avaya S8500 Media Server—Release 2.0 and Later Expanded Procedures Installing post-upgrade patch files (if any) NOTE: Skip this procedure if there is no Communication Manager software update (patch) file to install. This software update (patch) may or may not be call preserving.
- Page 23 Job Aid Replacing the Avaya S8500 Media Server—Release 2.0 and Later Expanded Procedures Restoring the system files Under Data Backup/Restore, click View/Restore Data. Select FTP and fill in the User Name, Password, Host Name (must use the host IP address), and Directory fields where the files were backed up.
- Page 24 Job Aid Replacing the Avaya S8500 Media Server—Release 2.0 and Later Expanded Procedures Click Status to view the Restore status. When the restoration is complete, the message Restore displays. is finished Verify media server configuration Under Server Configuration, click Configure Server to start the configure server process.
Need help?
Do you have a question about the S8500 and is the answer not in the manual?
Questions and answers