
Related Manuals for CHIEF CMA101


Summary of Contents for CHIEF CMA101
- Page 1 I N S T A L L A T I O N I N S T R U C T I O N S Ceiling Plate Spanish Product Description German Product Description Portuguese Product Description Italian Product Description Dutch Product Description French Product Description CMA101...
-
Page 2: Installation Instructions
Exceeding the weight capacity can result in serious personal injury or damage to equipment! It is the installer’s responsibility to make sure the combined weight of all components attached to the CMA101 mount does not exceed 500 lbs (226.8 kg). NOTE:... -
Page 3: Tools Required For Installation
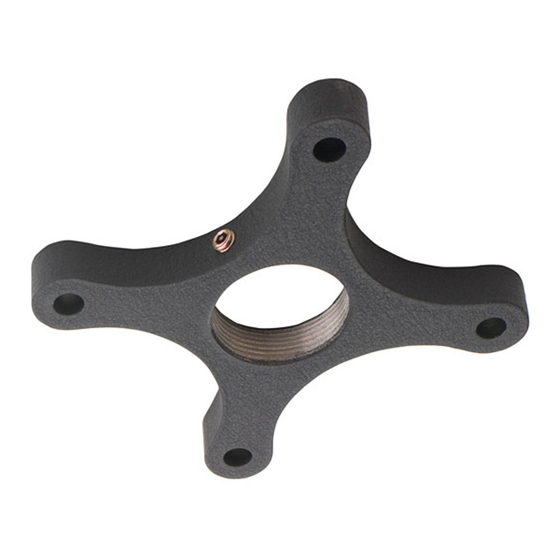
Installation Instructions CMA101 TOOLS REQUIRED FOR INSTALLATION Hardware required - not included (dependent on installation method) Install to wood ceiling joists 7/32" (wood) • 5/16" x 3-1/2" (minimum length) Grade 2 lag bolts (Qty. 4) 5/16" (AF8) 3/8" (UX10) Install to concrete •... - Page 4 CMA101 Installation Instructions LEGEND Tighten Fastener Pencil Mark Apretar elemento de fijación Marcar con lápiz Befestigungsteil festziehen Stiftmarkierung Apertar fixador Marcar com lápis Serrare il fissaggio Segno a matita Bevestiging vastdraaien Potloodmerkteken Serrez les fixations Marquage au crayon Loosen Fastener Drill Hole Aflojar elemento de fijación...
-
Page 5: Wood Stud Installation
Concrete Installation section, or Threaded Rod Installation section. Figure 1 Wood Stud Installation Align four mounting holes in CMA101 with four pilot holes. (See Figure 2) Carefully determine required mounting location. Secure CMA101 to structure using four 5/16" x 3-1/2" Grade IMPORTANT ! : This will require knowing the lens to 2 lag bolts (not included). - Page 6 EQUIPMENT! Structural members MUST be capable of supporting five times the combined weight of all equipment being mounted. Figure 4 Using the CMA101 as a guide, mark four mounting hole locations on ceiling. (See Figure 3) Drill four 3-1/4" deep pilot holes. (See Figure 3) •...
- Page 7 Install CMA101 onto threaded rods, inserting the rods into the four holes on top of the CMA101. Secure the threaded rods to the CMA101 with one 5/16" nut (not included) and one 5/16" washer (not included) on each threaded rod. (See Figure 5)
- Page 8 Europe A Franklinstraat 14, 6003 DK Weert, Netherlands P +31 (0) 495 580 852 F +31 (0) 495 580 845 Chief, a products division of Asia Pacific A Office No. 1 on 12/F, Shatin Galleria Milestone AV Technologies 18-24 Shan Mei Street...
Need help?
Do you have a question about the CMA101 and is the answer not in the manual?
Questions and answers