Advertisement
1. Package Contents
Thank you for purchasing PLANET Universal Network Management
Controller. The description of the model is shown below:
NMS-500 Enterprise-class Universal Network Management Controller
"NMS-500 Controller" is used as an alternative name in this
Quick Installation Guide.
Package Contents:
The NMS-500 Controller x 1
Quick Installation Guide x 1
RS232 to RJ45 Console Cable x 1
Adapter with Power Cord x 1
UDP Cable x 1
Round Gasket x 4
If any item is found missing or damaged, contact your local reseller
for replacement.
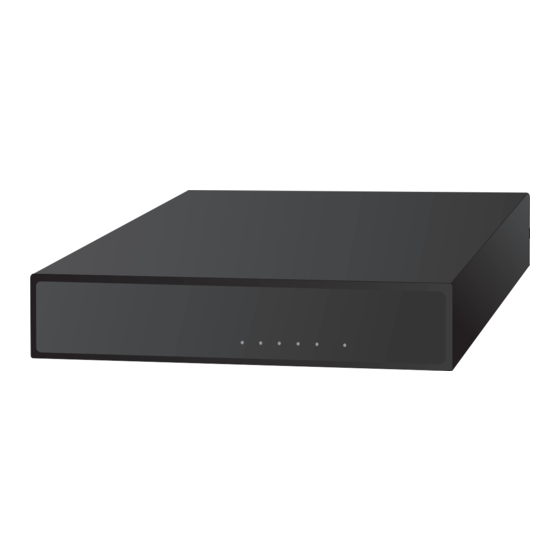
2. Hardware Description
USB Port
Power
12V DC IN
Console Port
Reset Button: <5 sec: System reboot;> 5 sec: Factory default
4. Entering into the Web Management
Default IP Address: 192.168.1.100
Default Management Port: 8888
Default Username: admin
Default Password: admin
Launch
the
Web
browser
mode
is
recommended.)
"https://192.168.1.100:8888".
username and password shown above to log on to the system.
The secure login with SSL (HTTPS) prefix is required.
After logging on, connect the NMS-500 Controller to the managed
network to centrally control PLANET managed devices.
Reset Button
LAN1~5 Ports
– 1 –
(Google
Chrome
with
and
enter
the
default
IP
Then,
enter
the
– 3 –
3. Wired Network Configuration
A computer with wired Ethernet connection is required for the first-
time configuration of the NMS-500 Controller.
IP Address:192.168.1.100
1. Go to "Control Panel-> Network and Sharing Center->
Change Adapter Settings".
2. Double-click "Local Area Connection".
3. Select "Internet Protocol version 4 (TCP/IPv4)" and click
"Properties".
4. Select "Use the following IP address" and then click the
"OK" button twice to save the configuration. For example, the
default IP address of the NMS-500 Controller is 192.168.1.100,
then the manager PC should be set to 192.168.1.x (where x
is a number between 1 and 254, except 100), and the default
subnet mask is 255.255.255.0.
5. Deployed Devices Monitored via NMS-500
Controller
The NMS-500 incorporated in a workstation or PC can monitor
all the deployed wired or wireless PoE industrial–grade network
devices, such as managed switches, media converters, routers,
smart APs, VoIP phones, IP cameras, etc. compliant with the SNMP
Protocol, ONVIF Protocol and PLANET Smart Discovery utility.
seamless
Please regularly check PLANET website for the latest
address
compatibility list of managed devices.
default
Follow the steps below to set up the device from the "Standalone
device" mode to the "Managed device" mode.
Step 1:
Managed AP
IP Camera
Step 2:
NMS-500
RJ45/UTP Cable
– 2 –
Connect the devices, NMS-500 Controller and your
computer to the same network.
PoE
Managed PoE Switch
PoE
Switch: Log in to the Switch's Web User Interface and
enable the SNMP and LLDP function.
AP: Log in to the AP's Web User Interface to configure
the AP to "Managed AP". In support of SNMP AP,
enable the SNMP function.
IP Cam: The ONVIF function is enabled by default.
– 4 –
PC / Workstation with
Web Browser 192.168.1.x
NMS-500
PC / Workstation with
Web Browser 192.168.1.x
Advertisement
Table of Contents

Related Manuals for Planet NMS-500


Summary of Contents for Planet NMS-500
- Page 1 Controller. The description of the model is shown below: time configuration of the NMS-500 Controller. NMS-500 Enterprise-class Universal Network Management Controller NMS-500 RJ45/UTP Cable “NMS-500 Controller” is used as an alternative name in this Quick Installation Guide. PC / Workstation with IP Address:192.168.1.100 Web Browser 192.168.1.x Package Contents: ...
- Page 2 “Apply”. configurations of the NMS-500 Controller. For further configurations of PLANET UNI-NMS, please refer to the user manual, which can be Then, you can go to the “Device List” page to configure downloaded from the website. the device by using hyperlink to log in to the device web page.
Need help?
Do you have a question about the NMS-500 and is the answer not in the manual?
Questions and answers