Advertisement
ASSEMBLY INSTRUCTIONS
Thank you for purchasing a quality select hardwood rocking chair. This rocking chair is distributed by
the Hinkle Chair Company, a family-owned business that has made hardwood furniture in the same location in
Springfield Tennessee since 1834. Your chair comes with a rich heritage and will become a treasured family
heirloom. If you should have any comments or questions please call the toll-free number below between 8:00 AM
and 4:30 PM CST Monday through Friday. Again, we appreciate your business and hope you get many years of
enjoyment from this chair.
NOTICE: The Rocking Chair product that you have purchased requires some assembly. As with all furniture,
proper assembly is necessary for the safe and comfortable use of your rocker. Hinkle Chair cannot be responsible
for any damage or injury that results from improper assembly of the chair. Please read and follow these instructions
carefully and in sequence. *To ensure proper assembly, pre-assemble the chair to identify all necessary components
and familiarize yourself with the assembly process. If you have any questions please call
The Hinkle Chair Company helpline (800) 251-3025
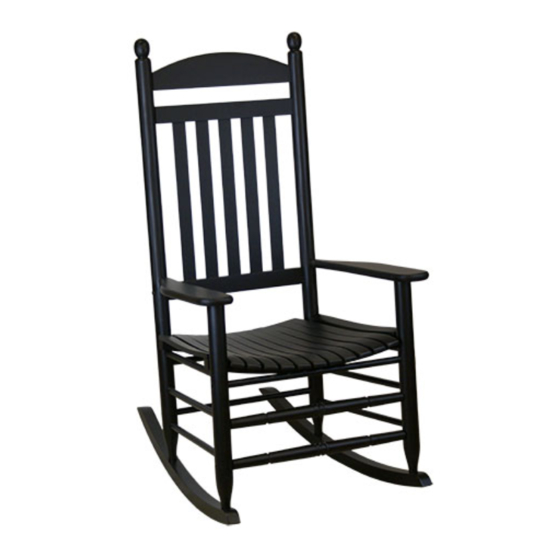
PLEASE NOTE: The Rocker you have purchased is depicted above. Many of our rockers assemble with the exact same
steps and the only difference is the appearance of the chair. If the rocker depicted in the assembly steps does not look
the chair you purchased, it assembles with the same steps. Also, all references of left and right in these instructions are
from the perspective of standing in front of the chair facing it, not siting in it.
#200 SLAT ROCKER
Advertisement
Table of Contents

Related Manuals for Hinkle Chair Company 200 SLAT ROCKER


Summary of Contents for Hinkle Chair Company 200 SLAT ROCKER
- Page 1 Thank you for purchasing a quality select hardwood rocking chair. This rocking chair is distributed by the Hinkle Chair Company, a family-owned business that has made hardwood furniture in the same location in Springfield Tennessee since 1834. Your chair comes with a rich heritage and will become a treasured family heirloom.
- Page 2 ROCKING CHAIR ASSEMBLY INSTRUCTIONS Screws/Nails/Buttons PARTS INCLUDED: 1 – Chair Seat (A) Hardware: 1 – Chair Back (B) Nail pack w/4 nails 1 – Headrest (C) 4 Seat Screws 2 – Runners (D) 10 Buttons 2 – Back Spindles 19 inches (E) 10 Side Screws 1 –...
- Page 3 **Attention/Stop** Please read before assembling this product! Hinkle Chair Company has made every effort to provide you with a ready-to-assemble product that has the same quality as our fully assembled rocking chairs. In the unlikely event that there are incorrect...
- Page 4 STEP 1: ________________________________________________________________ _______________________ Lay Chair Side Left (G-L) with the holes facing up on the shipping Insert Chair Back (B) into mortises on Chair Side. Note that the bevel box to protect the finish. Install Front Spindle (F) Turned faces the rear of the chair.
- Page 5 STEP 2:________________________________________________________________________________________ Lay Chair Side (G-R) over corresponding spindles and components as shown in Figure 5. This step is much easier if two people align the corresponding spindles and components. Once the alignment is complete begin pressing down on the side to fully seat into all of the mortises and holes.
- Page 6 STEP 3: _________________________________________________________________________________________ Place Runner (D) onto the tenons at the bottom of the Chair Side. Once the Runner (D) is started onto the tenons gently tap the bottom of the runner until fully seated onto the tenon. Ensure that the pre-drilled holes face to the inside.
- Page 7 STEP 3: _________________________________________________________________________________________ With the Seat Screws provided, thread the screw into the pre-drilled hole and into the bottom of the seat. Hand tighten the screw until it is flush into the spindle and into the pre-drilled counter sink. Repeat for all four screws.
- Page 8 CARE TIPS LISTED BELOW ARE SOME TIPS TO HELP KEEP YOUR FURNITURE LOOKING NEW. To preserve the finish on stained or pure white furniture it is highly recommended that they either be placed indoors or in a protected environment such as a covered porch. In any case the finish will last longer and look better if kept out of direct sunlight and blowing rain.
Need help?
Do you have a question about the 200 SLAT ROCKER and is the answer not in the manual?
Questions and answers