
Related Manuals for ELECTROCOMPANIET ECI 6DX MKI


Summary of Contents for ELECTROCOMPANIET ECI 6DX MKI
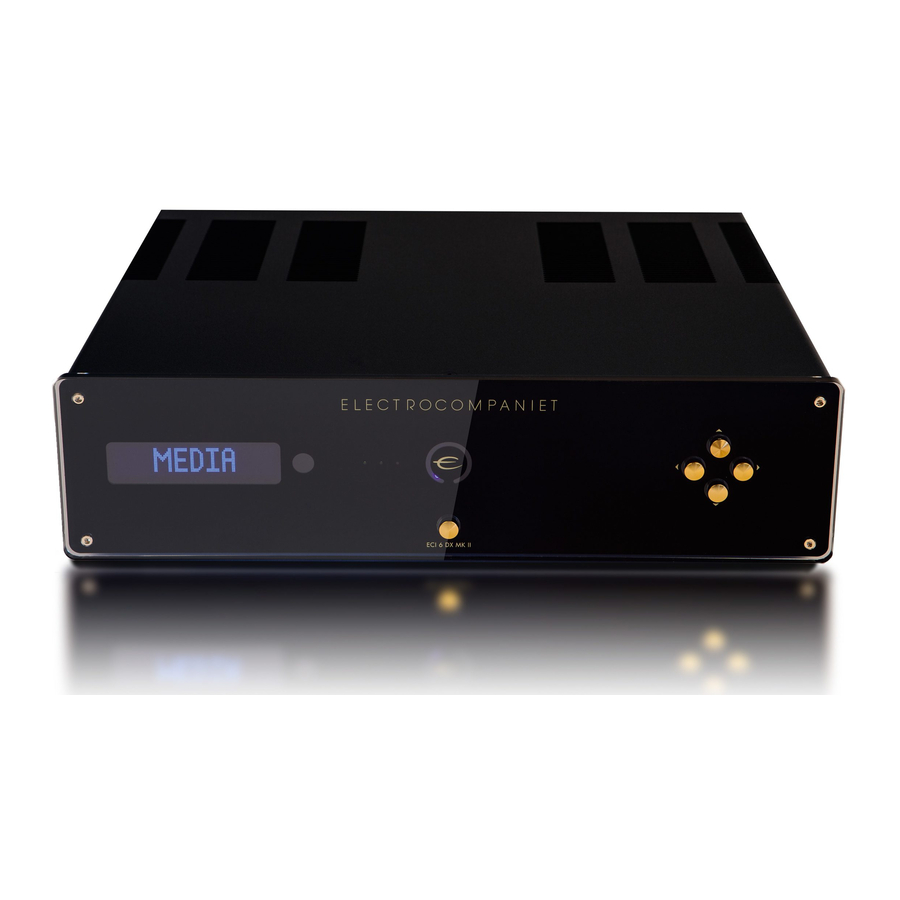
- Page 1 ECI 6 DX MK II ECI 6DX MKII Balanced Integrated Amplifier with built-in DAC and next-gen streamer Owner's Manual...
- Page 2 Welcome to the world of Electrocompaniet! We thank you for choosing an Electrocompaniet high-end product. At Electrocompaniet we are relentlessly focused on developing audio equipment that is capable of bringing the fabulous experience of the concert hall into the very heart of your home.
-
Page 3: Setup Procedure
Unpack the unit carefully. Save all packaging materials for future shipment. The contents of the carton • 1 pc. Electrocompaniet ECI 6DX MKII Integrated amplifier • 1 pc. AC main cord. • 1 pc. Spare main fuse (located in the fuse drawer, 3.15AT /250VAC or 5AT/115VAC) -
Page 4: Preamp Out
How to connect your system Please read this page carefully and use rear panel illustration at page 17 as reference. Balanced XLR input and operation The balanced mode can only be used if the signal source has a balanced output. Use an XLR interconnect with GND on pin 1, + on pin2, and - on pin 3. -
Page 5: Trigger Input/Output
ECI 6DX MKII. Please refer to document "ECI6DX RS232 Command Reference V1.pdf" for further information. This document may be downloaded from www.electrocompaniet.com Streaming from your network, or the internet The media streamer of the ECI 6DX MKII can connect to your network wirelessly, or using a cable. -
Page 6: First Time Setup
FIRST TIME SETUP Your ECI 6 DX MKII is equipped with a setup guide through the App that quickly configures the most common settings. In order to access this guide, the ECI 6 DX MKII should be connected to your network by ethernet cable. (not included) If you don’t have access to a router or can’t connect the system using an Ethernet cable, please go to page10 to set up the system wirelessly.”... - Page 7 Download the “EC PLAY” App The free App is available at Apple store or Google Play. Search for: Use your PC, Mac or Linux “EC PLAY” or “Electrocompaniet” machine with a web browser iOS / Android/ PC or Mac WiFi link...
-
Page 8: Follow The On-Screen Instructions
FOLLOW THE ON-SCREEN INSTRUCTIONS A L T E R N A T I V E R E C O M M E N D E D Start your “EC PLAY” App Use a web browser As long as you have downloaded the Enter the address of your ECI 6DX MKII in App following the previous instructions, the web browser. -
Page 9: Enabling Wireless Connection
ENABLING WIRELESS CONNECTION This step is only necessary if you want the system connected to your wireless network. If you want to continue using wired connection (LAN cable), simply skip this page (We recommend using wired connection if possible to reduce Wi-Fi traffic and achieve best possible network stability for the system.) NOTE: There is no benefit in connecting both WiFi and cable. - Page 10 Use your PC, Mac or Linux or Google Play. Search for: “EC PLAY” or machine with a web browser “Electrocompaniet” Connect the power cable D E S IG N E D AN D M A N U F ACT U R E D B Y D E S IG N E D AN D M A N U F ACT U R E D B Y NETWORK &...
-
Page 11: Remote Control
Remote control 1. Mute - on/off. Standby mode - hold mute1-2 sec. to set the ECI 6DX MKII into a standby mode. 2. CD - switch to CD input 3. COAX1 - switch to COAX 1 input. 4. TosLink1 - switch to TosLink1 input. 5. -
Page 12: Navigator Window
Navigator window Audio Display Description Source Text Analog balanced XLR input Analog single-ended RCA input Analog single-ended RCA input Analog single-ended home theater RCA input COAX 1 COAX1 Coaxial S/PDIF input up to 192 kHz/24 bit COAX 2 COAX2 Coaxial S/PDIF input up to 192 kHz/24 bit TosLink 1 TOSLNK1 Optical S/PDIF input up to 96 kHz/24 bit... -
Page 13: Input Configurations
Replacing a blown main fuse The main fuse is located in a small drawer inside the AC inlet of the unit. If, for some reason the fuse is blown, turn the unit off, and remove the AC cord from the AC inlet. Open the drawer with a small screwdriver and remove the blown fuse. -
Page 14: Error Codes
Turn down the volume and make sure there is enough free space around the amplifier. For troubleshooting please contact your local dealer or our support department. All contact information you will find at www.electrocompaniet.com ECI 6DX MKII STATUS INDICATORS (see illustration, page 17) There are three status LEDs on a front panel indicating the status of your system. -
Page 15: Tips And Troubleshooting
To fully reset the software of the system, please go to Firmware and Software chapter under support on www.electrocompaniet.com and follow the instructions for software download. WI-FI Setup with WAC ( Wirelesss accessory configuration) - If airplay speaker is not shown, or my unit does not appear there? Make sure that the green LED is on. -
Page 16: Preamplifier Section
Technical specifications ECI 6DX MKII: The following technical data were measured on randomized test objects and are typical data. All measurements are made at 120V / 240V // 50Hz / 60Hz. Clipping point of the amplifier is set to a level where total harmonic distortion (THD) is 0.2 %. Fuse value: 250VAC/ 3.15AT, 115VAC/5AT. - Page 17 ECI 6DX MKII Front and Rear panel illustrations ECI 6 DX MK II Status indicators 21 22 DE SI GN E D AN D M AN U FA CT UR E D B Y DE SI GN E D AN D M AN U FA CT UR E D B Y NETWORK &...
-
Page 18: Ir Remote Control Codes
IR Remote control codes RC5 codes are denoted as xx.yy where xx is 5 bit adress and yy is 6 bit command/ data. All numbers are in decimal. RC6 codes are denoted as xxx.yyy. xxx is 8 bit adress. yyy is 8 bit command code. All numbers in decimal. All RC6 codes are mode 0. Key label Code Code... -
Page 19: If Service Is Needed
User Manual Updates Online An updated version of the User Manual may be available online at the Electrocompaniet web site. Occasional updates are needed to reflect new features added to the player since the user Manual was printed. - Page 20 Verify line voltage before use. Do not remove cover. No user serviceable parts inside. Refer servicing to qualified service personal. The warranty is void if the product is tampered by non-authorised personnel.Use only authorized Electrocompaniet service center. REV 1.0 2020 Designed and manufactured in Norway www.electrocompaniet.com...
Need help?
Do you have a question about the ECI 6DX MKI and is the answer not in the manual?
Questions and answers