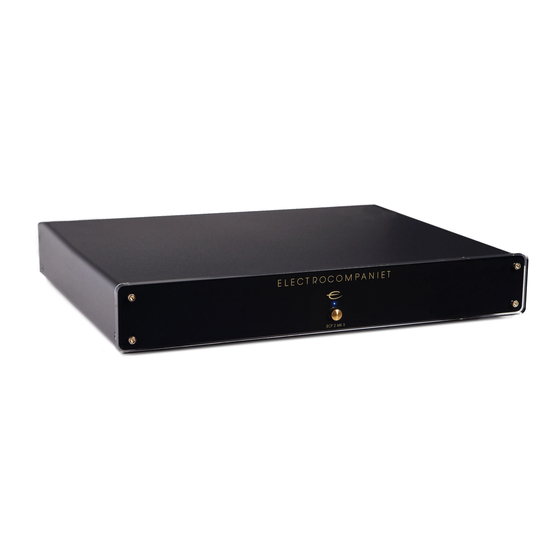
Summary of Contents for ELECTROCOMPANIET ECP 2 MKII
- Page 1 ECP 2 MK II ECP 2 MKII High Performance Balanced Phono Stage Owner's Manual EN G LISH...
- Page 2 Welcome to the world of Electrocompaniet! We thank you for choosing an Electrocompaniet high-end product. At Electrocompaniet we are relentlessly focused on developing audio equipment that is capable of bringing the fabulous experience of the concert hall into the very heart of your home.
- Page 3 UNPACKING THE ECP 2 MKII Immediately upon receipt of the ECP 2 MKII, inspect the carton for possible damage during shipment. The carton and packaging have been designed to provide the safest possible protection for transport of your phono stage. Unpack the unit carefully. Save all packaging materials for future shipment.
-
Page 4: How To Connect Your System
XLR input option use the optional RCA output instead. The ECP 2 MKII has a fixed (high) output, so DO NOT connect it – directly - to a power amplifier. This may cause damage to your power amplifier and loudspeakers. - Page 5 Since all the variable settings are located in the DIPswitch array on the rear panel of the phono stage, it is practical to place the ECP 2 MKII so you have access to these switches, during the initial “tuning” period. If the phono stage is to be placed in a rack, simply place it with the rear panel pointing to the front of the rack.
- Page 6 ECP 2 MKII phono stage is set by adjusting the tree DIPswitches labeled GAIN (number 10 - 11 -12) on the back of your unit. With these tree switches, you may get a variety of different gain settings. (For XLR output – add 6 dB gain).
- Page 7 Cross (MMC) and high output Moving Coil cartridges out there. However, some car- tridges especially high output MCs and some MMCs will sound better with a harder (lower) resistance loading. The ECP 2 MKII is therefore equipped with an optional 2,5k Ohm loading on its MM input.
-
Page 8: Power Indicator
To compensate for the high inductance in MM, MI and MMC cartridges, arm cables and interconnect cables (that will cause peaks in the high frequency range), the ECP 2 MKII is equipped with capacitive loading on its input. Check the cartridges instruction manual for the recommended setting for your cartridge. Like the resistor loading above, the capacitive loading is a subjective setting. - Page 9 TECHNICAL SPECIFICATIONS ECP 2 MK II The following technical data were measured on randomized test objects and are typical data. All measurements are made at 120V / 240V // 50Hz / 60Hz Gain @ 1 kHz RCA:......Adjustable 39,8 – 71,4 dB Gain @ 1 kHz XLR:......Adjustable 45,8 –...
-
Page 10: Front Panel
Front panel ECP 2 MK II 1. Power button 2. Power indicator Rear panel connections DESIGNED AND MANUFACTURED BY BREIVIKVEIEN 7, 4120 TAU, NORWAY CAUTION! DO NOT OPEN RISK OF ELECTRICAL SHOCK ANALOG MAINS INPUT RIGHT ANALOG OUTPUT LEFT INPUT Name Used for Connection type/Cable... - Page 11 When shipping a product to the factory for service, always include the following: 1. A sales slip or other proof of purchase if repair is claimed under warranty. 2. A proforma invoice with value of goods, stating that the ECP 2 MKII is returned to Norway for repair.
- Page 12 Verify line voltage before use. Do not remove cover. No user serviceable parts inside. Refer servicing to qualified service personal. The warranty is void if the product is tampered by non-authorised personnel.Use only authorized Electrocompaniet service center. REV 1.0 2020 Designed and manufactured in Norway www.electrocompaniet.com...


Need help?
Do you have a question about the ECP 2 MKII and is the answer not in the manual?
Questions and answers