
Related Manuals for ELECTROCOMPANIET ECI 80D


Summary of Contents for ELECTROCOMPANIET ECI 80D
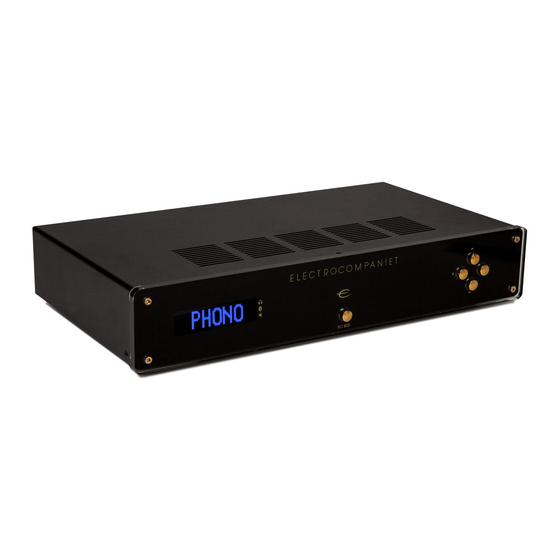
- Page 1 ECI 80D Integrated Amplifier with built-in DAC and Bluetooth streamer Owner's Manual E NG LI S H...
- Page 2 Welcome to the world of Electrocompaniet! We thank you for choosing an Electrocompaniet high-end product. At Electrocompaniet we are relentlessly focused on developing audio equipment that is capable of bringing the fabulous experience of the concert hall into the very heart of your home.
- Page 3 How to avoid noise problems The ECI 80D contains delicate circuits that are sensitive to magnetic stray fields. The unit should not be placed near power voltage transformers, TV sets etc. Care should also be taken regarding placement of the interconnect cables. Do not run interconnect cables in parallel with main cords or speaker cables.
-
Page 4: How To Connect Your System
The input labeled PHONO MM connects the phono cartridge through the record player arm cable to your ECI 80D built-in phono stage. Be sure to use high qual- ity shielded interconnect cables for this purpose. In addition, most turntables are equipped with a separate grounding wire. -
Page 5: Trigger Input/Output
Connect the trigger input port to controlling equipment with a trigger output port. The ECI 80D will power up (leave standby mode) when a voltage in the range of 8V-20V (AC or DC) is detected on the trigger input port, and will remain powered on for as long as the voltage is present on the trigger input port. -
Page 6: Front Panel Overview
The Standby button (5) is located at the center of the front panel. In daily operation, switch off the ECI 80D by pressing the standby button on the front panel or the remote control (see page 8). In standby mode a diffuse red light is projected onto the table under the standby button. - Page 7 The right edge of the display will display operating mode indicator dots that will light up next to the operating mode icons depending on the chosen operating mode of ECI 80D. The operating mode icons are HEADPHONES, BLUETOOTH PAIRED and SPEAKERS OFF.
-
Page 8: Using The Remote Control
When using the remote control, the front end of the remote control should be pointed to the front panel of your ECI 80D. A free line of sight is required between the remote con- trol and the infrared sensor on the front panel. - Page 9 ECI 80D REAR PANEL ILLUSTRATION...
-
Page 10: Troubleshooting
3. Internal faults. FIRMWARE REVISION To display the firmware revision in the display do as follows using the ECI 80D front buttons: Press and hold the volume up and down navigator buttons at the same time, then press and release the standby button. The firmware revision will then be shown... -
Page 11: Ir Remote Control Codes
IR REMOTE CONTROL CODES RC5 codes are denoted as XX.YY where XX is the 5 bit address and YY is the 6 bit command. RC6 codes are denoted as XX.YY where XX is the 8 bit address and YY is the 8 bit command. All RC6 codes are mode 0. - Page 12 TECHNICAL SPECIFICATIONS ECI 80D The following technical specifications were measured on randomized test objects and are typical data. All measurements are made at 120V / 240V // 50Hz / 60Hz. Clipping point of the amplifier is set to a level where total harmonic distortion (THD) is 0.2 %.
- Page 13 DIGITAL & STREAMING: Optical input: PCM: 44.1kHz/16bit up to 192kHz/24bit Coaxial input: PCM: 44.1kHz/16bit up to 192kHz/24bit Bluetooth support: BT5.0, A2DP, SBC, AAC, aptX-HD CONNECTIVITY: Digital inputs: 2 coaxial, 3 optical Analog inputs: 2 RCA Analog preamplifier output: 1 RCA Service port: 1 USB 12V trigger:...
-
Page 14: If Service Is Needed
When shipping a product to the factory for service, always include the following: 1. A sales slip or other proof of purchase if repair is claimed under warranty. 2. A proforma invoice with value of goods, stating that the ECI 80D is returned to Norway for repair. - Page 16 Verify line voltage before use. Do not remove cover. No user serviceable parts inside. Refer servicing to qualified service personal. The warranty is void if the product is tampered by non-authorised personnel.Use only authorized Electrocompaniet service center. REV 1.1 2019 Designed and manufactured in Norway www.electrocompaniet.com...
Need help?
Do you have a question about the ECI 80D and is the answer not in the manual?
Questions and answers