Table of Contents
Advertisement
Quick Links
MTO
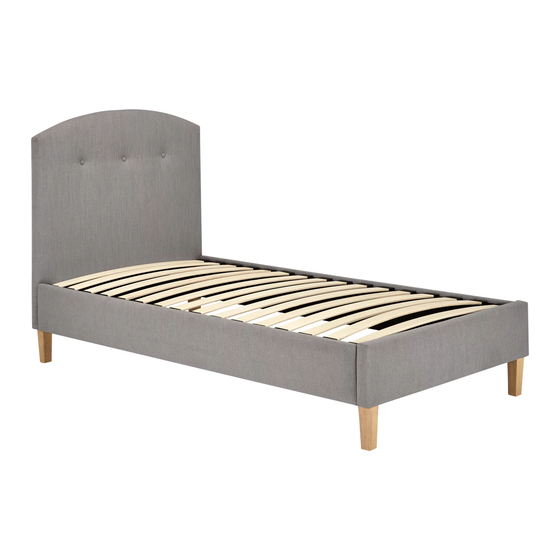
Thank you for purchasing this Grace Bed. Please read the instructions carefully before use to ensure safe
and satisfactory operation of this product.
PRE-ASSEMBLY PREPARATION
Please ensure instructions are read in full before attempting to assemble this product.
Necessary Tools
Please check the pack contents before attempting to assemble this product. A full checklist of components is
given in this leaflet. If any components are missing, please contact customer services on 01244 689949 or email
mail@fwgroup-uk.com.
This product is HEAVY. It should be assembled as near as possible to the point of use. TAKE CARE WHEN
LIFTING to avoid personal injury and (or) damage to the product.
This product takes approximately 40 MINUTES to assemble with 2 PEOPLE.
Do not use power tools to assemble.
The fittings pack contains SMALL ITEMS which should be KEPT AWAY FROM YOUNG CHILDREN.
Read this leaflet in full before commencing assembl
Grace Bed
y.
1/5
Single
Advertisement
Table of Contents

Subscribe to Our Youtube Channel
Summary of Contents for John Lewis Grace Bed
- Page 1 Grace Bed Single Thank you for purchasing this Grace Bed. Please read the instructions carefully before use to ensure safe and satisfactory operation of this product. PRE-ASSEMBLY PREPARATION Please ensure instructions are read in full before attempting to assemble this product.
- Page 2 Fittings and parts checklist Side Plastic Caps x 16 M5 Allen Key x 1 Wide Side Caps x 16 Headboard x 1 Footboard x 1 Side Rails x 2 Slats x 16 Wide Slats x 16 Legs x 4...
- Page 3 Step by step assembly instructions Step One Place Legs (5) into the holes in the underside of the Headboard (1) and Footboard (2) as per diagram below and twist into place so they are fully secured. Preinserted Nut Head/Foot Board Legs x 4 Step Two Place Metal Brackets on Side Rails (3) over pre-inserted bolts in Headboard (1) and Footboard (2) and...
- Page 4 Step Three With the curved side facing upwards, insert slats into a centre cap then into side caps on either end(x32). (Please note the Wide Slats (5) must be inserted with the Wide Side Caps (C)). Repeat this process for all slats.
- Page 5 IMPORTANT! PLEASE KEEP THESE INSTRUCTIONS FOR FUTURE REFERENCE Care and Maintenance This bed should be cleaned using a soft, damp cloth and dried immediately. Do not use a very wet cloth or allow any liquid contact for a long period of time as this can permanently damage the surface.


Need help?
Do you have a question about the Grace Bed and is the answer not in the manual?
Questions and answers