Table of Contents
Advertisement
Quick Links
Advertisement
Table of Contents

Subscribe to Our Youtube Channel
Related Manuals for ekwb EK-Quantum Momentum Aorus Z490 Master D-RGB


Summary of Contents for ekwb EK-Quantum Momentum Aorus Z490 Master D-RGB
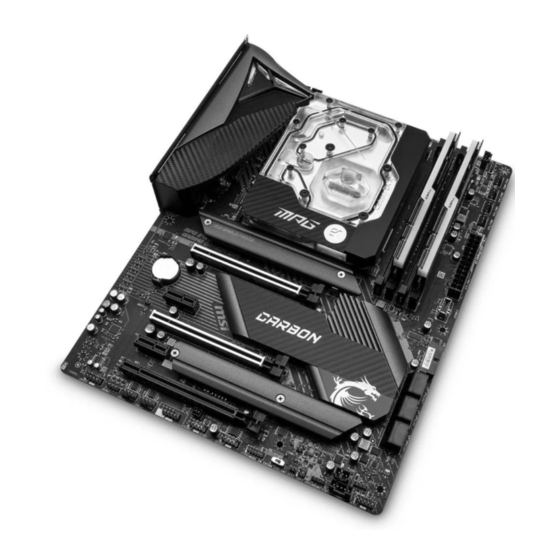
- Page 1 EK-Quantum Momentum Aorus Z490 Master D-RGB MONOBLOCK USER GUIDE...
- Page 2 The following instructions are subject to change without notice. Please visit our website at www.ekwb.com for updates. Prior to the installation of this product, please read important notice, disclosure, and warranty conditions printed on the back of the box.
-
Page 3: Table Of Contents
TABLE OF CONTENT BOX CONTENTS MONOBLOCK DIMENSIONS PREPARING THE MOTHERBOARD REMOVING THE BACKPLATE REMOVING THE PLASTIC I/O COVER REMOVING THE STOCK COOLER CUTTING AND PLACING THERMAL PADS APPLYING THERMAL COMPOUND PLACING THE BLOCK ON THE MOTHERBOARD ATTACHING THE BLOCK TO THE MOTHERBOARD CONNECTING THE D-RGB LED STRIP TESTING THE LOOP SUPPORT AND SERVICE... -
Page 4: Box Contents
BOX CONTENTS Thermal Grease (1 pc) M4 PVC Washers (5 pcs) EK-Quantum Momentum Aorus Z490 Master D-RGB M2.5 PVC Washers (5 pcs) M2.5 Adhesive PVC Washers (5pcs) M4 x 8 7984DIN (5 pcs) M2.5 x 5 AX1 Screws (5 pcs) 2.5. -
Page 5: Monoblock Dimensions
MONOBLOCK DIMENSIONS 26.15 mm 36.10 mm 73.10 mm 14.50 mm 122.10 mm - 5 -... -
Page 6: Preparing The Motherboard
PREPARING THE MOTHERBOARD REMOVING THE BACKPLATE STEP 1 Remove the two (2) encircled screws. Backplate Screws STEP 1 STEP 2 On the backside of the motherboard, six (6) additional screws need to be removed, as marked in the picture. Once these screws are removed, you can carefully detach the backplate from the motherboard. -
Page 7: Removing The Plastic I/O Cover
REMOVING THE PLASTIC I/O COVER STEP 1 Plastic Cover Screw Unscrew one (1) standoff and two (2) screws to remove the plastic I/O cover. This plastic cover can be reused once you’ve installed the Standoff water block. For easier installation of the water block, we recommend you disconnect the LED connector first. -
Page 8: Removing The Stock Cooler
REMOVING THE STOCK COOLER Stock Cooler Standoff Screws STEP 1 Remove all encircled screws. There are three (3) screws and one (1) standoff on the back of the motherboard that need to be removed before you can take off the factory-installed MOSFET cooling solution. -
Page 9: Cutting And Placing Thermal Pads
CUTTING AND PLACING THERMAL PADS Thermal Pad F 1.0mm - (120x16mm) Your monoblock comes with thermal pads that need to be trimmed to fit the voltage regulation area (MOSFET) on the motherboard’s circuit board. 1 mm Thermal Pad F 2.0mm - (120x16mm) 2 mm Place larger strips of thermal pads over the marked area and make sure Thermal Pad... -
Page 10: Applying Thermal Compound
APPLYING THERMAL COMPOUND Apply the enclosed EK-TIM Ectotherm thermal grease (thermal compound) on the CPU heat spreader – IHS – as shown in the image. The layer of the thermal compound must be thin and even in thickness over the entire surface of the IHS. The excessive or uneven application of thermal grease may lead to poor performance! - 10 -... -
Page 11: Placing The Block On The Motherboard
PLACING THE BLOCK ON THE MOTHERBOARD Carefully place your EK-Quantum Momentum Aorus Z490 Master D-RGB water block on the motherboard or vice versa, as shown in the picture. Make sure the mounting holes are aligned. CAUTION: The protective sticker must be removed from the coldplate. - Page 12 Do not forget to plug in the I/O cover LED connector before securing the screws. STEP 1 STEP 3 For the EK-Quantum Momentum Aorus Z490 Master D-RGB monoblock to operate properly, the G1/4 port nearest to the right edge of the water block MUST BE USED AS THE INLET PORT. IMPORTANT:...
-
Page 13: Connecting The D-Rgb Led Strip
CONNECTING THE D-RGB LED STRIP Plug the 3-pin connector from the monoblock’s D-RGB LED light to the D-RGB Header on the motherboard. The LEDs will work if the pin layout on the header is as follows: +5V, Data, Empty, Ground. D-RGB Header RGB Header TESTING THE LOOP... -
Page 14: Support And Service
SUPPORT AND SERVICE In case you need assistance, please contact: http://support.ekwb.com/ EKWB d.o.o. Pod lipami 18 1218 Komenda Slovenia - EU SOCIAL MEDIA EKWaterBlocks @EKWaterBlocks ekwaterblocks EKWBofficial ekwaterblocks...
Need help?
Do you have a question about the EK-Quantum Momentum Aorus Z490 Master D-RGB and is the answer not in the manual?
Questions and answers