
Related Manuals for iLiving ILG8SF301


Summary of Contents for iLiving ILG8SF301
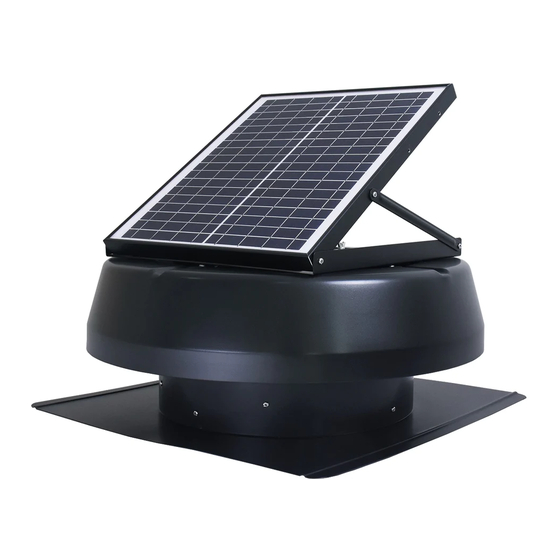
- Page 1 Hybrid Solar and AC Powered Roof Exhaust Fan/Ventilator Running Day and Night SOLAR & AC SOLAR ONLY Model: ILG8SF301 Model: ILG8SF301A Owner’s Manual PLEASE READ AND SAVE THESE INSTRUCTIONS P a g e...
- Page 2 ON/OFF switch, which is sold separately. Fan comes with 15 years warranty. Designed and engineered by iLiving in San Francisco, California. Before using your iLIVING ventilator, please take a few minutes to read these instructions, review the product limited warranty. Thank you!
-
Page 3: Special Features
35.1 lbs. Dimensions: Coverage area (sq. ft) 2000 Product Height (in.) Product Width (in.) Product Depth (in.) In the Box Content In the Box Content (ILG8SF301) (ILG8SF301A) Solar roof ventilator Solar roof ventilator User’s Manual AC/DC adapter: ILG8SF304 ... - Page 4 Installation and Mounting Instruction Before beginning the installation of your new Solar Powered Roof Exhaust Fan, please read through the entire installation instructions and contact us if you have any questions. Tools Required: • Ladder • Reciprocating saw (or jig saw) •...
- Page 5 Fig. 1 Step 2 – Positioning the Solar Fan For optimum performance, position the solar fan due south or southwest, and position it on an area of roof where the sun is not shaded or blocked, so as to capture direct sunlight and extended sunlight periods throughout the day.
- Page 6 Step 3 – Marking the Ventilation Hole From inside the attic, measure approximately 18-24 inches down from the roof peak and center this spot between two rafters (Fig. 3-1). Through this mark, drill a screw into the plywood and roof shingle to have it located from on top of the roof.
- Page 7 Fig. 4 Step 5 – Lifting the Shingles to Slide Up the Attic Fan To slip the solar fan smoothly on top of felt paper and underneath shingles on the roof, the nails located 5” above and to the side of that hole will need to be removed.
- Page 8 Fig. 6 Step 7 (for those solar panel adjustable models only) – Installing the Angel Adjustment Bracket Attach the provided screws and brackets left from package box to the unit. Install the angle adjustment brackets by securing one end to the regulating plate and the other end to the solar panel frame.
- Page 9 Step 8 (for those solar panel adjustable models only) – Adjusting the Solar Panel The fan’s solar panel should be adjusted to maximize exposure to the sun’s path during the day. The optimal adjustment is to have the panel 90° to the midday path of the sun.
-
Page 10: Warranty Information
Love it? Help us make the product more for you. Let us know with a customer review. Please visit: https://www.amazon.com/review/review-your-purchases# At iLiving USA, we are committed to bringing top quality products to our customers. 10 | P a g e... - Page 11 USA 860 Mahler Road,Burlingame CA 94010 Tel: 1-800-317-1688 Email: service@ilivingusa.com Like us on Facebook: https://www.facebook.com/ilivingusa/ Follow us on Twitter: @iLIVINGUSA Check out our website: www.ilivingusa.com 11 | P a g e...
Need help?
Do you have a question about the ILG8SF301 and is the answer not in the manual?
Questions and answers