Hunter Douglas Duette Installation Operation Care
Honeycomb shades simplicity operating system
Hide thumbs
Also See for Duette:
- Installation operation care (40 pages) ,
- Owner's manual (28 pages) ,
- Installation and care (20 pages)
Subscribe to Our Youtube Channel
Summary of Contents for Hunter Douglas Duette
- Page 1 Installation Operation Care • • Duette and Applause ® ® Honeycomb Shades Simplicity Operating System ™...
-
Page 2: Table Of Contents
Removing the Shade, If Necessary ........12 Cleaning Procedures ............12 WARRANTY ............Back Cover Questions? Call Hunter Douglas Consumer Support at 1-888-501-8364. © 2019 Hunter Douglas. All rights reserved. All trademarks used herein are the property of Hunter Douglas or their respective owners. -
Page 3: Getting Started
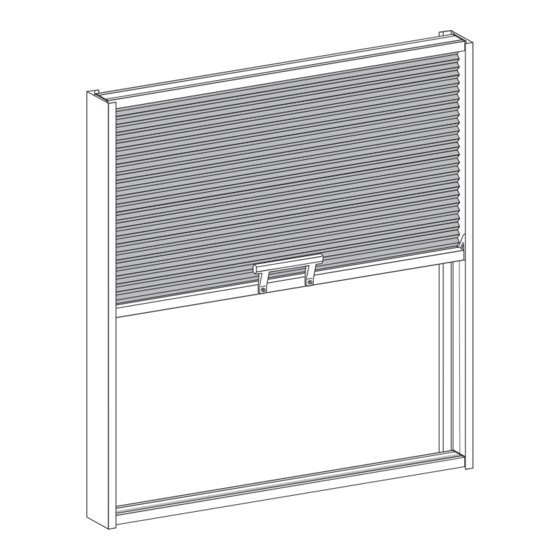
GETTING STARTED Product View Headrail Side Track Fabric Handle Moving Rail Support Cord (For Sloped Tension Cord Shades More Than 36" Wide) Side Track Anchor Rail... -
Page 4: Tools And Fasteners Needed
GETTING STARTED Thank you for purchasing Hunter Douglas Duette and Applause Honeycomb Shades. ® ® With proper installation, operation, and care, your new shades will provide years of beauty and performance. Please thoroughly review this instruction booklet and the enclosed packing list before beginning the installation. -
Page 5: Installation
INSTALLATION Installation Overview Your order will include the correct number of installation brackets for your shade width, as ■ ■ shown in the table. Shade Brackets Outside mounts require installation brackets ➤ ■ Width Required for both the headrail and anchor rail. 18"... -
Page 6: Mount The Installation Brackets - Inside Mount
INSTALLATION Mount the Installation Brackets — Inside Mount Mark 4 ⁄ " from each jamb for the headrail. ■ ■ If more than two brackets are required, center the third bracket. ➤ ■ If your shade has a support cord, position the third bracket 1" to the left of center. ➤... -
Page 7: Mount The Installation Brackets - Outside Mount
INSTALLATION Mount the Installation Brackets — Outside Mount IMPORTANT: The illustrations in this section show brackets for the headrail. Brackets for the anchor rail are the same and they are mounted using the same spacing — but they are upside-down in relation to the headrail brackets. The distance between the two sets of brackets should be equal to the length of the side rails. - Page 8 INSTALLATION Drill the screw holes using a ⁄ " drill bit. ■ ■ CAUTION: Use drywall anchors when mounting into drywall. Attach the installation brackets or extension brackets using the screws provided. ■ ■ IMPORTANT: The front edges of the brackets must be level and aligned to each other. If using spacer blocks with installation brackets, attach the spacer block(s) and installation ■...
-
Page 9: Mount The Headrail
INSTALLATION Mount the Headrail IMPORTANT: Do not remove the rubber bands that hold the headrail, fabric, moving rail, and anchor rail until after the side tracks are mounted. Position the shade so that the front (colored) side of the fabric faces you. ■... -
Page 10: Mount The Anchor Rail
INSTALLATION Outside Mount The narrow flange on the side tracks should be at the front of the shade. Holes are drilled in the groove near the edge of the wide flange. Attach the wide flange to the outside of the window ■... -
Page 11: Adjust The Shade
INSTALLATION Adjust the Shade Tension Cords The moving rail should slide easily, yet hold in position when it is released. Adjust the tension cords in the anchor rail if the moving rail does not slide properly. Move the slip knot to the right to increase the cord tension. Do not stretch the spring to a ■... -
Page 12: Install The Fabric Strip
INSTALLATION/OPERATION Install the Fabric Strip Center the fabric strip on the ■ ■ anchor rail. Fabric Strip Angle the fabric strip and insert ■ ■ into the back channel of the Side Track Not Shown for Clarity anchor rail. Gently bow the fabric strip and ■... -
Page 13: Troubleshooting
OPERATION Troubleshooting Problem The shade will not fit into the installation brackets. Solution Check that the installation brackets are level and aligned. Shim the installation brackets to level the headrail, if necessary. Be sure the heads of the screws are flush against the installation bracket. Check that the headrail is completely inserted into the installation brackets. -
Page 14: Care
■ ■ bracket to release the anchor rail. Inside mount: Loosen the screws in the anchor rail. ■ ■ Cleaning Procedures Hunter Douglas Duette and Applause Honeycomb Shades are made of anti-static, ® ® dust-resistant fabric which repels dirt and dust. For most honeycomb fabrics, the following cleaning options are available. - Page 15 Bathtub Cleaning/Water Immersion CAUTION: Do not immerse Alexa, Alexa Metallic , Calypso , Commercial, Elan , India ™ ™ ® Silk, all Batiste fabrics, all Alustra Duette fabrics, and all room-darkening fabrics. Do not ® ® immerse Applause Esprit fabrics. ™ ®...
- Page 16 2. Visit hunterdouglas.com for additional warranty information, frequently asked questions and access to service locations. 3. Contact Hunter Douglas at (888) 501-8364 for technical support, certain parts free of charge, for assistance in obtaining warranty service or for further explanation of our warranty.


Need help?
Do you have a question about the Duette and is the answer not in the manual?
Questions and answers