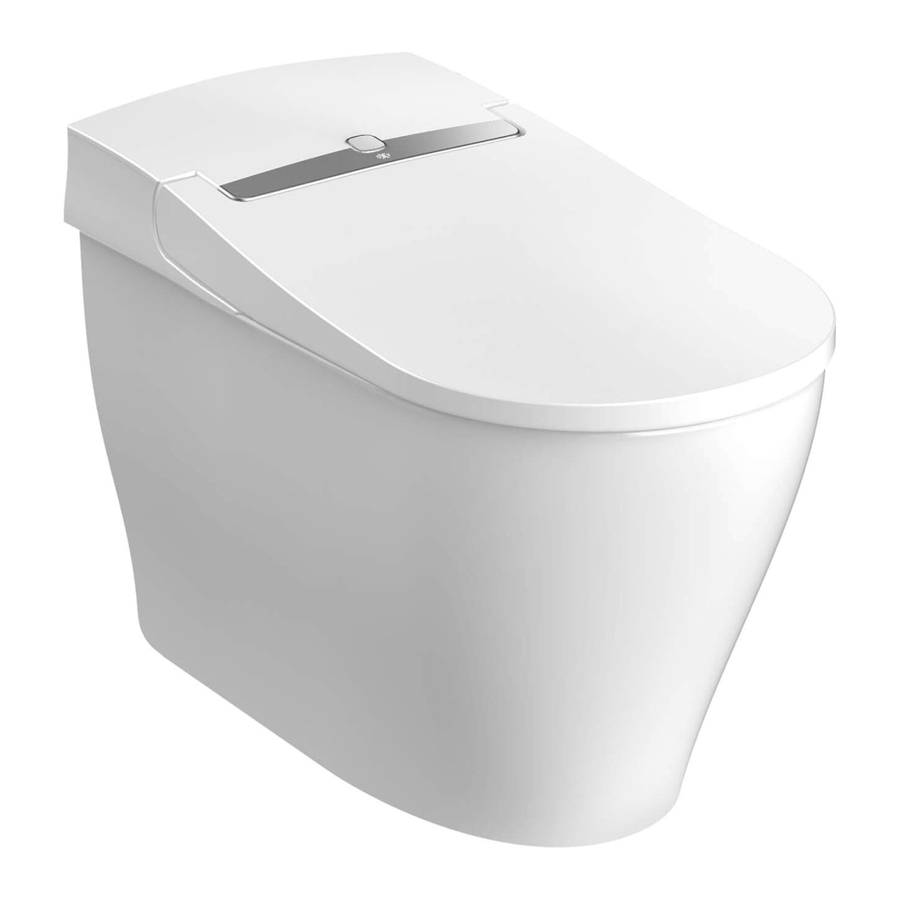
DXV AT200 LS SpaLeT Installation Manual
Hide thumbs
Also See for AT200 LS SpaLeT:
- Installation manual (60 pages) ,
- Troubleshooting manual (3 pages)
Table of Contents
Advertisement
Quick Links
Advertisement
Table of Contents

Summary of Contents for DXV AT200 LS SpaLeT
-
Page 2: Safety Precautions
This manual consists of two parts; the first part Hold the plug or socket when connect- contains safety precautions and descriptions of the ing or disconnecting the power plug or procedures when installing the SpaLet , and the ® socket. second part contains visual installation methods. - Page 3 Do not attach the product to any water source other than potable water. It may cause electric shock, fire and skin inflammation due corrosion of electronic parts inside the seat unit. Do not disassemble or modify the product. It may cause electric shock or fire. Do not use loose outlet.
-
Page 4: Power Supply
POWER SUPPLY FIRMLY FIX THE WATER SUPPLY PIPE Install the cord and outlet according to the An impact applied to the hose due to high water specifications below. pressure may cause vibrations. The power distribution work should be done by an Fix the water supply pipe firmly so that it does not electrical contractor. - Page 5 PSW-1238...
-
Page 6: Necessary Tools
No. 0 No. 2 19 mm 2.5 mm NECESSARY TOOLS Open End Wrench (19 mm) Phillips Head Screwdriver (No. 2) Flat-blade Screwdriver (5 mm) Phillips Head Precision Screwdriver (No. 0) Level File Tape Ruler Hammer Utility Knife Adhesive Colored Tape Caulking Material Adjustable Wrench (For Water Shutoff Valve, etc.) - Page 7 13" 9-1/16"±10 (330 mm) (230 mm) Water supply Rc1/2"(1/2) 5-15/16"±10 (150 mm) 3-15/16"±10 (100 mm) Water supply Rc1/2"(1/2) 5-15/16"±10 Water supply (150 mm) Rc1/2"(1/2) 13"~ (330 mm) 11"±10 (280 mm) 12" 3-15/16"±10 (305 mm) Water supply (100 mm) Rc1/2"(1/2) 60° 90°...
- Page 8 No.2 Φ6×40 Φ6×63 Φ6×40 Φ6×63 Φ8×55 2-3/16" Φ5/16" (8 mm) (55 mm) INSTALLING THE DRAIN SOCKET Attach the gasket to the drain socket. Secure the drain socket. * For tile or concrete floors, drill a smaller hole and use an anchor.
- Page 9 No.2 Φ6×40 Φ8×55 Φ6×40 Φ8×55 2-3/16" Φ5/16" (8 mm) (55 mm)
- Page 10 DECIDE THE INSTALLATION POSITION OF SECURING MEMBER...
- Page 11 92 lbs.
- Page 12 No.2 ① ②...
- Page 13 90° - 13 -...
- Page 14 No.2 3.9" No.2 .24" Max. .2" 23.5" - 35.4" 31.5" - 47.3" No.2 31.5" - 47.3" 1.3" .24"...
-
Page 15: Installing The Remote Control
No.0 INSTALLING THE REMOTE CONTROL Determine the installation position of the remote control. Note: Leave a space above the remote control’s mounting position ® Press the ( ) button and register to the SpaLet unit. Mount the remote control holder onto the wall. For plasterboard or plywood that is thinner than 3/16". - Page 16 CHECK FOR WATER LEAKAGE Press the ( ) button and check for water leakage.
-
Page 17: Test Operation
DRYER TEST OPERATION Cover the seat sensor with a piece of paper or rag and lower the seat. Confirm that water sprays for posterior and feminine washing. Lift the seat and confirm that warm air blows. - Page 18 CLEANING UP...


Need help?
Do you have a question about the AT200 LS SpaLeT and is the answer not in the manual?
Questions and answers