Advertisement
Quick Links
InvisaPC Quick Install Guide
Thank you for purchasing the Black Box InvisaPC solution. Please use this quick install guide to execute a quick setup. If you need
to access the full user manual, please visit www.blackbox.com and search for the InvisaPC, and under the "resources" tab of the
product page, you will find the download link to the full user manual.
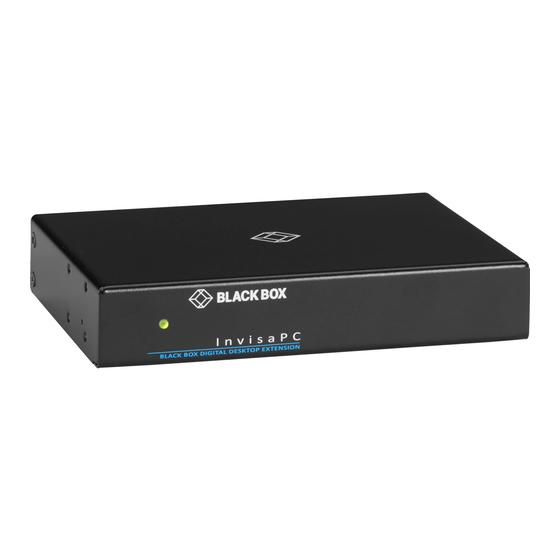
DVI-D video and USB-HID. The single-head transmitter (DTX1000-T) and receiver (DTX1000-R) each have (1) DVI input and
output, and the dual-head transmitter (DTX1002-T) and receiver (DTX1002-R) each have (2) DVI inputs and outputs. The
single-head transmitter kit (DTX1000-T-K) contains one DTX1000-T with CPU Cable (EHN900025U-0006), and the dual-head
transmitter kit (DTX1002-T-K) contains one DTX1002-T with CPU Cable (EHN900025U-0006).
Default Settings:
Transmitter IP Address: 192.168.1.22
Receiver IP Address: 192.168.1.21
Type: Static
Subnet Mask: 255.255.255.0
Default Gateway: 0.0.0.0
NIC Compatibility: 10/100BASE-T
Admin username: admin
Admin password: no password, it is blank by default
Ports Used: 3389
Important: Do not lose the admin password once configured; there is no way to reset or retrieve it. The InvisaPC
receiver has the option to create a second administrator account as a secondary entrance.
Point-to-Point Installation:
In a point-to-point configuration, no administrator setup of the InvisaPC Transmitter or the InvisaPC receiver is required. This
enables you to install the system quickly, directly out of the box. In the point-to-point configuration, you can install only one
transmitter and receiver pair on a subnet and both must be on the same subnet unless a router is present in the network to span
subnets. To span across different subnets, you will need to have admin rights to both routers on either side of the installation and
setup port forwarding for port "3389" for Remote Desktop.
If further configuration is required to change the default IP addresses, you can access the transmitter's network settings through
the remote unit:
1. Simply connect the transmitter to the receiver using a CATx cable (but do not power up the transmitter yet), then connect a
keyboard, monitor, and mouse to the remote unit (remote unit is on at this time).
2. Login as "admin" and go to (Control)>> (Transmitter)>> (Discover) and follow the on-screen steps.
3. It will advise you to connect both devices together and then power up the transmitter and press the "Next" button.
4. It will take several minutes to discover the transmitter, but once found, you can modify the network parameters.
For matrix installation instructions, turn this page over...
Customer
Support
Information
Order toll-free in the U.S.: Call 877-877-BBOX (outside U.S. call 724-746-5500)
FREE technical support 24 hours a day, 7 days a week: Call 724-746-5500 or fax 724-746-0746
www.blackbox.com • info@blackbox.com
DTX1000-T
DTX1000-R
DTX1000-T-K
Single-head and dual-head versions switch and extend
DTX1002-T
DTX1002-R
DTX1002-T-K
Advertisement

Related Manuals for Black Box InvisaPC


Summary of Contents for Black Box InvisaPC
- Page 1 InvisaPC Quick Install Guide Thank you for purchasing the Black Box InvisaPC solution. Please use this quick install guide to execute a quick setup. If you need to access the full user manual, please visit www.blackbox.com and search for the InvisaPC, and under the “resources” tab of the product page, you will find the download link to the full user manual.
- Page 2 Black Box Tech Support: FREE! Live. 24/7. Matrix Installation: In a matrix installation, every InvisaPC transmitter and receiver requires its own IP address. By default, the DHCP setting is set to static, so the addresses will need to be configured manually: 1.