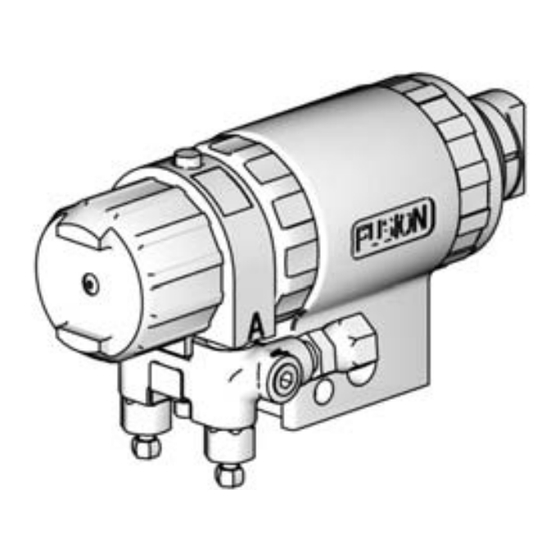
Page 1
Instructions - Parts 310649C Automatic Plural Component, Impingement Mix Spray Gun For use with non-flammable foam and polyurea. Not for use in explosive atmospheres. 3500 psi (24.2 MPa, 242 bar) Maximum Fluid Working Pressure 80-130 psi (0.55-0.9 MPa, 5.5-9.1 bar) Air Inlet Pressure Range 200°F (94°C) Maximum Fluid Temperature Important Safety Instructions Read all warnings and instructions in this manual.
Air Purge Guns Air Purge Guns Round Pattern Guns Mix Chamber Impingement Gun Part Port Size Equivalent No., Series Part No. in (mm) Size 248376, A AR2929 .029 (0.70) 248377, A AR4242 .042 (1.00) 248378, A AR5252 .052 (1.30) 248379, A AR6060 .060 (1.50) Flat Pattern Guns...
Mechanical Purge Guns Mechanical Purge Guns Use only these mix module/tip combinations. Standard Round Pattern Guns Gun Part No., Series Slip-Fit™ Polycarballoy™ Mix Module Part No., Round CeramTip™ Part No., see manual 309856 for numbering code see manual 309856 for numbering code 248386, A MR3535 RTM040...
Misuse can cause serious injury or death. • For professional use only. • Use equipment only for its intended purpose. Call your Graco distributor for information. • Read manuals, warnings, tags, and labels before operating equipment. Follow instructions. • Check equipment daily. Repair or replace worn or damaged parts immediately.
Isocyanate Hazard Keep A and B Components Separate WARNING BURN HAZARD Equipment surfaces and fluid that’s heated can become very hot during operation. To avoid severe burns, do not touch hot fluid or equipment. Wait until equipment/fluid has cooled completely. TOXIC FLUID OR FUMES HAZARD Toxic fluids or fumes can cause serious injury or death if splashed in the eyes or on skin, inhaled, or swallowed.
Check your local electrical code and proportioner man- Follow Pressure Relief Procedure, page 15. ual for detailed grounding instructions. Ground the spray gun through connection to a Graco-approved grounded fluid supply hose. Close fluid valves A and B before turning air cap (C). Piston Safety Lock Engage piston safety lock whenever you stop spray- ing, to avoid accidental triggering.
Overall View Overall View Mechanical Purge Gun Shown TI4525b Key: A Side Fluid Valve (ISO) B Side Fluid Valve (RESIN) Air Cap Fluid Housing Gun Fluid Manifold Cleanoff Air Valve Piston Safety Lock CeramTip (behind air cap) Optional Fluid Inlets (A Side Shown) Lock Ring Fluid Inlet Swivels (A Side Shown) Optional Air Inlets (A Side Shown)
Installation Installation Mounting gun to rod To mount the gun on a 1/2 in. diameter rod, insert the bar (A) through the hole in the gun body as shown. ti4750a Secure the gun to the bar by tightening 1/4 in. - 20 mounting screws.
Installation Connecting airline and accessories On each gun air supply line, install an air pressure regulator. • It is recommended that the tip clean off air, gun actuation, and gun deactuation air be supplied and regulated separately. • A minimum of 80 psi (.55 mpa, 5.5 bar) air pres- sure must be supplied to the gun for proper operation.
Setup Setup Close fluid valves A and B. For Mechanical Purge Guns Only: Open clean off air line valve. Air should flow from air cap around Ceram Tip (M). Open clean off air valve (K) about 1/4 to 1/2 turn, then adjust air flow as required. TI2411A Adjust purge rod, see manual 309856.
Page 12
Setup Actuate gun to check for full mix chamber travel. Open B (RESIN) fluid valve (about three half Front of air cap (C) should be approximately flush turns). Then open A (ISO) fluid valve. with front retaining ring (U). TI4766a TI4752A Open cleanoff air valve (K) 1/4-1/2 turn and actuate air line to check that cleanoff air is flowing.
Aluminum, stainless steel, carbon steel, chemically resistant o-rings, Wetted Parts ultra-high molecular weight polyethylene (UHMWPE), brass, Polycarballoy™ All brand names or marks are used for identification purposes and are trademarks of Graco Inc. or their respective owners. Accessories Part No.
With the exception of any special, extended, or limited warranty published by Graco, Graco will, for a period of twelve months from the date of sale, repair or replace any part of the equipment determined by Graco to be defective.
Need help?
Do you have a question about the A Series and is the answer not in the manual?
Questions and answers