
Related Manuals for Emerson PMAC II Solo


Summary of Contents for Emerson PMAC II Solo
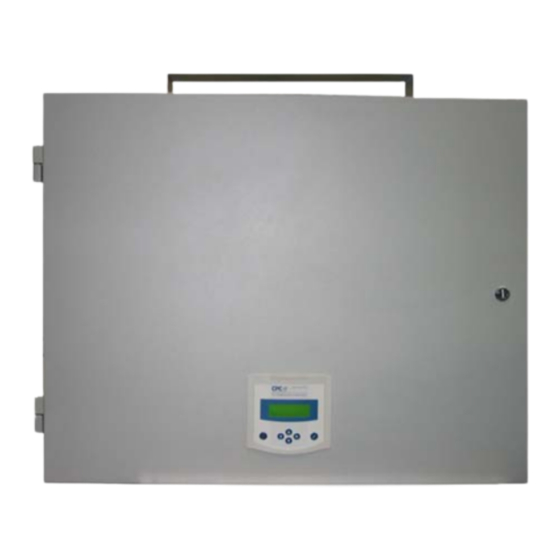
- Page 1 Pulse Modulating and Anti-Sweat Control (PMAC II Solo) Installation and Operation Manual 026-1503 Rev 0...
- Page 3 1065 Big Shanty Road NW, Suite 100 Kennesaw, GA 30144 USA Phone: 770-425-2724 Fax: 770-425-9319 Please Note: This manual covers only the PMAC II Solo (P/N 851-1104) model. If information is needed on the PMAC II (network version), consult the PMAC II manual (P/N 026-1501).
-
Page 5: Table Of Contents
Normal Power On Reset 9 1.5.6. Percentage On Times ............................9 1.5.6.1. Viewing the Percentage On Time Screens ......................... 9 1.5.7. Status Screens ..............................10 1.5.7.1. Viewing Status Screens ..............................11 PMAC II Solo I&O Manual Table of Contents • i... -
Page 7: Overview
Overview The PMAC II Solo is a solid state, anti-sweat heater controller designed to dramatically reduce the cost of oper- ating anti-sweat heaters on low-temperature door-type cas- es found in most supermarkets. Normally, anti-sweat heaters operate continuously with no controls, even though 100% operation is required only when in-store humidity levels are high. -
Page 8: Sensor Mounting And Wiring
Provide power to the case heaters from the store circuit breaker panel through the PMAC The PMAC II Solo comes equipped with a wall-mount- II Solo panel terminal strip using #10-12 ed indoor temperature sensor (P/N 809-6580), and a wall- AWG wire, as shown in Figure 1-4. -
Page 9: Wiring
Figure 1-8 - Indoor RH Sensor Wiring The wall-mounted sensors must be connected to the ter- minal strip at the bottom of the PMAC II Solo panel. The 1.3.2.2. Sensor Cable Type necessary connections between this terminal strip and the... -
Page 10: Wire Connections
Figure 1-9 - Wiring the Temp & RH Sensor to the PMAC II Solo 1.5.2. How the Setpoints Work RH Sensor... -
Page 11: Entering/Changing Setpoints
"days" field of the current date. Use Figure 1-13 - Setpoints Configuration Screen (First Screen) buttons to set the day (01 - 31). Programming the UC12PG-R Controller on the PMAC II Solo Panel Overview • 5... -
Page 12: Setting Dewpoints
Configuration screen. MIN DEW POINT SETPT MIN PULSE SETPOINT Figure 1-16 - Minimum Dewpoint Screen Figure 1-19 - Minimum Pulse Setpoint Screen Programming the UC12PG-R Controller on the PMAC II Solo Panel Overview • 6... -
Page 13: Setting Load Shed
LOAD SHED PERCENTAGE select. Use the buttons to adjust percentage. This setting determines the PMAC II Solo output in the event that the RH or temp sensors are not present or have failed. Figure 1-21 - Load Shed Percentage Screen Press the... -
Page 14: Alarms
1.5.5.3. Alarm Types RH Sensor Error 01>RH SENSOR ERROR 7:49:14 11/12/2003 ACTIVE ALARMS Figure 1-29 - RH Sensor Error Alarm Programming the UC12PG-R Controller on the PMAC II Solo Panel Overview • 8... -
Page 15: Temp Sensor Fail
Press the button to move the cur- has failed or the door to the PMAC II Solo panel was left sor to 1. % ON LAST HOUR and press the open. If the temperature continues to rise in the panel, shut- down will occur. -
Page 16: Status Screens
1.5.7. Status Screens to the Percentage On Time screen. During operation, the UC12PG-R in the PMAC II Solo panel displays real-time status information about the anti- Programming the UC12PG-R Controller on the PMAC II Solo Panel Overview • 10... -
Page 17: Viewing Status Screens
& DATE and press the button to select This screen displays the current inside dewpoint tem- and view. perature. Press the button to go back to the Status View screen. Programming the UC12PG-R Controller on the PMAC II Solo Panel Overview • 11... - Page 18 9. V IEW LOAD SHED %. Press the button to select and view. Figure 1-46 - Minimum Pulse Rate Status Screen This screen displays the minimum pulse rate generated at the minimum dewpoint setpoint. Programming the UC12PG-R Controller on the PMAC II Solo Panel Overview • 12...
- Page 19 23. Press the button once to go back to the Main Configuration screen (Figure 1-12), and twice to go back to the default home screen. Programming the UC12PG-R Controller on the PMAC II Solo Panel Overview • 13...
- Page 20 Programming the UC12PG-R Controller on the PMAC II Solo Panel Overview • 14...
- Page 22 Emerson Climate Technologies Retail Solutions, Inc. and/or its affiliates (collectively “Emerson”), reserves the right to modify the designs or specifications of such products at any time without notice. Emerson does not assume responsibility for the selection, use or maintenance of any product. Responsibility for proper selection, use and maintenance of any product remains solely with the purchaser and end-user.
Need help?
Do you have a question about the PMAC II Solo and is the answer not in the manual?
Questions and answers