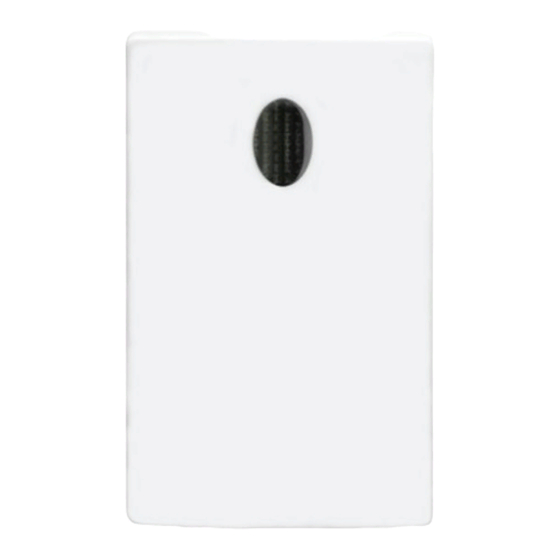
Summary of Contents for LightwaveRF Connect Series
- Page 1 Version 2.1 Dusk to Dawn Sensor Model No. LW801 Instruction Manual Connect Series www.lightwaverf.house...
- Page 2 EN 55022: 2010, EN 61000-3-2: 2006 +A1: 2009 +A2: 2009 Class A, EN 61000-3-3: 2008, EN61000-4-2: 2009, EN 61000-4-3: 2006 +A1: 2008 +A2: 2010, EN 61000-4-4: 2012, EN 61000-4-5: 2006, EN 61000-4-6: 2009, EN 61000-4-11: 2004 For and on behalf of LightwaveRF PLC ---------------------------------------- Name J Shermer...
-
Page 3: How Do I Get Started
Get Started How do I get started? Please refer to the following instructions that will guide you through the setup of a LightwaveRF Dusk to Dawn Sensor. Once successfully setup, the Sensor will automatically switch on and o LightwaveRF devices at dusk or dawn. -
Page 4: Installation
Installation Overview Front Main indicator Waterproof housing IMPORTANT: Please retain these instructions for guidance on how to link the sensor to other LightwaveRF devices. For additional guidance please visit the support section on www.lightwaverf.com... - Page 5 Installation Back Cover (cover removed) mounting Waterproof seal screw hole Time delay switch Linking button Battery compartment Start button (activate sensor and set light level)
-
Page 6: Removing The Back Cover
Installation Removing the back cover In order to setup the Dusk to Dawn Sensor, and to insert or replace the batteries, the back cover must first be removed. Gently unhook the rear stand using a flathead screwdriver as shown. Unscrew the back cover using a suitable screwdriver. -
Page 7: Inserting The Batteries
NOTE: When the batteries are low, the Sensor light will flash every 3 seconds. Linking the sensor to a LightwaveRF device Place the LightwaveRF device that you wish to control (e.g. Dimmer) in ‘linking’ mode. For information on how this... - Page 8 Device setup Whilst the LightwaveRF device is in linking mode, switch the ‘learn’ slider on the sensor to the ‘del’ or ‘set’ position (either is ok). This action will send out a command instructing the sensor to link to the device. Repeat...
- Page 9 Setting the light level alters the preset at which the sensor will automatically turns on/o LightwaveRF devices. The level can be set by pressing the ‘start’ button which activates the sensor. There are two methods:...
-
Page 10: Setting The Time Delay
If the switch is set to ‘0’, then there is no time delay set. The sensor will turn on/o LightwaveRF device once the light level has gone below/above that setup by the user. -
Page 11: Specification
NOTE: If the RF range between the transmitter and receiver is too great to achieve reliable operation, the LightwaveRF Connect Signal Booster may be used in conjunction with this product to increase the signal strength over greater distances. - Page 12 Version 2.1 2 Quadrant Park Mundells Welwyn Garden City Herts AL7 1FS 01707 386035 www.lightwaverf.house...


Need help?
Do you have a question about the Connect Series and is the answer not in the manual?
Questions and answers