Siemens SITRANS LR 400 Application Manual
Retrofit with an easy aimer lr
Hide thumbs
Also See for SITRANS LR 400:
- Quick start manual (114 pages) ,
- Instruction manual (112 pages) ,
- Instruction manual and users manual (106 pages)
Advertisement
Quick Links
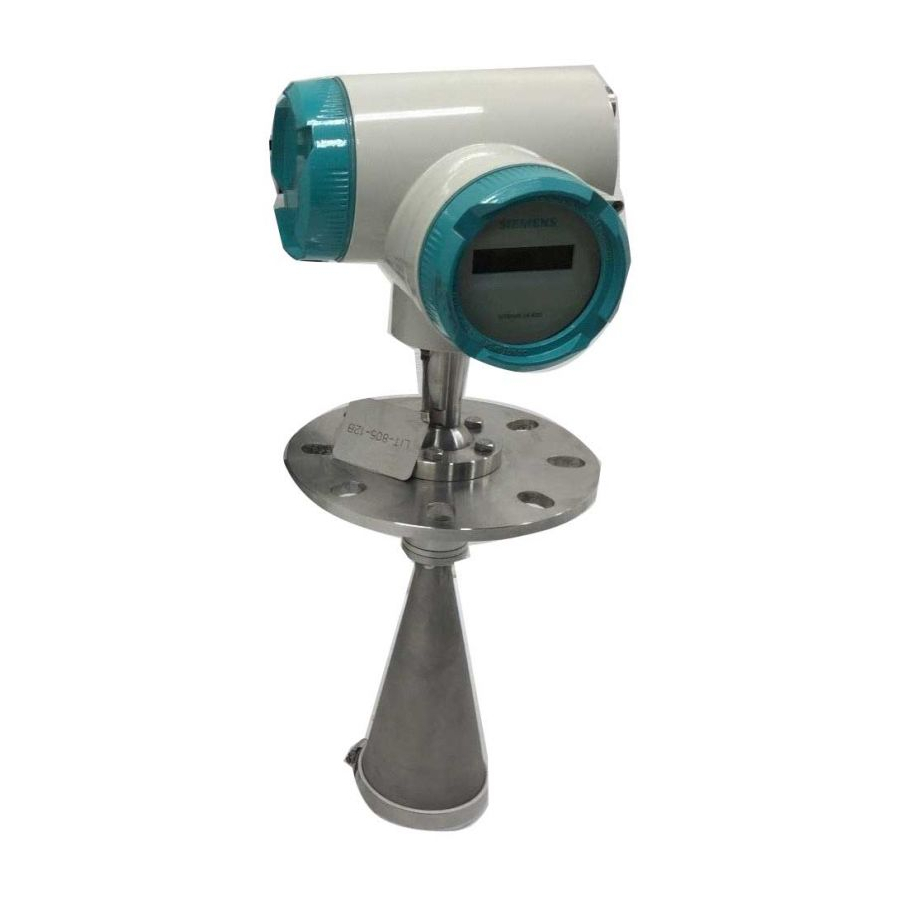
SITRANS LR 400 and Easy Aimer LR Retrofit
Objective:
The procedure for installing an Easy Aimer LR kit on a SITRANS LR 400.
•
Equipment:
•
While every effort was made to verify the following information, no warranty of accuracy or usability is expressed or implied.
Overview:
To retrofit the SITRANS LR 400 with an Easy Aimer LR, please follow the directions below:
For a standard SITRANS LR 400, follow the procedures in
For SITRANS LR 400 units with Zone 0 approvals, follow the procedures in
page 5.
Part One: SITRANS LR 400 Standard Emitter
Step One: Remove Housing from Horn Assembly
1.
Set the unit upright on a firm and clean surface.
2.
Loosen locknut connecting housing and flange
assembly.
locknut
Siemens Milltronics Process Instruments Inc.
1954 Technology Drive, P.O. Box 4225, Peterborough, ON Canada K9J 7B1
Tel: (705) 745-2431 Fax: (705) 741-0466
Email: techpubs@siemens-milltronics.com
SITRANS LR 400
Easy Aimer LR Kit
www.siemens-milltronics.com
•
•
Part One: SITRANS LR 400 Standard Emitter
Part Two: SITRANS LR 400: Zone O Emitter Change
3.
Carefully lift housing from flange assembly, exposing
the PTFE emitter.
4.
Set housing aside on a secure surface.
APPLICATION GUIDE
Adjustable wrench
M8 socket wrench
.
AG030612
on
emitter
Advertisement

Related Manuals for Siemens SITRANS LR 400


Summary of Contents for Siemens SITRANS LR 400
- Page 1 While every effort was made to verify the following information, no warranty of accuracy or usability is expressed or implied. Overview: To retrofit the SITRANS LR 400 with an Easy Aimer LR, please follow the directions below: Part One: SITRANS LR 400 Standard Emitter...
- Page 2 Turn flange over so it sits flat on the surface with the Remove the four bolts connecting the flange to the horn pointing up horn using an M8 socket wrench, and then lift the horn from the flange. Easy Aimer LR and SITRANS LR 400 Retrofit AG030612 2 of 9...
- Page 3 Step Five: Inserting the Emitter Assembly Turn horn assembly over and insert emitter assembly. Thread emitter assembly back into place and tighten using the adjustable wrench. CAUTION: Do not over tighten Easy Aimer LR and SITRANS LR 400 Retrofit AG030612 3 of 9...
- Page 4 NOTE: Process Connection drawings are available at CAUTION: Be sure to discard old tag as the process www.siemens-milltronics.com connection information is no longer relevant Easy Aimer LR and SITRANS LR 400 Retrofit AG030612 4 of 9...
- Page 5 APPLICATION GUIDE Part Two: Zone O Emitter Change The SITRANS LR 400 with Zone 0 approvals has a specially designed emitter. If the emitter assembly comes apart before Appendix Troubleshooting reattachment, see on page 9. Zone 0, Step One: Remove Housing from Horn Assembly Set the unit upright on a firm and clean surface.
- Page 6 Zone 0, Step Four: Removing Bottom PTFE Emitter Gently remove horn from Turn flange on its side and push the bottom emitter out the flange top. bottom emitter. Remove flange and set aside. Easy Aimer LR and SITRANS LR 400 Retrofit AG030612 6 of 9...
- Page 7 PTFE emitter and ring are completely inserted. PTFE emitter point first. Appendix: NOTE: Ensure that O rings are set properly in their groves. See Troubleshooting on page 9. Easy Aimer LR and SITRANS LR 400 Retrofit AG030612 7 of 9...
- Page 8 Troubleshooting on page 9. Zone 0, Step Eight: Reassembly Reattach the housing and replace the process connection tag. For more information, see Steps Six Step Seven page 4. Easy Aimer LR and SITRANS LR 400 Retrofit AG030612 8 of 9...
-
Page 9: Appendix: Troubleshooting
APPLICATION GUIDE Appendix: Troubleshooting Standard Emitter Components and Assembly Zone 0 Emitter Components and Assembly NOTE: Rings 1,2, and 3 are inserted beveled side up. Easy Aimer LR and SITRANS LR 400 Retrofit AG030612 9 of 9...
Need help?
Do you have a question about the SITRANS LR 400 and is the answer not in the manual?
Questions and answers