Table of Contents
Advertisement
Quick Links
π H-3532, H-3534
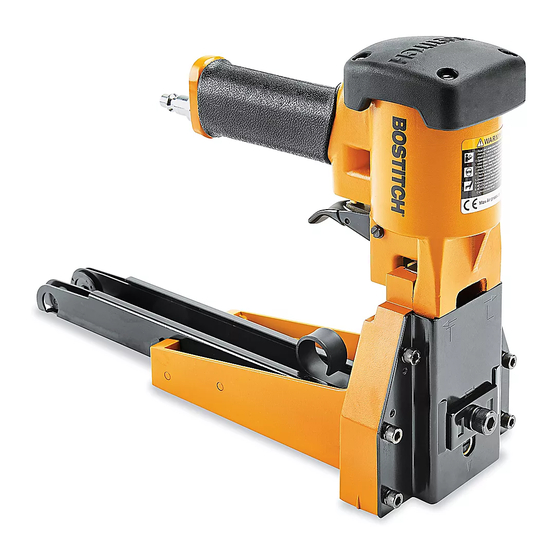
BOSTITCH
®
PNEUMATIC STAPLER
loading the magazine
1.
Disconnect from air supply.
WaRning! When loading stapler, never place
a hand or any part of the body in fastener
discharge area of the stapler. never point
stapler at anyone. do not pull the trigger or
depress the trip as accidental actuation may
occur, possibly causing injury.
2. Pull back the pusher until it is tucked under the rear of
the magazine in position 1. (See Figure 1)
Figure 1
3. Check staple leg length – Adjustment is provided in
the H-3532/H-3534 for different staple leg lengths.
a. To adjust machine for leg length, loosen set
screw (See Figure 2) and turn pivot pin 180º with
a screwdriver to the desired adjustment as noted.
Tighten set screw.
Figure 2
Screw
Driver
Pivot Pin
Front Bracket
PAGE 1 OF 6
1-800-295-5510
uline.com
Position1
Set
Screw
b. To change shallow clinchers (see part charts for
part numbers) remove screws and front bracket
to provide access to clinchers. Change one at a
time to prevent reversing part. Also part #45
(See Figure 3) will need to be changed to
specified spacer in the table.
Figure 3
4. Load the staple stick from the rear of the tool.
5. Slide the pusher from position 1 to the rear of the
staple stick (See Figure 4)
Figure 4
1012 IH-3532
Advertisement
Table of Contents

Subscribe to Our Youtube Channel
Related Manuals for U-Line BOSTITCH H-3532


Summary of Contents for U-Line BOSTITCH H-3532
- Page 1 π H-3532, H-3534 1-800-295-5510 uline.com BOSTITCH ® PNEUMATIC STAPLER oPeRation loading the magazine b. To change shallow clinchers (see part charts for part numbers) remove screws and front bracket Disconnect from air supply. to provide access to clinchers. Change one at a time to prevent reversing part.
- Page 2 oPeRation ContinUed loading the magazine ContinUed USing the StaPleR 6. Clinch adjustment – Turn special nut clockwise Stapling – Grasp handle with one hand. Position on to tighten clinch and counterclockwise to loosen box in line with the desired staple location. There is a clinch.
- Page 3 oPeRation ContinUed RemoVing StUCK StaPleS ContinUed 3. Clear the jam and reinsert the magazine. Pry jam release shut. (See Figure 10) 2. Remove magazine. (See Figure 9) Figure 9 Figure 10 Safety WaRningS oPeRation WaRning! this is a full-cycle stapler. the stapler will cycle each time the trigger is pulled! WaRning! always handle the stapler with care: Clinchers will discharge and retract.
- Page 4 Safety WaRningS ContinUed WaRning! the connector on the stapler • never use this stapler in a manner that could cause must not hold pressure when air supply is a fastener to be directed toward the user or others in the work area. disconnected.
- Page 5 SPeCifiCationS StaPleR SPeCifiCationS StaPle Uline PaRt no. mfg. PaRt no. length height Width Weight CaPaCity H-3532 DS-3219 12.6" (320mm) 8.86" (225mm) 4.5" (115mm) 5.45 lbs. (2.45 kg) H-3534 DS-3522 12.6" (320mm) 8.86" (225mm) 4.5" (115mm) 5.45 lbs. (2.45 kg) faSteneR SPeCifiCationS StaPleR Uline PaRt no.
- Page 6 tRoUBleShooting OPERATInG ISSUE CAUSES RECOmmEnDATIOnS Trigger valve housing leaks air O-Ring cut or cracked Replace O-Ring Trigger valve stem leaks air O-Ring/seals cut or cracked Replace trigger valve assembly Frame/piston rod leaks air O-Ring Replace O-Ring Frame/cap leaks air Damaged O-Ring Replace O-Ring Loose cap screws Tighten and recheck...
Need help?
Do you have a question about the BOSTITCH H-3532 and is the answer not in the manual?
Questions and answers