
Related Manuals for Vacron CDR-E07


Summary of Contents for Vacron CDR-E07
- Page 1 CDR-E07 (720P+VGA) Firmware update Instruction CDR-E07(720P+VGA) Firmware update Instruction Please check VACRON Website http://www.vacron.com.tw/support1.html Remove the firmware to the USB root directory.
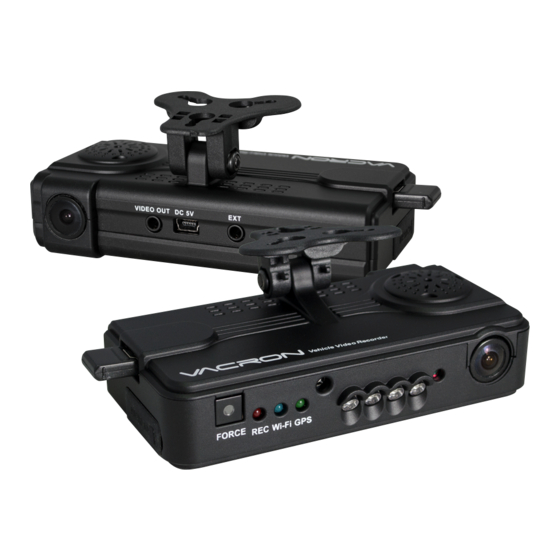
- Page 2 CDR-E07 (720P+VGA) Firmware update Instruction Prepare mini USB/USB convert cable. (Not included in standard package), 4 pings, 3.5 inch headphone jack to RCA output cable, 5V cigarette Power adapter. mini USB/USB convert cable 4 pings, 3.5 inch headphone jack to RCA output cable...
- Page 3 CDR-E07 (720P+VGA) Firmware update Instruction Connecting the device to the USB via the mini USB/USB Connecting Video out to display or monitor. convert cable.
- Page 4 CDR-E07 (720P+VGA) Firmware update Instruction Long press Force Record Button at the same time, and Connect the USB power . Remove your finger until the display shows “Check Firmware Version”.
- Page 5 CDR-E07 (720P+VGA) Firmware update Instruction Firmware update will start automatically after firmware version check. Once firmware update is completed. The display will show normal split monitor.
Need help?
Do you have a question about the CDR-E07 and is the answer not in the manual?
Questions and answers